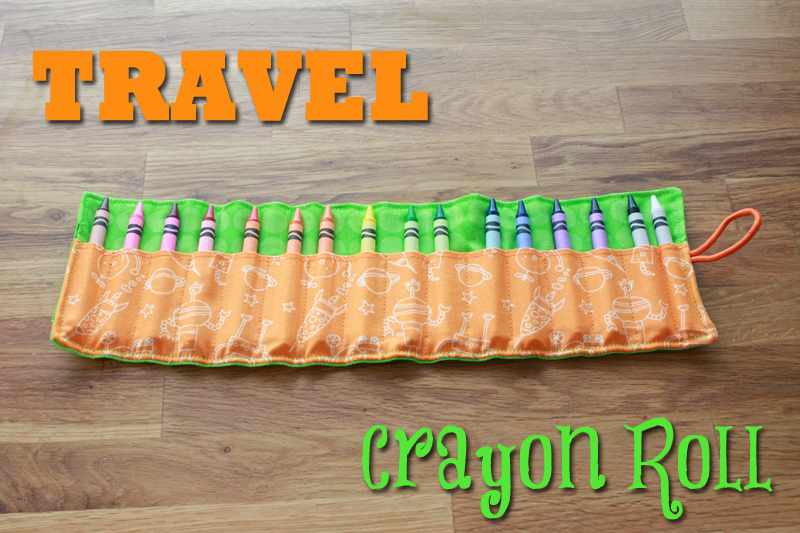
Back in January, my middle nephew, The Squishy, turned two. And it was the first birthday party for any of my nephews/niece that I had to miss. (Being overly large and pregnant does not bode well for travel.) Needless to say, I was bummed.
Even though I couldn't be there to help celebrate, I still wanted to get the little man something I knew he would get some serious mileage out of. Over the course of the past few months, we had noticed how much he loved to just sit and color. Or, well, scribble. But that's besides the point. The kid loves his crayons.
I decided what better to give him than a way to take a fun thing to do along in the car? So I set about trying to find a little lap desk for him to color on, a few coloring books, and making this cute little travel crayon roll for him to take along and keep his crayons nice and organized. Okay, that last part may be more for mom, but that counts too.
While he's still a bit young to be able to put the crayons in and out of their little slots completely by himself, Mom reports that it's still handy to have at restaurants.
Things You'll Need
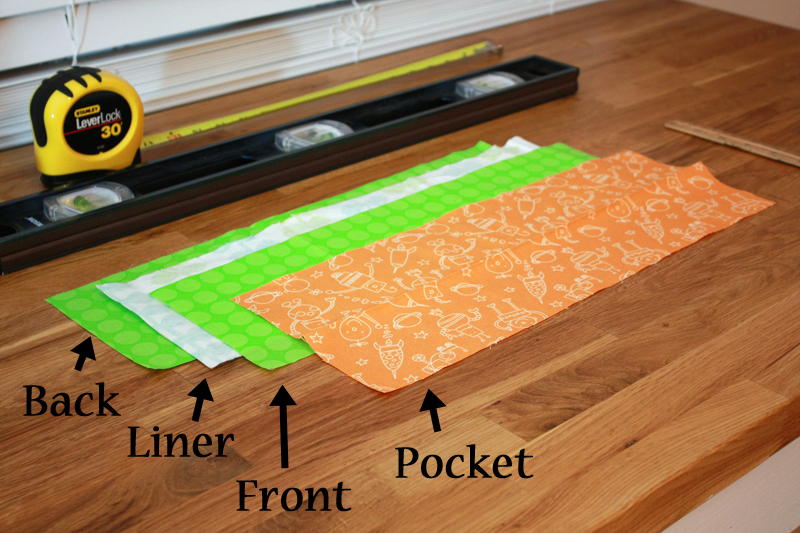
2 pieces of 5" x 16 1/2" fabric for front and back
1 piece of 6" x 16 1/2" coordinating fabric for pocket
1 piece of 5" x 16 1/2" flannel for lining
1 coordinating hair tie
1-2 spools coordinating thread
1 matching button
Scissors
Needle
Dressmaker's pencil
1 box of 16 crayons
Pins
Begin by getting all your fabric cut down to size. You may notice that my flannel isn't just straight white, but some leftover from a different project. If that's all you have too I say go for it (as long as your outside fabric isn't too see-through).
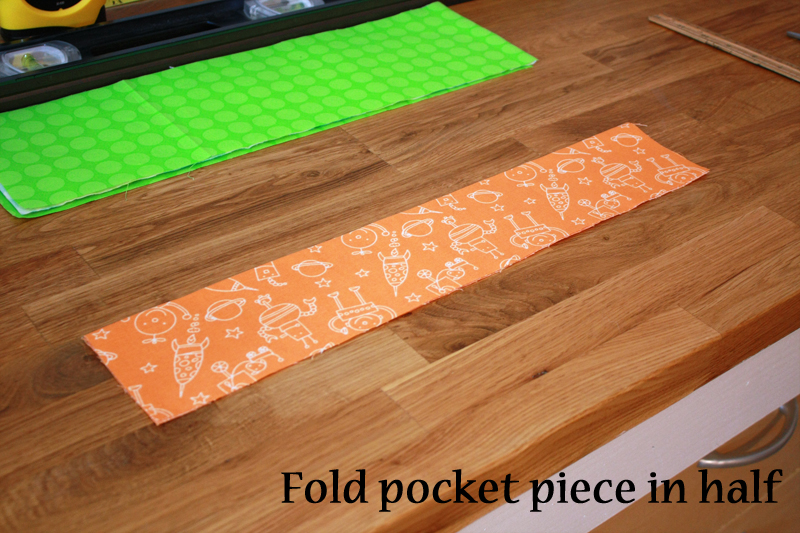
Fold your pocket piece in half length-wise and press.
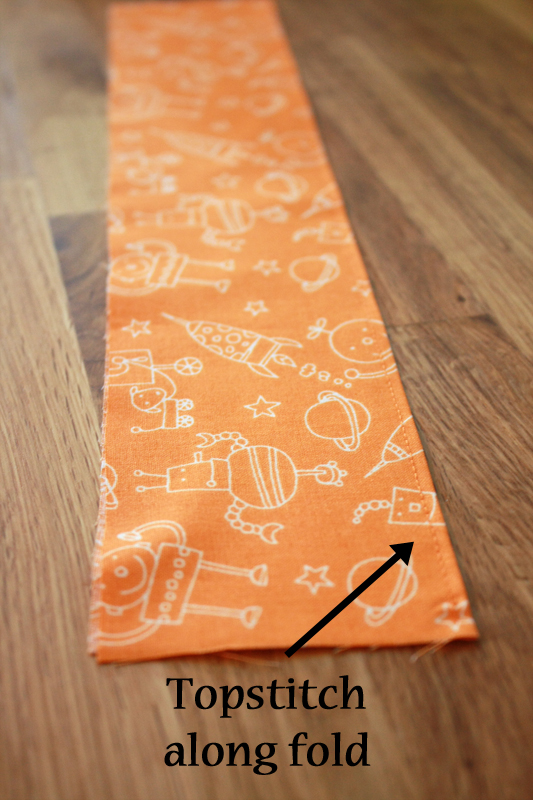
Top stitch 1/4-1/8" from the folded edge.
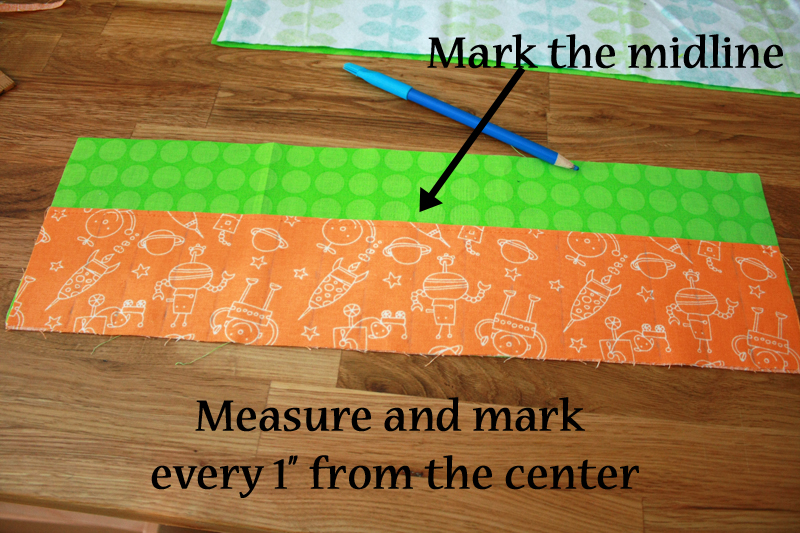
Lay your pocket piece on top of your front piece, with the bottom edges aligned. Mark the midpoint of your pocket piece at 8 1/4". Draw a line at this point from the top of the pocket piece to the bottom. Measure and draw lines on both sides of the midpoint in 1" increments (you should have 15 lines). The last crayon slot at each end will end up being a little wider than 1" to account for seam allowances.
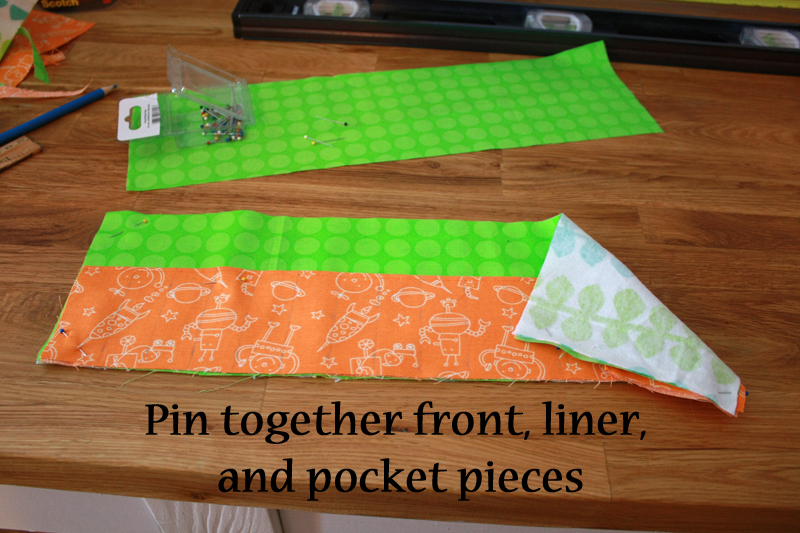
Place your pocket and front pieces on top of your lining. This piece just helps to give the roll stability. Pin pieces together.
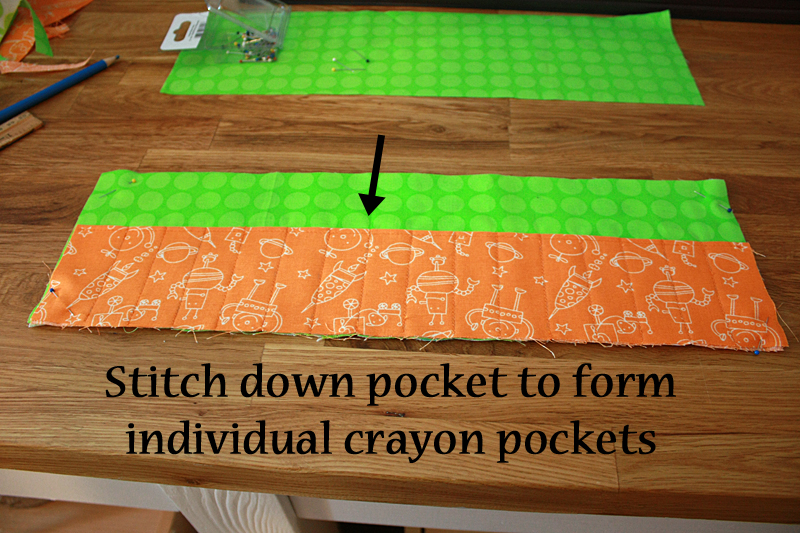
Starting 1/4" from the top of the pocket, stitch down your drawn lines (remember to back stitch at the beginning as well as the end).
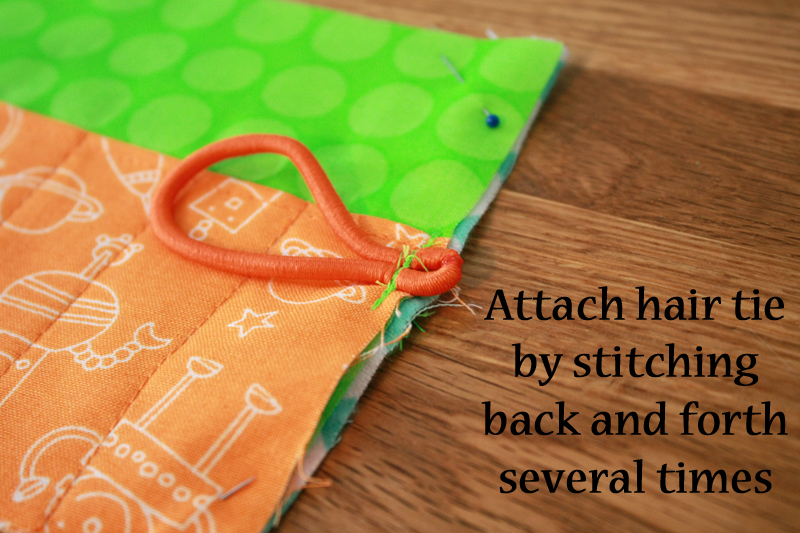
Place the hair tie on the right side of your piece. Pinch together the portion of the hair tie that has been melted together, then stitch back and forth many times across the tie as close to the edge of the fabric as possible. (Go slowly!)
Lay your back piece on top, right-side down. Pin pieces together. Sew pieces together with a 1/4" seam allowance, leaving a 2" gap on the left side. Clip the corners and turn the crayon roll right-side out. Use chop sticks or another blunt object to help turn the corners out. Tuck the extra fabric in at the opening. Press.
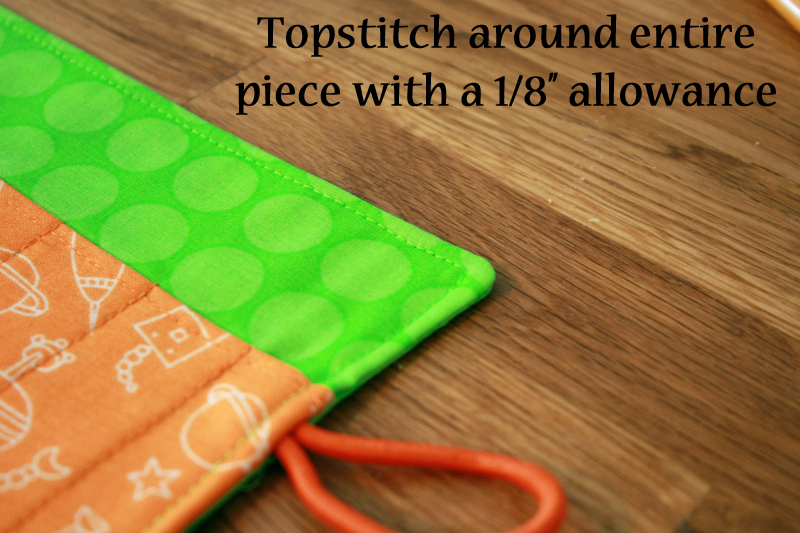
Top stitch 1/8" from the edge the entire way around the roll, making sure to close the gap on the left side.
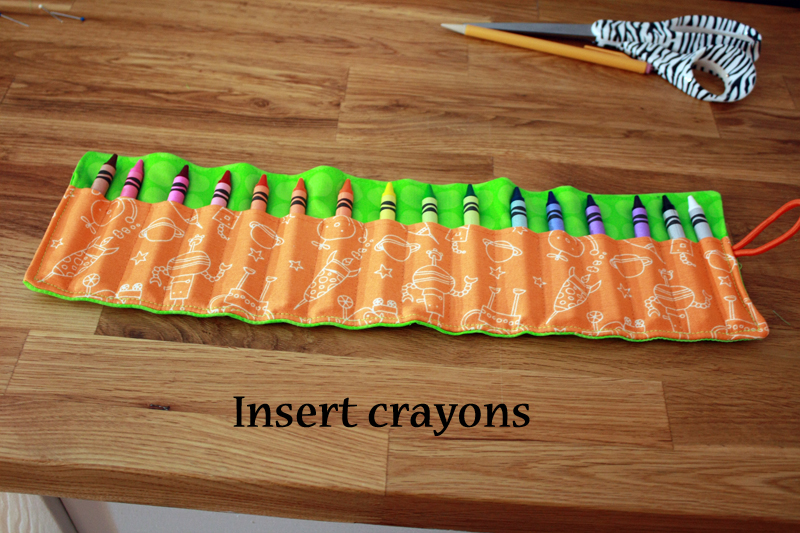
Slide the crayons into the slots.
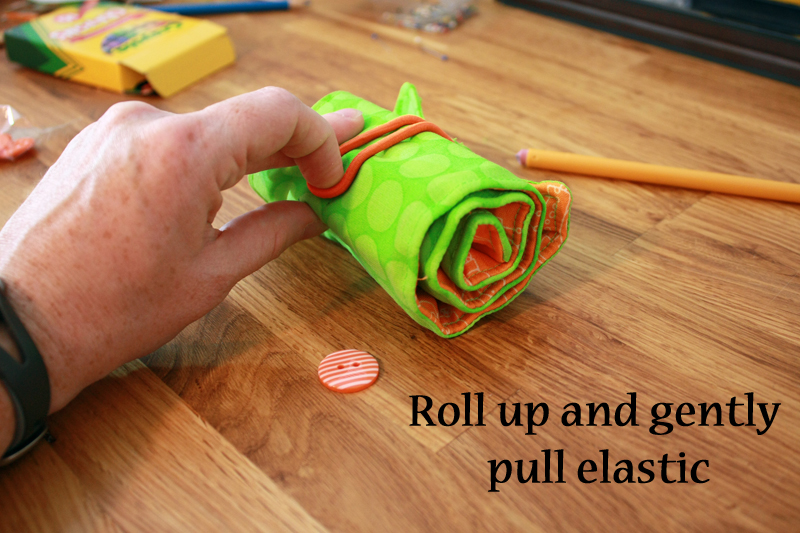
Roll up tightly. Gently pull on the elastic until you find that sweet spot where you feel resistance, but you're also not stretching the band out as far as possible. Mark this location with a tiny dot.
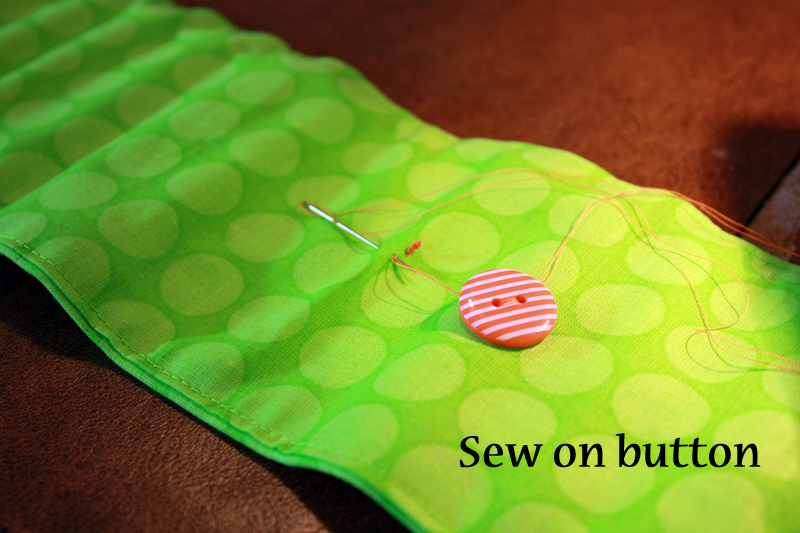
Attach the button by sewing through just the bottom layer.
Pull the elastic around the button to see if everything holds okay. And with that, you're done!
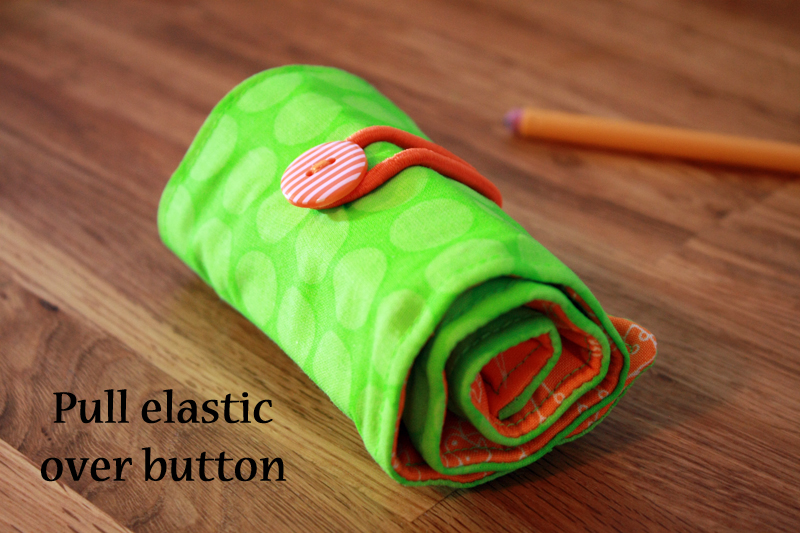
How's that for super easy? I'm pretty sure this took me a whopping 15-20 minutes or so to put together, and it turned out looking great.
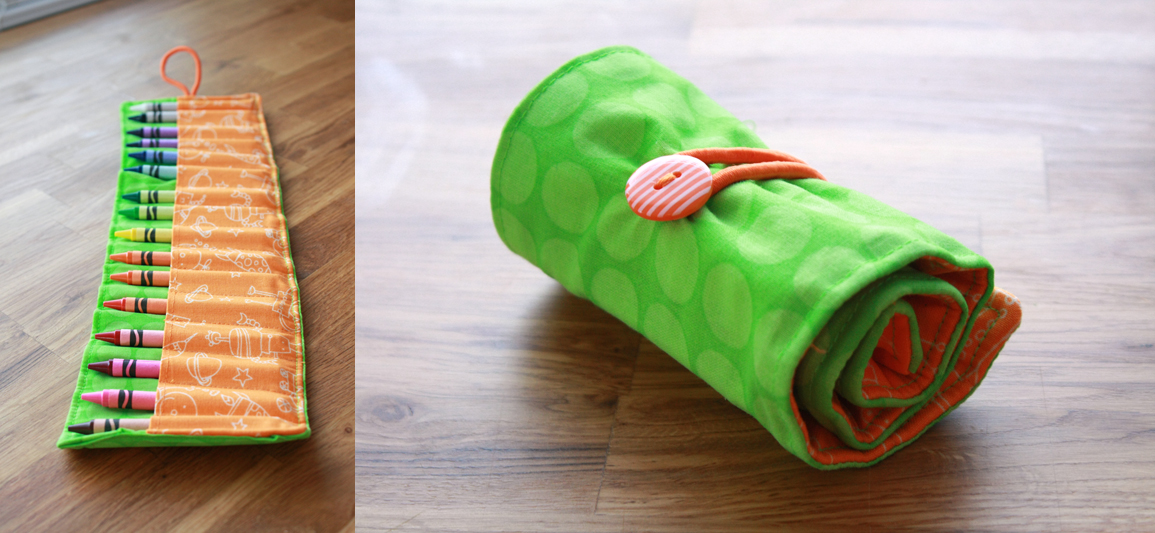
My super anal must-put-things-in-just-a-certain-order inner child totally wishes I had this when I was little. Way more awesome than just sticking them back in the box and having to pull them out to see which color is which. (Okay, yes, red and blue are easy, but yellow-orange and orange-yellow? Come on, those are a bit trickier when in the box.)
Let's see where this stands price-wise:
1/4 yard cotton fabric @ $4.99/yd = $1.25
1/4 yard cotton fabric @ $4.99/yd = $1.25
1/4 yard flannel @ $2.50/yd = $0.63
2 spools of polyester thread @ $2.99/spool = $5.98
1 package of hair ties (15 ct.) = $2.17
1 package of buttons (14 ct.) = $3.00
Final Price = $14.28
So if you were only going to be making one of these, this may seem a bit pricey. But, if we were to break it down by only the stuff you were actually using (i.e. 1 button, not 14), it would only cost you $9.46 - even less if you already have the thread.
I am so excited that you are expecting...
ReplyDelete