Tuesday, August 31, 2010

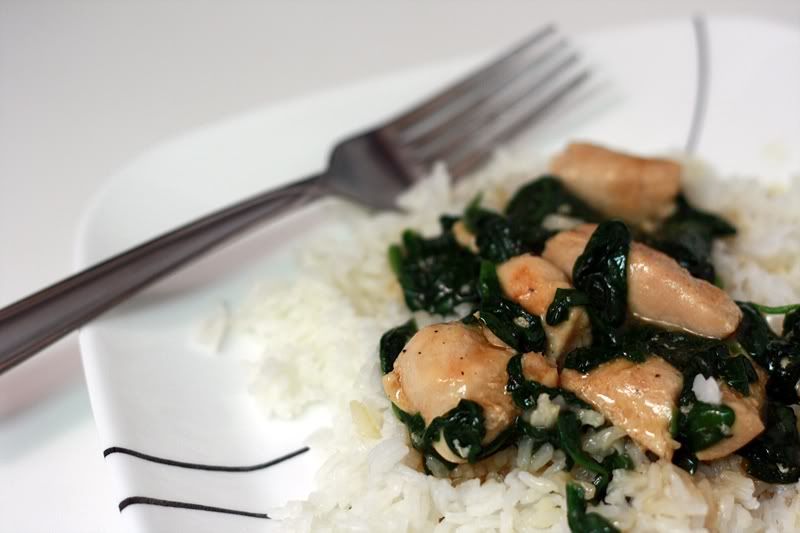
Honey Ginger Chicken Stir Fry


Every week I sit down, flip through my recipes and cookbooks and come up with some semblance of a meal plan for the week. Well, I try and do this anyways. Usually this works out really well and I'm not stuck trying to figure something out for dinner at the last minute.

Occasionally this backfires a little when there is an abrupt change of plans. Like oh, inviting friends over to dinner in the middle of the week. Don't get me wrong, I love to have people over for dinner, but I don't typically like to serve first-time meals to them. If it's my family, sure, they can be guinea pigs. Friends, it's a little different. I want to make sure whatever it is I'm feeding them is good, because, you know, I'd like them to come back after all.

However, I decided to take a chance with this recipe. All the ingredients were familiar and seemed like they should work well together. I guess sometimes risks pay off. It was delicious. Sweet with a little bit of bite from the ginger. Not to mention fairly easy to pull off.
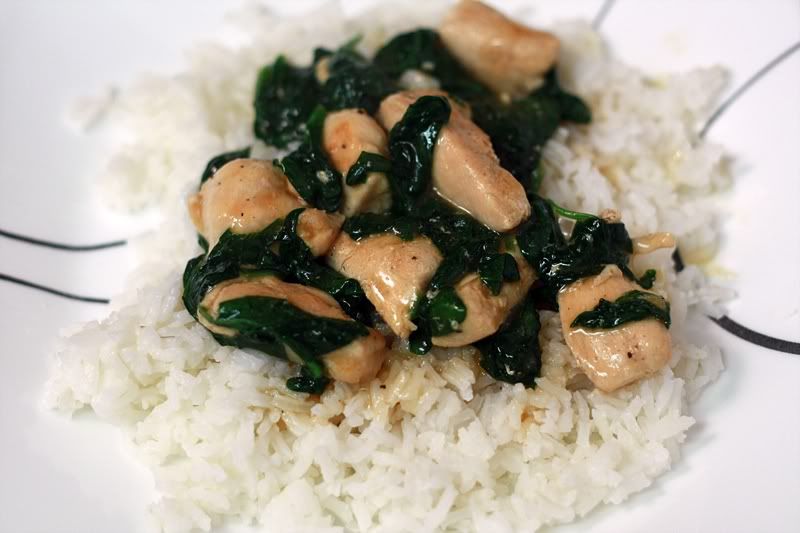


Honey Ginger Chicken Stir Fry
Adapted from: Allrecipes.com


1 pound boneless, skinless chicken breasts, cubed
2 teaspoons garlic powder
2 tablespoons soy sauce, divided
1/2 teaspoon salt
1/4 teaspoon ground black pepper
3 cups fat-free, low sodium chicken broth, divided
1 tablespoon + 1 teaspoon cornstarch
2 tablespoons honey
1 teaspoon ground ginger
1 cup long-grain white rice
1 tablespoon oil
4 cups washed baby spinach

Place chicken in a medium bowl. Season chicken with garlic powder, 1 tablespoon soy sauce, salt and pepper. Set aside.

In a small bowl, combine remaining tablespoon soy sauce, 1 cup broth, cornstarch, honey, and ginger; set aside.

In a small saucepan, bring the rice and remaining 2 cups broth to a boil. Cover and lower heat to medium-low for 20 minutes. Remove from heat, fluff with a fork, recover and let sit for 5 minutes.

Heat oil in a large skillet over medium-high heat. Cook chicken for 5 minutes, or until cooked through. Stir in baby spinach; cook 1 minute, or until wilted. Stir broth/cornstarch mixture, then add to skillet. Cook, stirring constantly until sauce is thickened and translucent. Serve chicken and spinach over rice.

Serves: 4
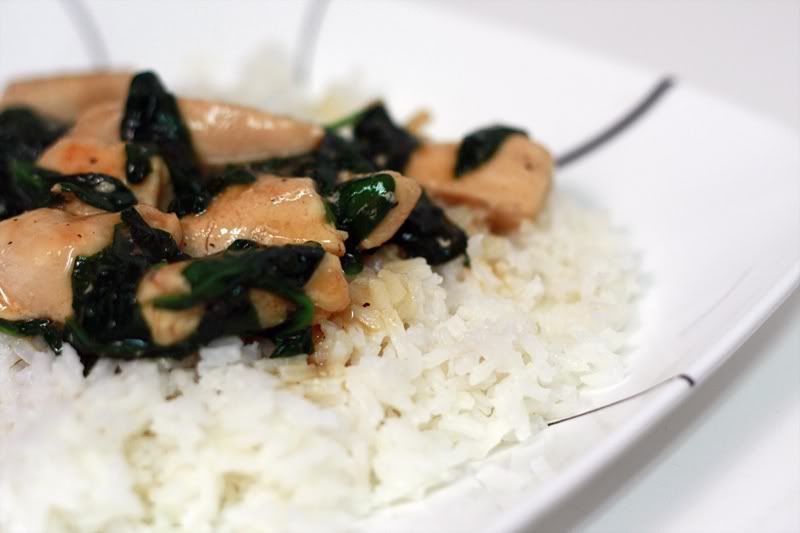


After our success with the meal the first time around, I decided to make this again a couple weeks later to get some pictures. And I promptly forgot to make the rice with chicken broth. I think that one little step makes a huge difference in the overall flavor of the dish. So don't miss it! Other than that this meal is quick and easy and makes a nice light weekday dinner.


We served this with Sichuan Green Beans, which complemented the meal quite nicely.


Nutrition Facts
Amount per serving
Calories 478Calories from fat 110
% Daily Value
Total Fat 12.3g19%
Saturated Fat 2.9g14%
Trans Fat 0.0g
Cholesterol 101mg34%
Sodium 1204mg50%
Total Carbs 51.2g17%
Dietary Fiber 1.6g6%
Sugars 9.3g
Protein 38.6g
Vitamin A 57%Vitamin C 15%
Calcium 6%Iron 25%

Monday, August 30, 2010

The Mailing Experiment: Part 2

They arrived! They arrived! (Don't know what I'm talking about? Go here to see part 1.)

Note: All pictures and ratings were done by my sister. I had to make her earn these cupcakes, right?

Let's take a look, shall we?


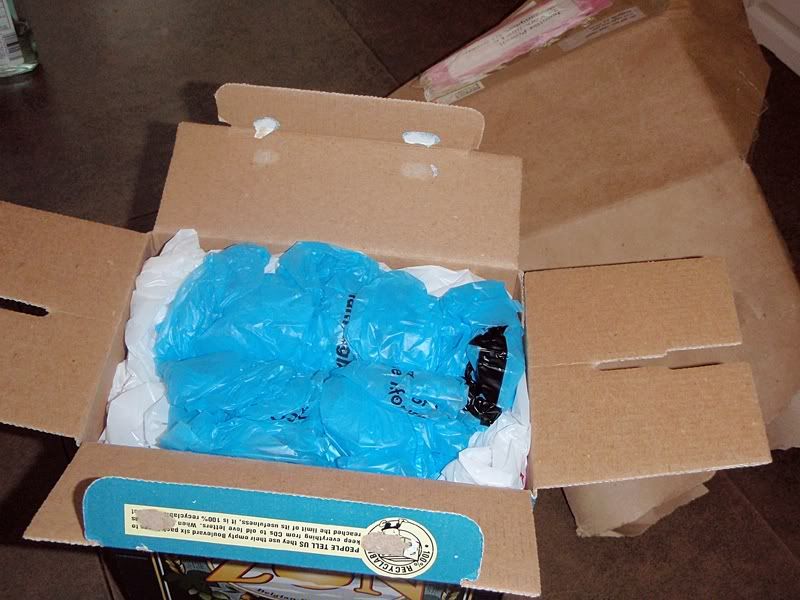
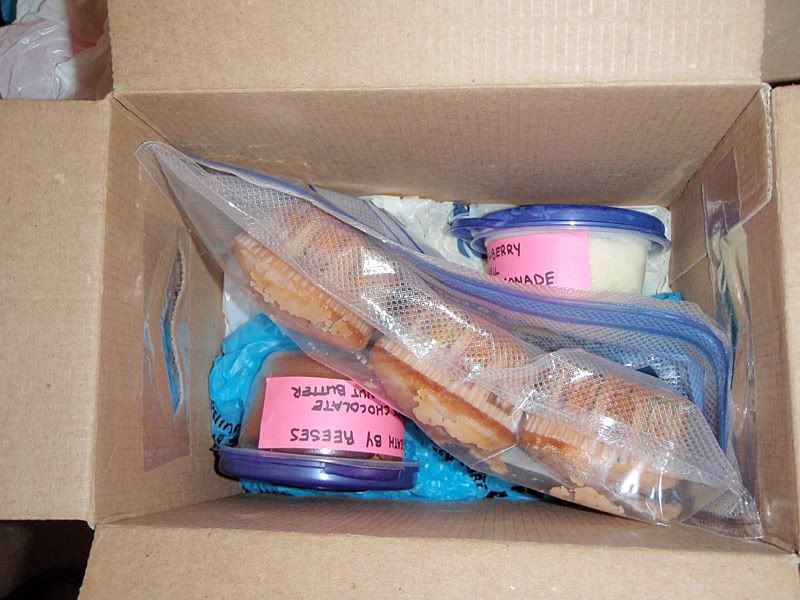
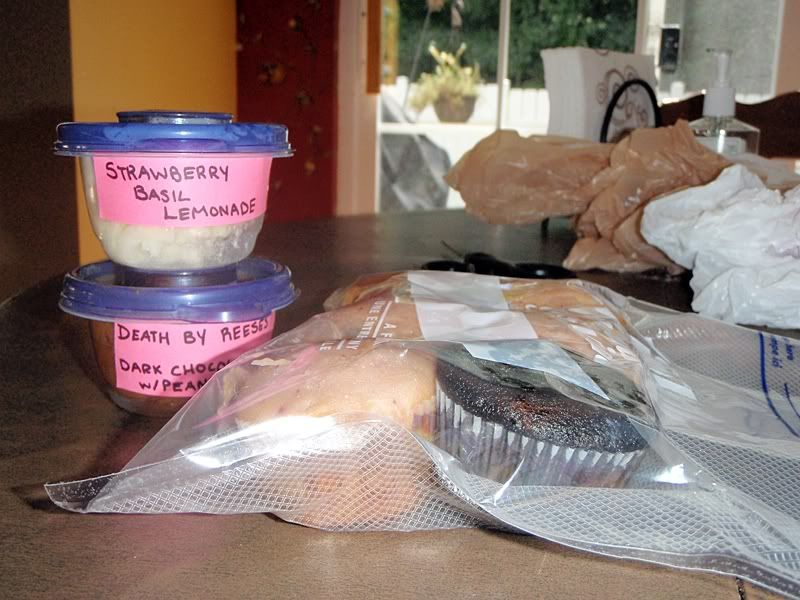
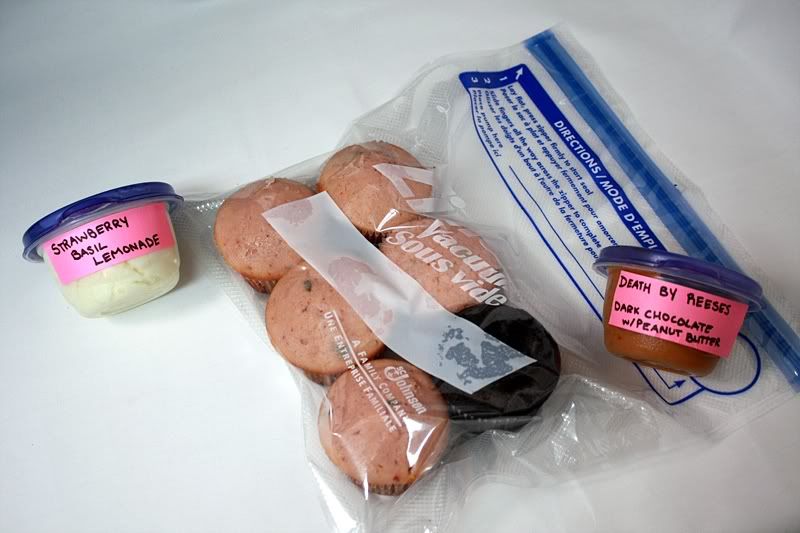
Uh oh, I see some cupcake on the Ziploc. At least the frosting containers stayed together.


Out of the box and ready to go! Looks like the bag keep it's vacuum the whole trip.


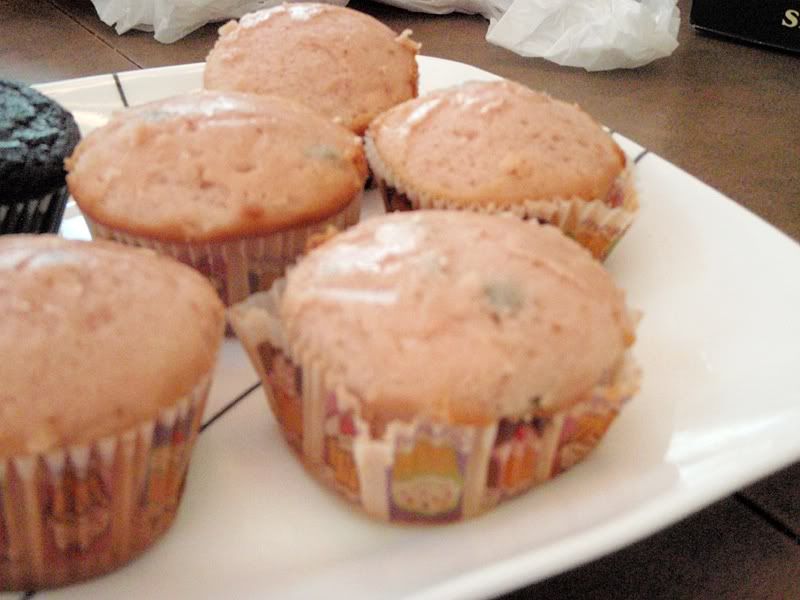
Apparently some of these cupcakes got so hot they were trying to pulling a strip tease right there on the counter.


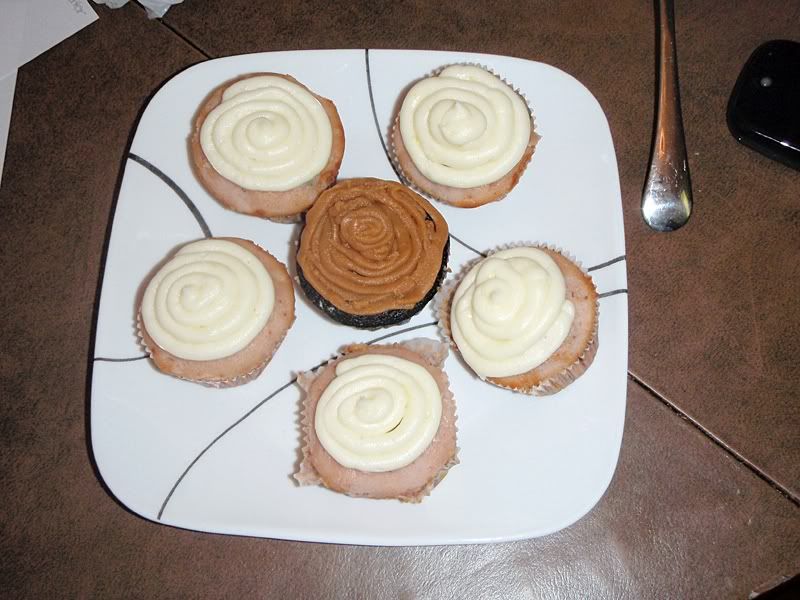
And frosted!


Alright, so they made it in one piece, but how did they taste? I sent my sister a nice little form to fill out about each cupcake regarding it's freshness and appearance.

I sent her two different cupcakes -- Strawberry Basil Lemonade and Dark Chocolate with Peanut Butter. Let's investigate the Strawberry Basil Lemonade Cupcake first.

Strawberry Basil Lemonade Cupcake


Freshness:
Rating Scale of 1 - 5. 1 = "That was supposed to be edible?" and 5 = "Like it just came out of the oven".

Rating: 3
"A little on the dry side"


Appearance:
Rating Scale of 1 - 5. 1 = "Unrecognizable" and 5 = "Perfect Condition".

Rating: 3.5
"These cupcakes got stuck to the top of the Ziploc and the very top of them peeled off, similar to taking wax paper off a cake. However, the actual cupcake wrappers were beginning to separate from the cupcake as well."


Dark Chocolate with Peanut Butter Cupcake


Freshness:
Rating Scale of 1 - 5. 1 = "That was supposed to be edible?" and 5 = "Like it just came out of the oven".

Rating: 2.5
"REALLY dry"


Appearance:
Rating Scale of 1 - 5. 1 = "Unrecognizable" and 5 = "Perfect Condition".

Rating: 5
"I took them out of the Ziploc and they looked perfect"


Hmmm, so not quite a fail, but not exactly a success either. Looks like we are battling dryness. I did note, however, that we had the same problem over the weekend with the chocolate peanut butter cupcakes -- after just a day or two they were very very dry. Another note about the frosting that she made:
"The frosting separated (on both flavors) a bit in the container...I just froze for about 5 min, stirred, and it was fine."

So looks like the frosting turned out pretty okay. Can't really expect much more during the hot summer months.

Back to the drawing board I go. However, I have a couple ideas to help with this whole dryness issue. We'll have to see if they work.

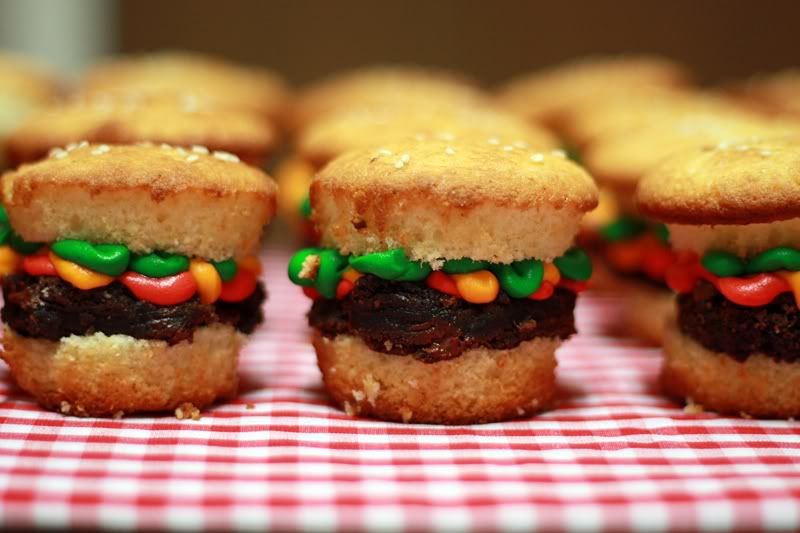
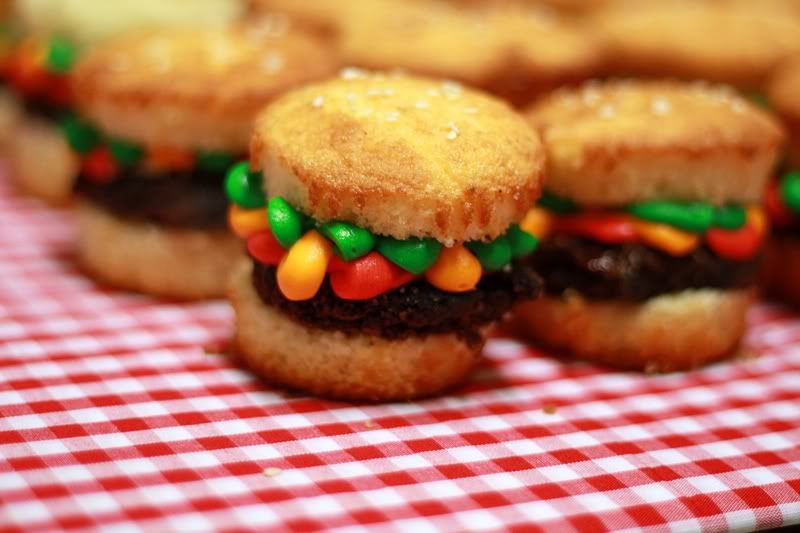
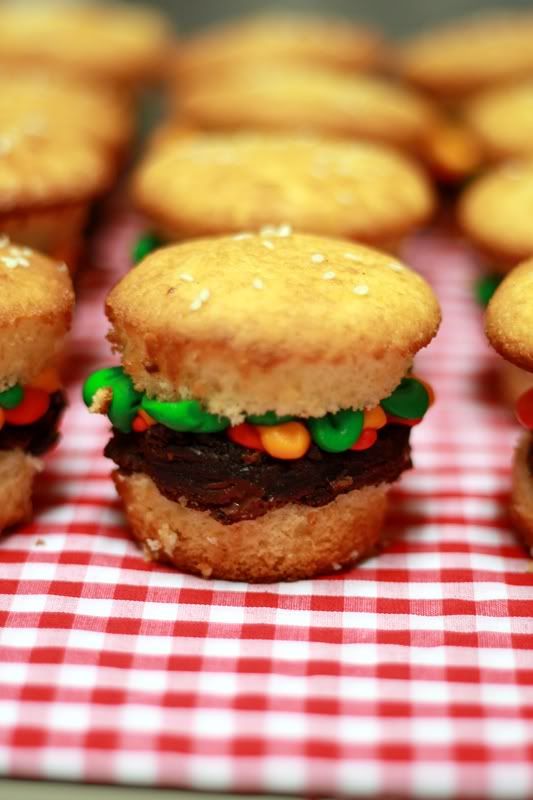
Brownie Burger Cupcakes


My Google Reader is in a sad state. It has 78 recipes starred, just waiting for me to make them. 78. That's a lot. My go-to excuse is that many of them need a "reason" or "occasion" to make. Take these cute little hamburger cupcakes for instance. They just scream picnic or BBQ to me, which is why they have slowly found themselves farther and farther down on the "to make" list.

Until Adam came home a couple weeks ago and asked if I was interested in going to a picnic for his group at work. Um, yes? That was an easy question. His section of the group got assigned to bring desserts, and upon hearing this, my mind when straight to these cupcakes. My excuse had arrived.


Brownie Burger Cupcakes
From: Bakerella


1 batch vanilla (yellow cake) cupcakes (I used this recipe)
1 batch brownies (I used this recipe)
1 batch vanilla buttercream, divided
Sesame seeds

Remove cupcake liners from cupcakes, if used. Slice each cupcake in half so it resembles a hamburger bun.

Using a 2" round cookie cutter (or in my case the top to the Pam cooking spray), cut 24 rounds from the brownies. Place the brownie round on the bottom half of the sliced cupcake.

Place the buttercream in three separate bowls. Color one red, for ketchup; one yellow, for mustard; and one green, for lettuce. Using a squiggle pattern, layer the buttercream on top of the brownie.

Cover with the top half of the cupcake. Using a pastry brush (or your fingers), slightly wet the top of each cupcake and sprinkle with sesame seeds.

Makes: 24 cupcakes


If you are really feeling daring, Bakerella also made rolled sugar cookie fries to go with these uber cute burger cupcakes. And she has templates for fast food holders if you're going for an authentic look. If you have time to put all of it together. Which I didn't. Sad day. Regardless, these turned out super cute and quite tasty!

Note: As I did not make the cupcakes or brownies to be enjoyed separately, and there is no set recipe for either one, I am not posting any nutrition facts for this "recipe". I'm sure we wouldn't want to see it anyways.

Sunday, August 29, 2010

The Mailing Experiment: Part 1

I love getting mail. Who doesn't? Bills = "eh, it's mail". Purchases from stores = "yay! It finally came!". Surprise presents = "What could it be? What could it be? I'm so excited!". Now take that surprise present and make it edible. That is an awesome surprise present. But how do you keep this awesome surprise present fresh? It's difficult, that's for sure. Maybe why getting surprise food in the mail doesn't happen all too often.

Let's take a look at Georgetown Cupcakes down in DC. They mail their delicious goodies to your home looking cute and tasting fresh. All for the small fee of $26 just for shipping. Then factor in the cost of the cupcakes and you're looking at a cool $41 just for a half dozen cupcakes. A HALF DOZEN CUPCAKES for $41! I love me some cupcakes, but that's just crazy.

So how in the world do you mail these things without such a hefty price tag? I enlisted the help of my sister to try a little experiment see if I could mail some tasty treats that arrived fresh for a little bit less (okay a lot less) than $41. (Yes, I totally had to twist her arm to agree to receiving and eating cupcakes from me.)

Let's check out the packaging of the goods method:

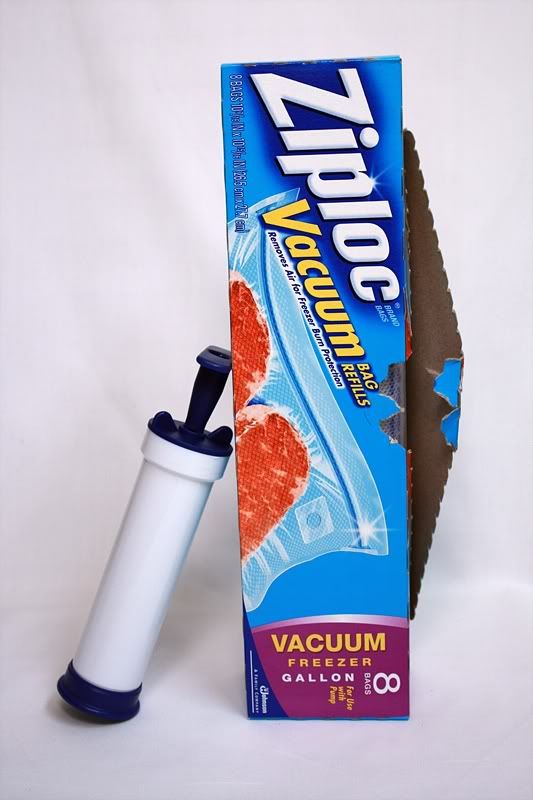
First you need the right materials. I used Ziploc's vacuum bags to suck out the air in the gallon-sized bag to hopefully preserve the freshness.


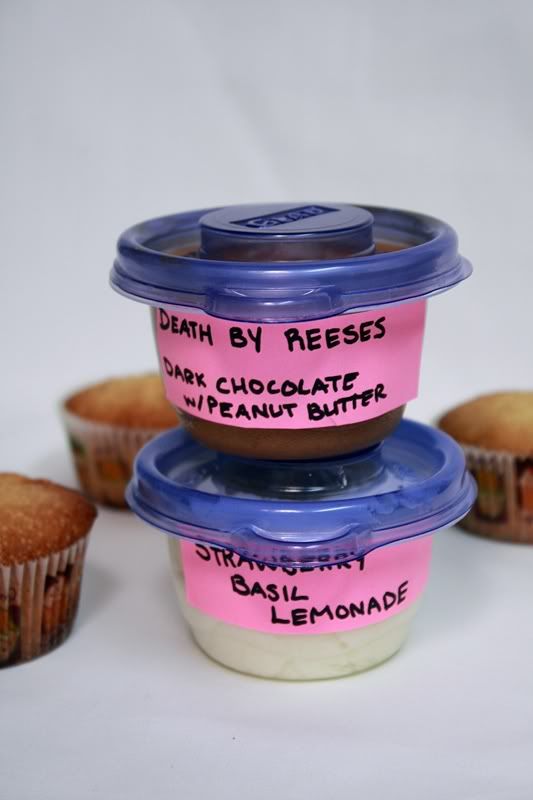
Gather your cupcakes and frosting. I decided not to go with the traditional cupcake holders that would allow me to frost the cupcakes. Chances of them making it still looking pretty = slim to none. We're going with the "decorate it yourself" method. Thus the frosting gets its own little Glad containers. Fill those guys to the top - we don't want any air in there.


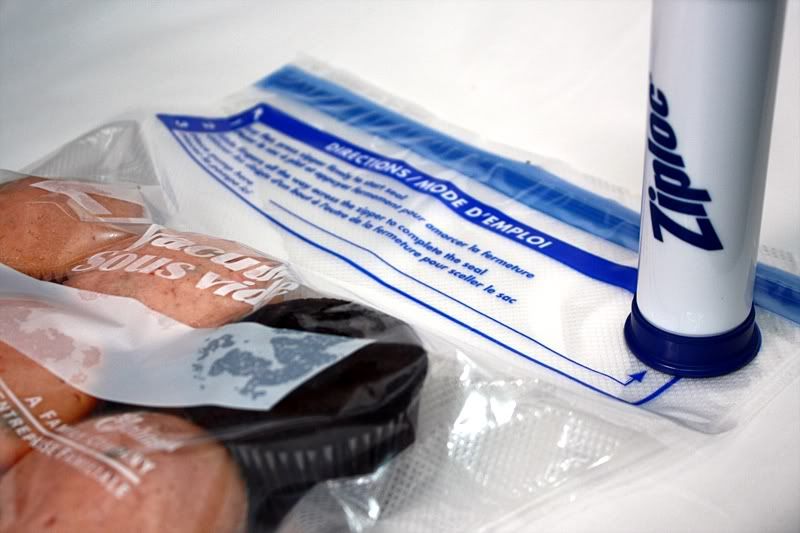
Put your cupcakes in the vacuum ziploc, seal, and pump away.


Now we're ready to start wrapping.


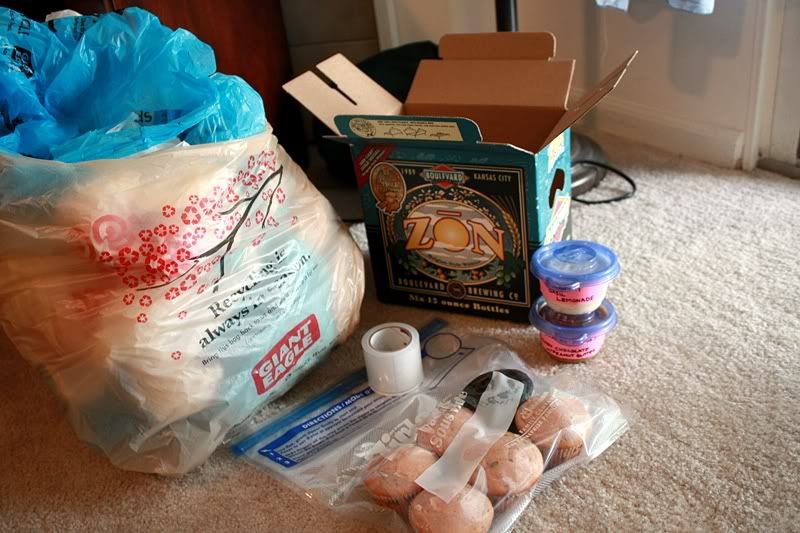
Gather your supplies. A box to send everything in, packaging material, tape, and your goodies.


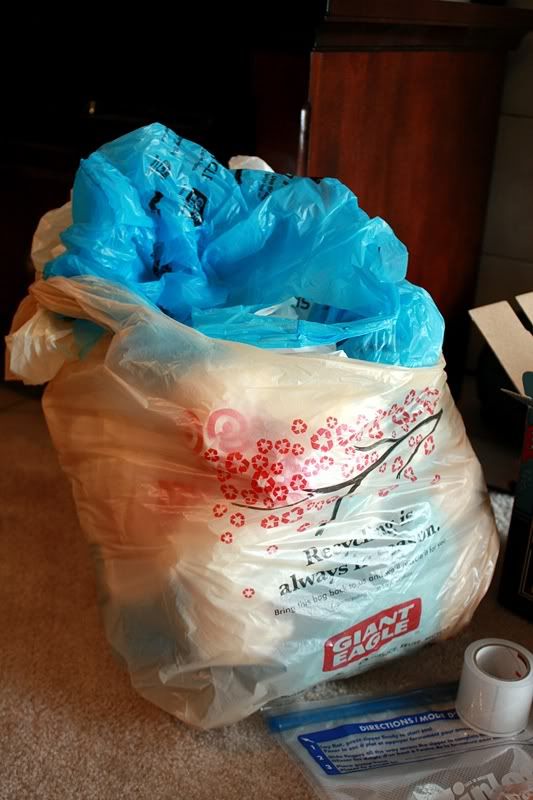
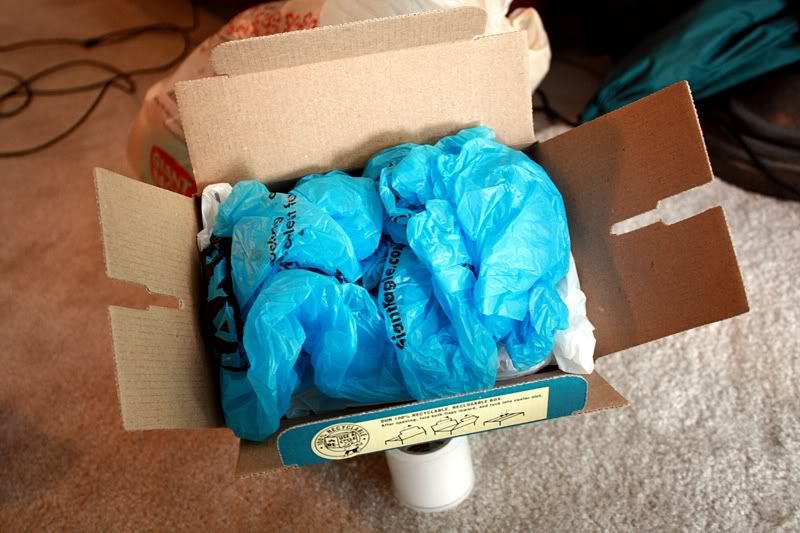
Grocery bags? Seriously? Yes! I have found that these guys are excellent at padding things. Not to mention the fact that they slowly take over the corner outside my kitchen. Yay for recycling!


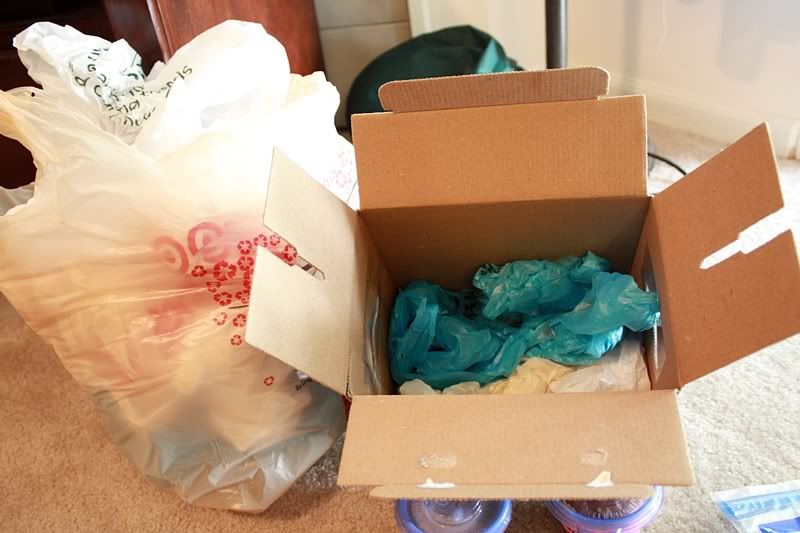
Line the bottom of your box with baggies. Make sure it's nice and squishy.


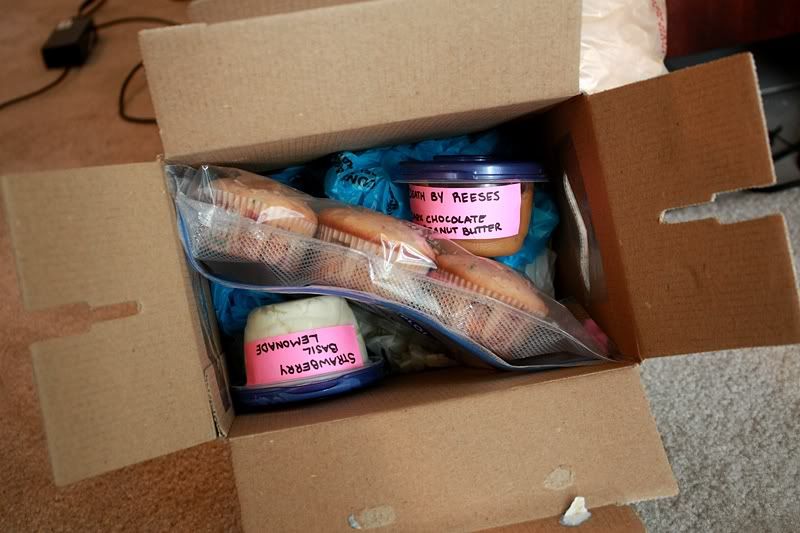
Place your cupcakes and frosting in the box...


and fill in the remaining space with your packaging material.


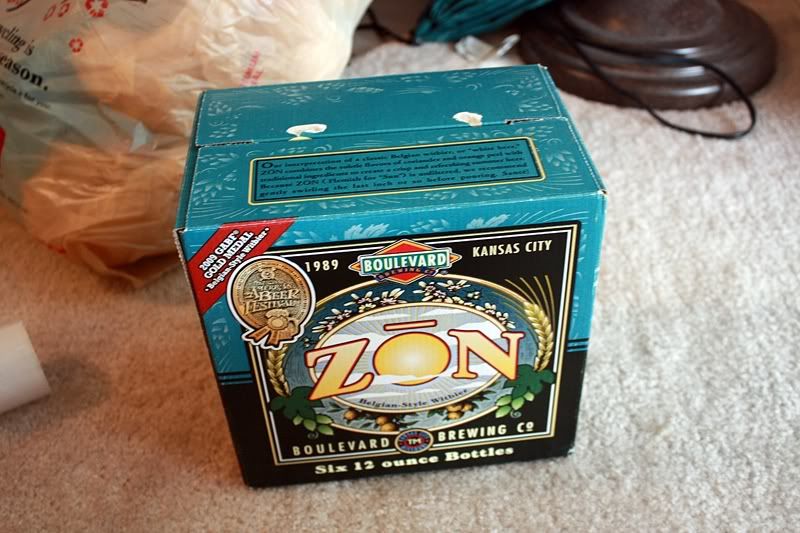
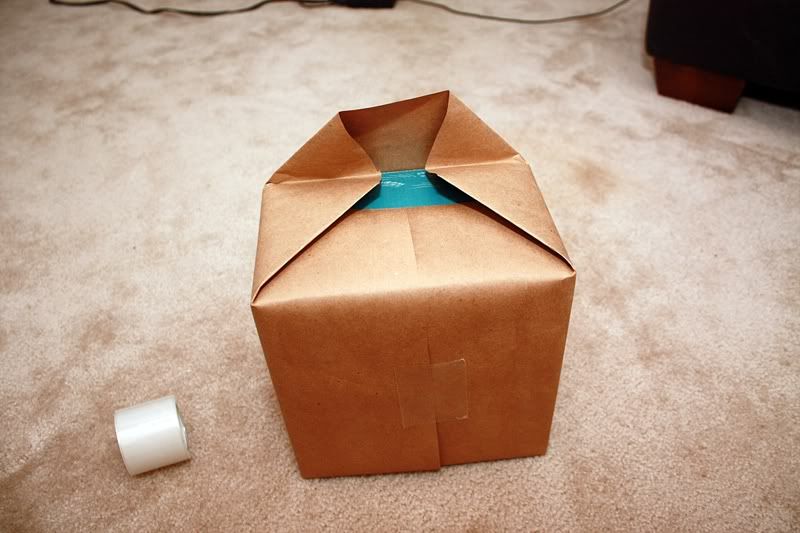
Seal it up and you're ready to go. Unless you have put your cupcakes in a bootlegged beer box. Then you need to wrap it.


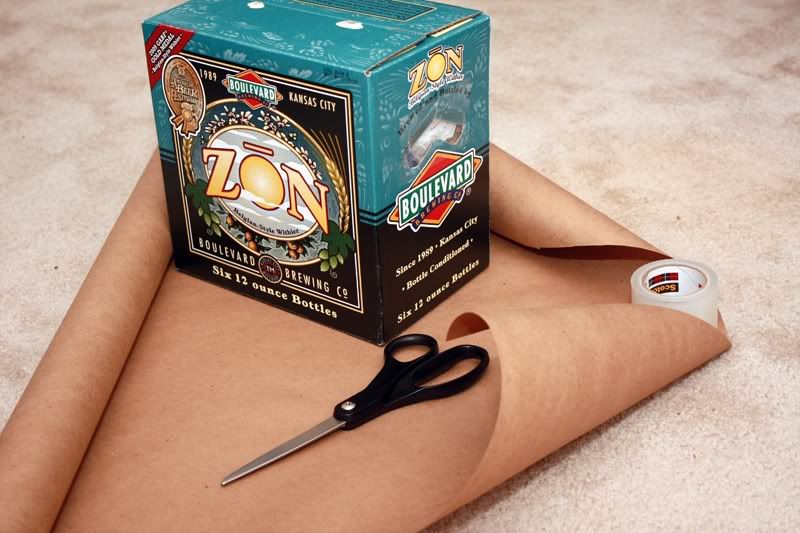
You need some brown paper, tape, and scissors.


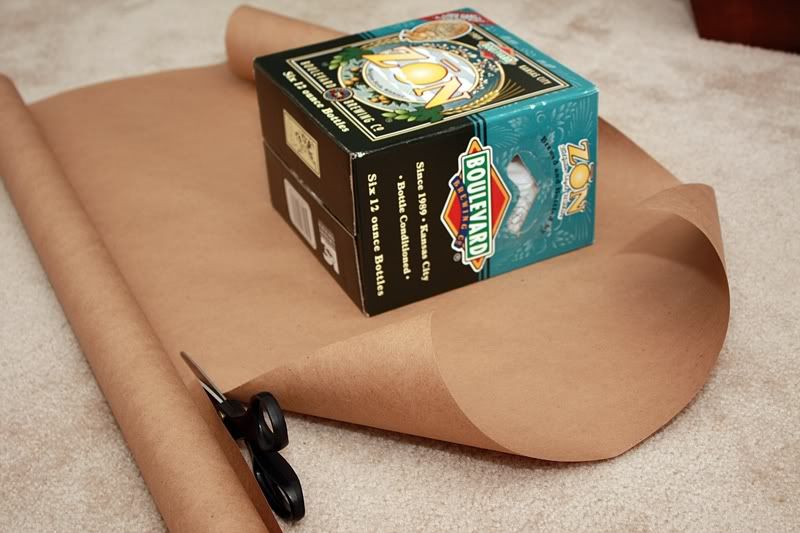
Cut the paper so it fits...


then wrap it up so it looks all pretty.


Ready to go! Almost.


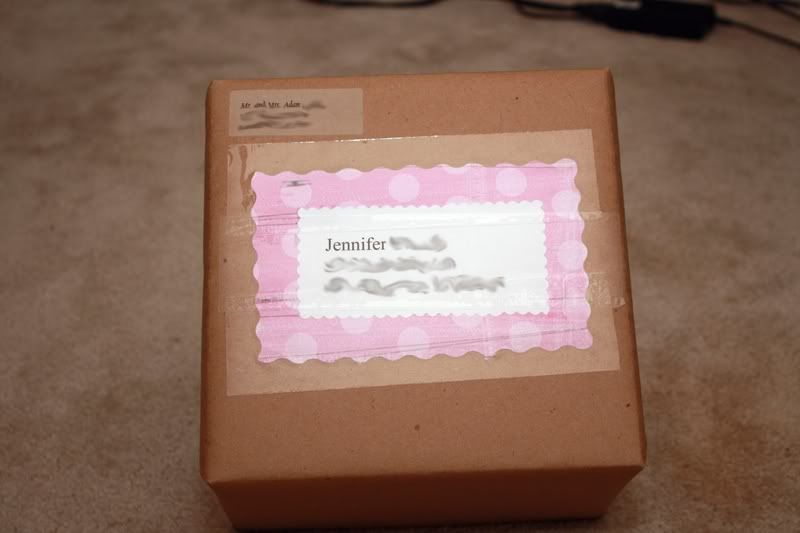
Affix your mailing address and then you're ready. Yes, I realize I have a problem with making my mailing labels all pretty. I figure if you're going through the trouble to send them a present, might as well make it look cute while you're at it. That way it's extra exciting to open.


Take it to the post office and mail it! $5.35 for 2-3 day priority mail. Not too bad. Keep in mind you don't want to be shipping anything that spoils easily, such as a cream cheese based frosting (no pistachio cupcakes for you!). That's an experiment for another day.


We'll see how this turns out... package is slated to arrive at my sister's house on Monday. Fingers crossed!

Saturday, August 28, 2010

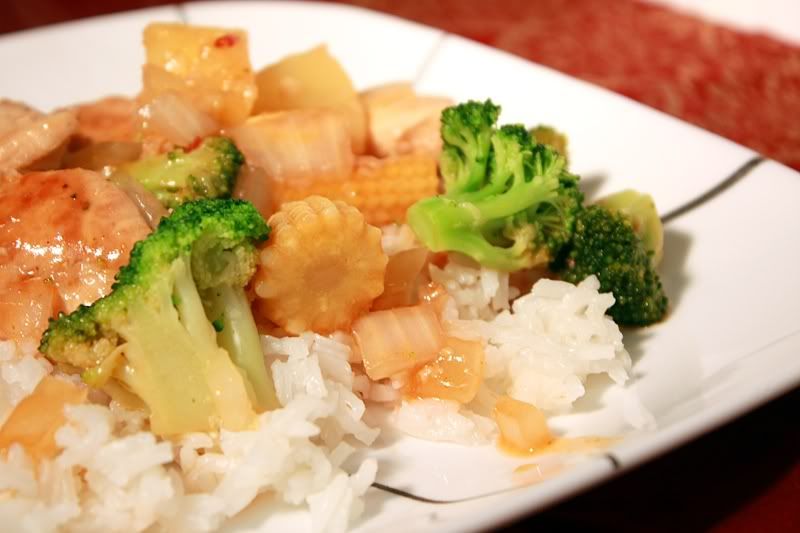
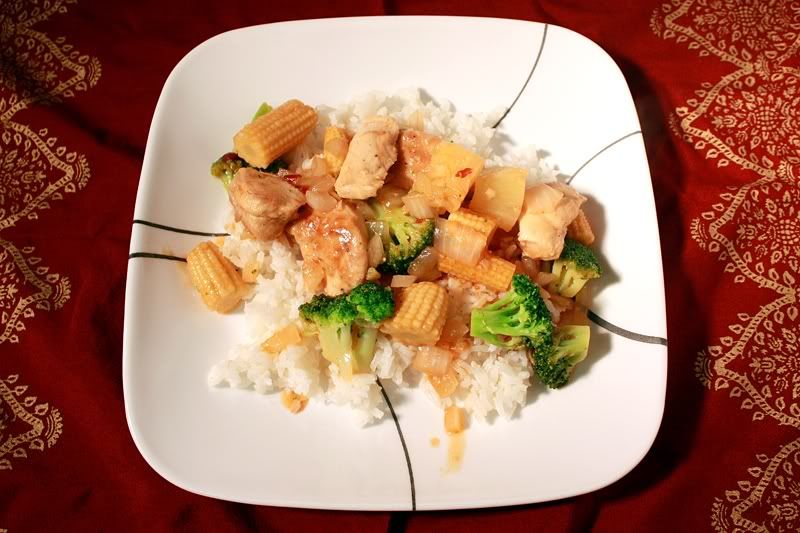
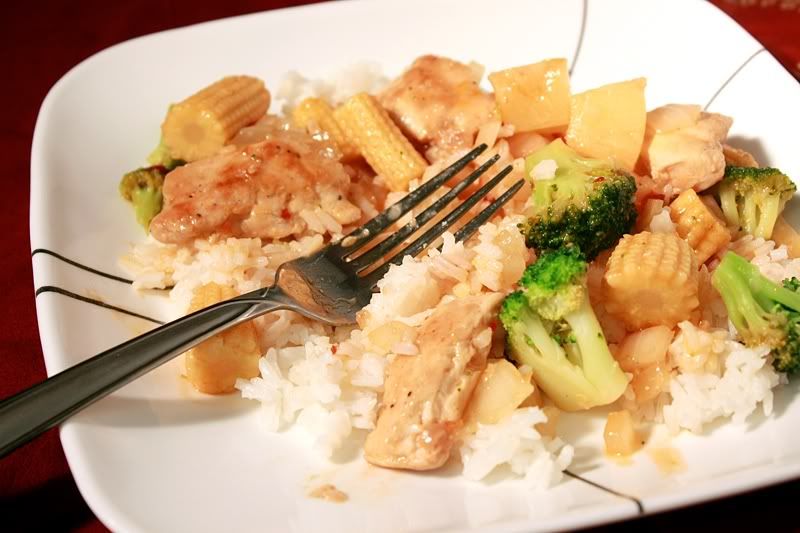
Spicy Sweet and Sour Chicken


I have a food rut problem at restaurants. And we're not just talking about Taco Bell here. It's lots of restaurants. Chick-Fil-A it's always the 8 count chicken nuggets with a fruit cup in place of the fries. Qdoba it's always a queso burrito -- hold the meat (I mean, seriously, why let something so trivial prevent me from taking down something so good?). Wendy's it's usually some form or other of a bacon cheeseburger. Like I said, I have rut issues. Especially when it comes to Asian restaurants. Mongolian beef, General Tsao's, or Kung Pao Chicken get placed in top rotation status (except if it's Thai, and then it's either Pad Thai or my all time favorite Pad Kee Mao).

I figured it might be time to branch out. In the safety of my own home, away from fatty chicken from who knows what part of the bird. So, we went for some Spicy Sweet and Sour Chicken. Not bad, but I think I'll keep searching before bumping one of my regulars from it's place in line.


Spicy Sweet and Sour Chicken
Adapted From: Cooking Light, January 2009


4 teaspoons cornstarch, divided
5 teaspoons soy sauce, divided
1/3 teaspoon ground ginger
1 teaspoon soy sauce
1 teaspoon sherry
1/8 teaspoon black pepper
2 garlic cloves, minced
1 pound skinless, boneless chicken breast, cut into 2 x 1/2–inch-thick pieces
1/2 cup fat-free, less-sodium chicken broth
1 tablespoon brown sugar
3 tablespoons ketchup
2 1/2 tablespoons rice vinegar
2 teaspoons chile paste
1 teaspoon sesame oil
1 tablespoon canola oil, divided
1 (15 ounce) can baby corn, cut
1/2 pound frozen broccoli
1 cup (1/2-inch) diced fresh pineapple

Combine 2 teaspoons cornstarch, 2 teaspoons low-sodium soy sauce, and next 5 ingredients (through garlic) in a medium bowl. Add chicken; stir well to coat. Set aside.

Combine chicken broth, remaining 2 teaspoons cornstarch, brown sugar, remaining 1 tablespoon low-sodium soy sauce, ketchup, vinegar, chile paste, and sesame oil.

Heat 1/2 teaspoon canola oil in a large skillet over medium-high heat. Add diced onion, bell peppers, and green onions to pan; sauté 4 minutes or until crisp-tender. Transfer to a bowl.

Heat remaining 2 1/2 teaspoons canola oil in pan. Add chicken mixture to pan, and spread in an even layer; cook, without stirring, 1 minute. Sauté an additional 3 minutes or until chicken is done.

Return vegetable mixture to pan. Add soy sauce mixture and pineapple, stirring well to combine. Bring to a boil; cook 1 minute or until thickened, stirring constantly. Serve over hot rice.

Serves: 8


Like I said, it was alright. Nothing really to write home about. Nothing that gets me all worked up and craving more (like a huge plate of Drunken Noodles from Green Mango).


Nutrition Facts - Rice Not Included
Amount per serving
Calories 164Calories from fat 39
% Daily Value
Total Fat 4.4g7%
Saturated Fat 0.6g3%
Trans Fat 0.0g
Cholesterol 33mg11%
Sodium 432mg18%
Total Carbs 19.0g6%
Dietary Fiber 2.6g10%
Sugars 6.6g
Protein 14.7g
Vitamin A 7%Vitamin C 66%
Calcium 2%Iron 4%

Thursday, August 26, 2010

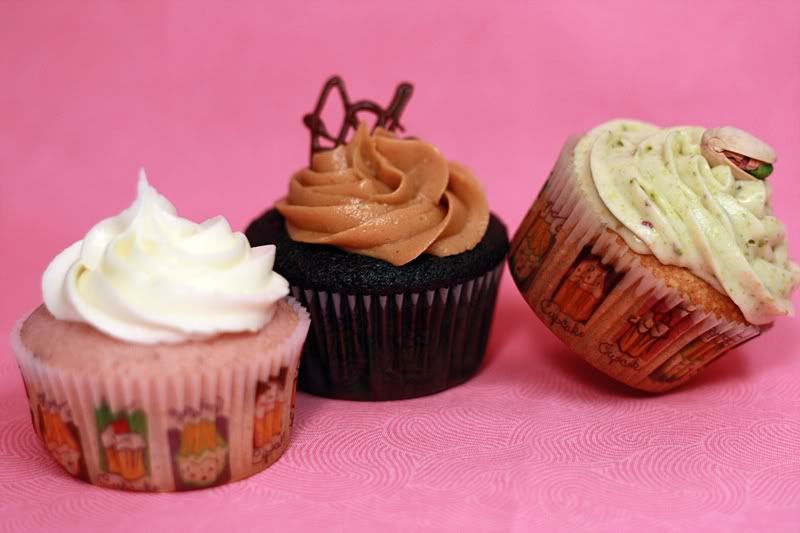
Larry, Curly, and Moe...


...better known as Strawberry Basil Lemonade Cupcakes, Dark Chocolate Cupcakes with Peanut Butter Frosting, and Pistachio! Pistachio! Cupcakes have been driving me crazy today. They have just worn me out. Thus, no new recipe today. Be on the lookout for posts on these guys in the very near future!

Wednesday, August 25, 2010

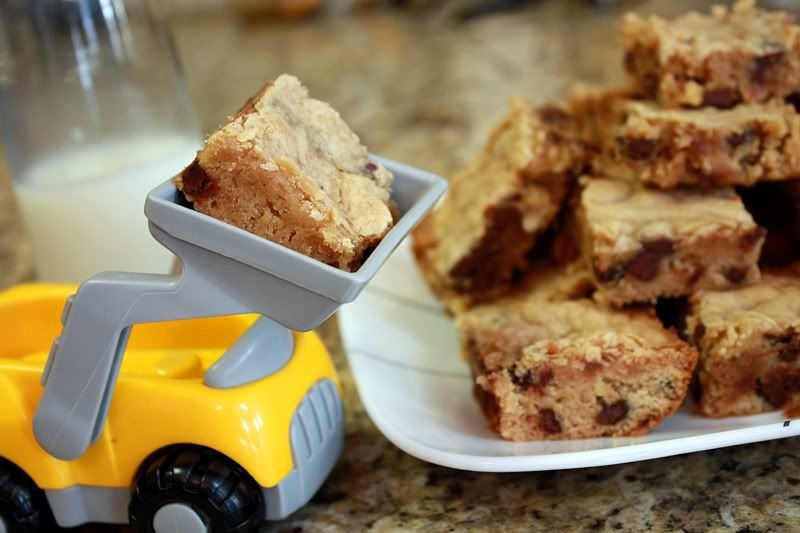
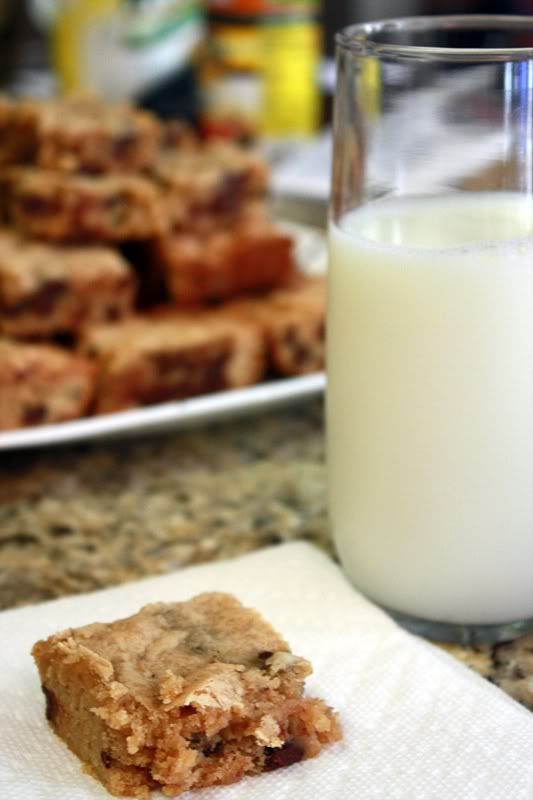
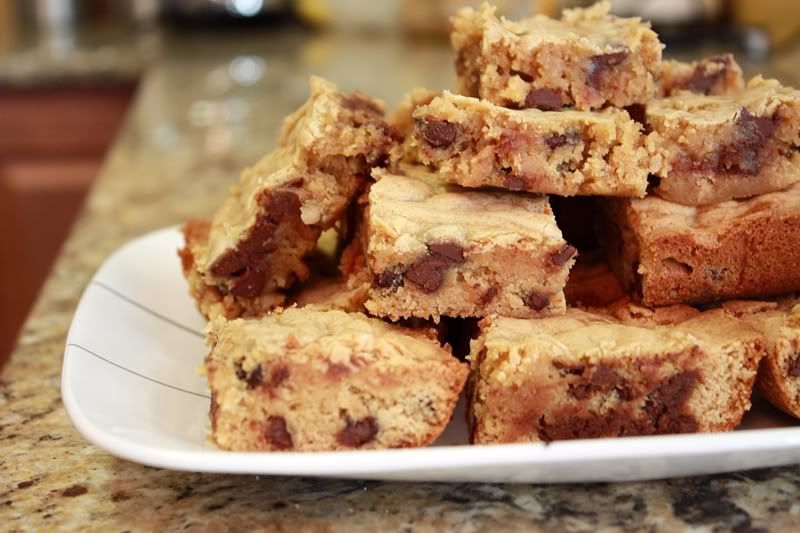
Blondies


It never fails. Adam and I have just made the 6 hour trip out to my sister's, enjoyed a great dinner, tucked Michael into bed, and are relaxing on the couch when my sister turns to me and says, "You know what I have a craving for? These blondies I saw on Bakerella's site awhile back. Ever since I saw them I've been craving them." I know what this means. I pull out the handy dandy laptop then head over to the fridge to pull out the butter so it can soften. I mean really, you just don't say "no" to a pregnant lady. (And we all know it's not like I really mind making something sweet.)

It took me a while to find the recipe for these, after all, I was looking for "blondies", not "congo bars". Congo bars? Where did that come from? After a quick search, I found that congo bars are basically blondies with coconut -- named so because of the exoticness of coconut (let's keep in mind this name came about several decades ago). Buuuut, seeing as no coconut is ever going to come near any of my baking anytime soon (sorry Dad), I can't in good faith call these congo bars. Blondies they are. And such delicious ones, too. I'm pretty sure a pound of brown sugar has something to do it...


Blondies, also known as Congo Bars
From: Bakerella


2 3/4 cup all purpose flour
2 1/2 teaspoons baking powder
1/2 teaspoon salt
2/3 cup butter, softened
1 pound light brown sugar
3 eggs
1 teaspoon vanilla
11.5 ounce package milk chocolate chips

By mixer:
Sift flour, baking powder and salt in a large bowl. Set aside.
Combine butter and sugar using a mixer until blended.
Add eggs, one at a time to sugar mixture, mixing on low in between each addition.
Add vanilla and mix.
Add flour and mix until combined.
Stir in chips and then pecans.

By hand:
Sift flour, baking powder and salt into a large bowl. Set aside.
Stir brown sugar into softened (not melted) butter in another large bowl until butter disappears. You can use the back of your spoon to help incorporate the two together.
Add eggs one at a time to butter mixture and stir well after each egg.
Add vanilla, chocolate chips and nuts. Mix well.
Add dry flour mixture and stir until well combined.

Coat a 13 X 9 pan with non-stick spray and spread batter evenly into dish.
Bake at 350 degrees for 30 minutes or until top is golden brown. If not finished in 30 minutes, cover with aluminum foil to prevent excessive browning. Bake until toothpick comes out clean.

Makes: 20 bars


Why the two methods for mixing? Well, according to Bakerella, the hand-stirred version of these bars turn out more cakey than those of the mixer persuasion. So take your pick -- more cakey versus more convenient. I don't really think either would be a losing situation. (We opted for the hand-stirred method, just in case you were wondering.)

We did have issues with the cooking time, and I think ours turned out slightly under-baked. Eh, it's not like we have issues eating cookie dough, so these were absolutely delicious. It's like eating only the center of chocolate chip cookies -- come on, you know the middle is always the best part. Fat and chewy with no crispy edges to ruin your experience. Now that's what I'm talking about.


Nutrition Facts
Amount per serving
Calories 288Calories from fat 85
% Daily Value
Total Fat 9.5g15%
Saturated Fat 4.7g24%
Cholesterol 44mg15%
Sodium 180mg7%
Total Carbs 47.7g16%
Dietary Fiber 1.1g4%
Sugars 22.1g
Protein 3.7g
Vitamin A 4%Vitamin C 0%
Calcium 6%Iron 9%

Tuesday, August 24, 2010

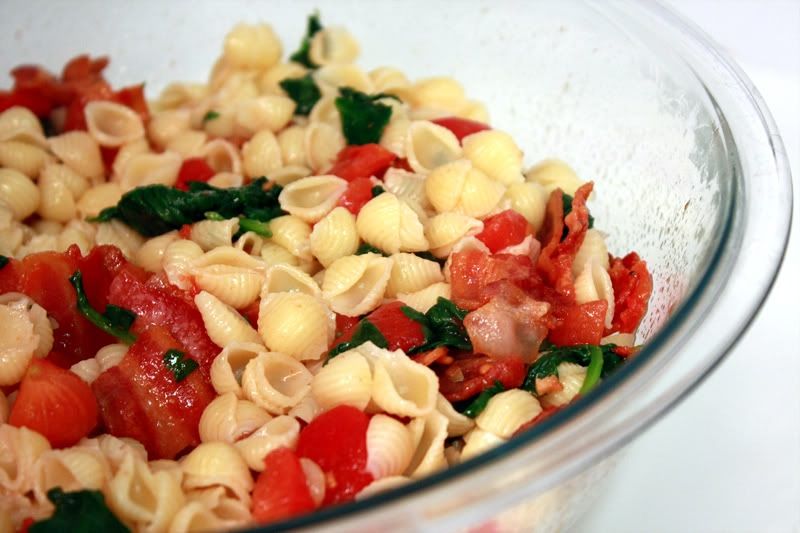
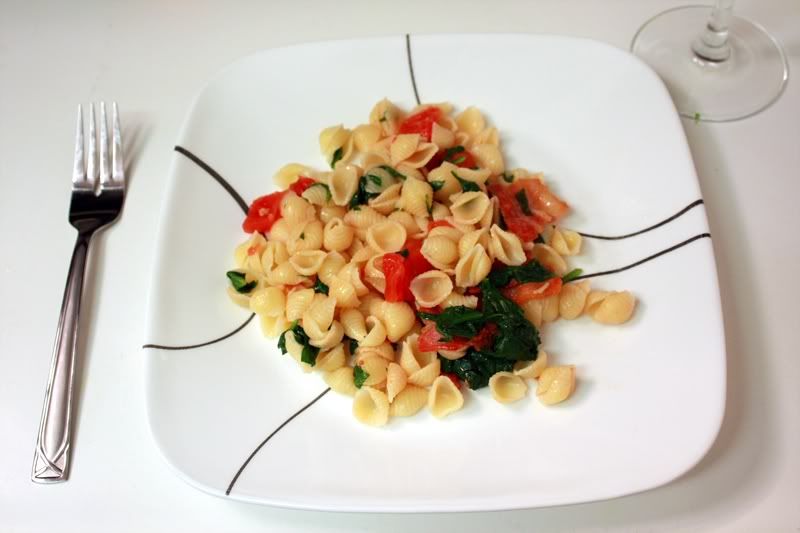
Pasta with Spinach and Bacon


I love meals that bring everything you're looking for together in one place. I am notorious for not making any side dishes to go with my meals. Unless my main entrée is just a piece of meat, but then it's usually just some bagged salad to keep the plate from looking so sad. I don't know why I don't plan sides -- probably because I become too lazy at that point in time during my meal planning. I consider it a job well done just to figure out the main courses and call it good. Then again, I just had my veggie rant the other day, so it's not too much of an imaginative leap to go figure why I shy away from side dishes.

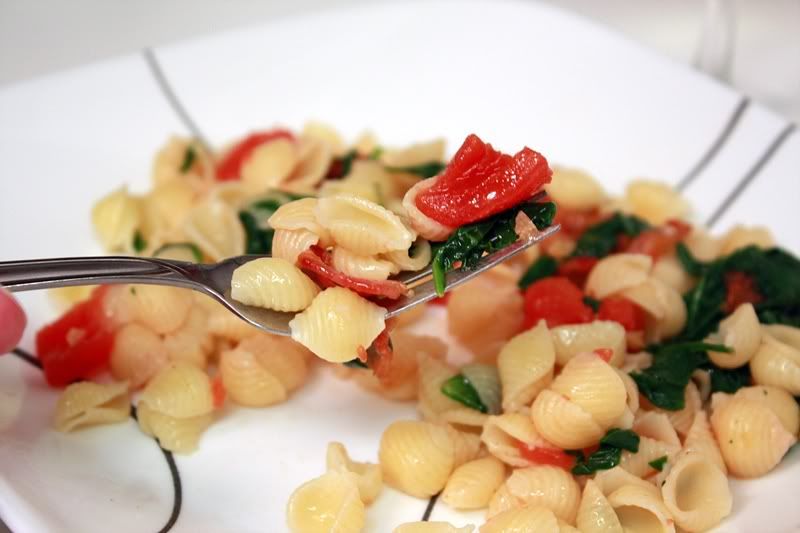
That's why I love what I call my "all in one" meals. Take this recipe for example. It has pasta, meat, and vegetables. Why do you need a side? You don't! Well at least in my book anyways. Yeah... maybe I should work on that.


Pasta with Spinach and Bacon
Adapted from: Allrecipes.com


12 ounces medium-sized pasta
6 slices bacon, chopped
2 tablespoons minced garlic
1 (14.5 ounce) can diced tomatoes, drained, juices reserved
3 cups fresh spinach, rinsed and cut into bite-size pieces

Bring a large pot of lightly salted water to a boil. Add the pasta, and cook following package directions.

Meanwhile, place bacon in a large skillet over medium heat. Cook until done - browned but still slightly chewy. Add garlic, and cook for about 1 minute. Stir in the tomatoes, and cook until heated through.

Place the spinach into a colander, and drain the hot pasta over it so it is wilted. Transfer to a large serving bowl and toss with the bacon, tomato mixture, and about 1/2 of reserved tomato juice.

Note: If for some reason your bacon drippings and tomato juice does not coat your pasta enough, add 1 - 2 tablespoons of olive oil.

Serves: 4


Adam and I both really liked this dish. I switched up a couple things from the original recipe (um, why do you need oil to cook bacon in???), and I thought it turned out great. It is super easy to throw together, and takes under 30 minutes to do so. And better yet, my favorite ingredient gets to be the star: bacon! So of course, what's not to love about it?


Nutrition Facts
Amount per serving
Calories 505Calories from fat 180
% Daily Value
Total Fat 20.0g31%
Saturated Fat 6.2g31%
Trans Fat 0.0g
Cholesterol 109mg36%
Sodium 1028mg43%
Total Carbs 53.4g18%
Dietary Fiber 1.8g7%
Sugars 16.5g
Protein 27.2g
Vitamin A 60%Vitamin C 34%
Calcium 6%Iron 25%