Thursday, June 18, 2009

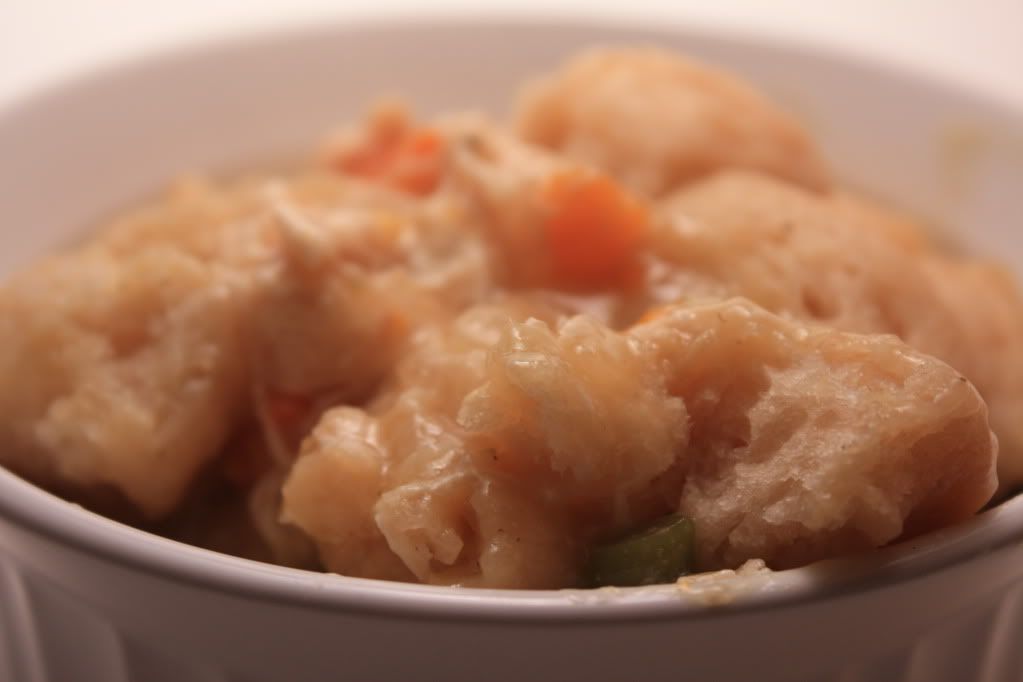
Slow Cooker Chicken & Dumplings


Ever crave those warm homemade meals that just stick to your ribs? I typically have those days when it's rainy out. All I want is something warm, delicious, and absolutely satisfying.

Well, I wish I had made this yesterday. I'm pretty sure me and my little car almost floated away on the drive home... Instead, the hubs and I settled on pizza instead -- I felt so sorry for that poor delivery guy.

BUT, if you happen to wake up one morning and it's just one of those crappy days out... I would highly recommend this.
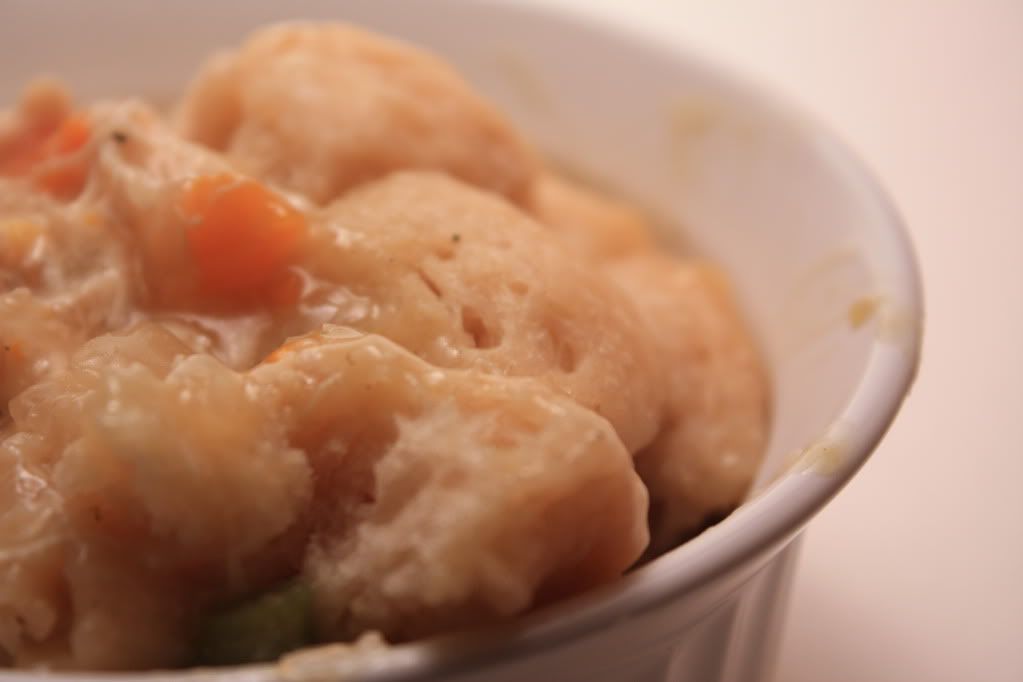


Slow Cooker Chicken & Dumplings
From: Online Source


2 cans cream of chicken soup
1 can chicken broth
4 boneless/skinless chicken breast halves
2 Tbs butter
1 onion, chopped
1 can refrigerated biscuit dough
Half a bag of frozen mixed veggies
Poultry seasoning, celery salt, black pepper to taste

Mix soup, broth, onion, veggies, butter and spices in the slow cooker. Submerge the chicken breasts in the liquid.

Cook on high 5-6 hours, or low 7-8 hours. Remove chicken and shred, stir back into mixture. **Optional: If mixture is still fairly runny, mix 1 tbsp of corn startch with half a cup of water and stir it in crockpot.

Cut or tear biscuit dough into small pieces, and add to crock pot, pushing down into the liquid. Cover, and cook on high 2 hours.
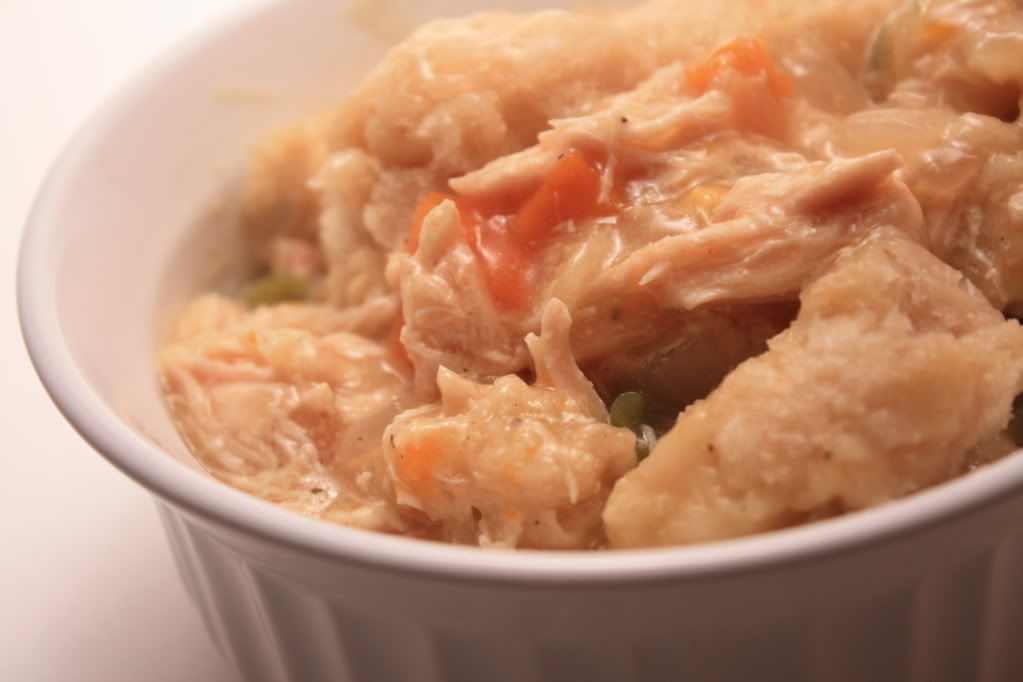


As I said before, this really hit the spot, and it a very versatile recipe so there's lots of room to play around with.


Nutrition Facts
Amount per serving
Calories 456Calories from fat 196
% Daily Value
Total Fat 21.8g34%
Saturated Fat 5.8g29%
Cholesterol 65mg22%
Sodium 1373mg57%
Total Carbs 40.3g13%
Dietary Fiber 2.3g9%
Sugars 4.1g
Protein 24.0g
Vitamin A 29%Vitamin C 3%
Calcium 6%Iron 22%

Wednesday, June 17, 2009

Paula Deen Brownies


I came across the recipe for these delicious brownies on that infamous message board I frequent. If you can call this a recipe.

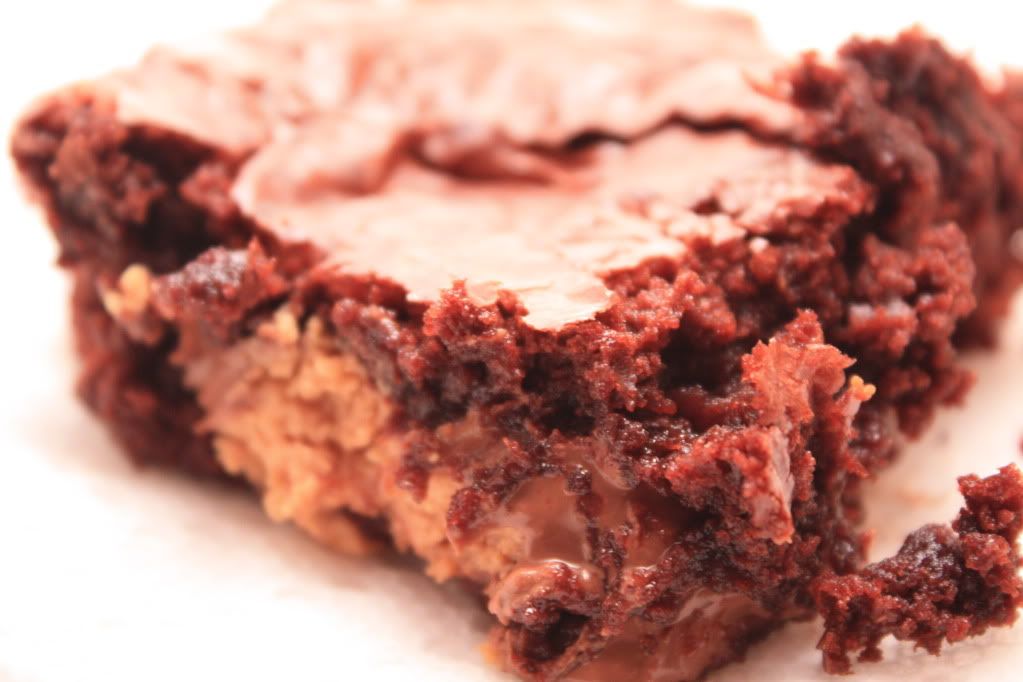
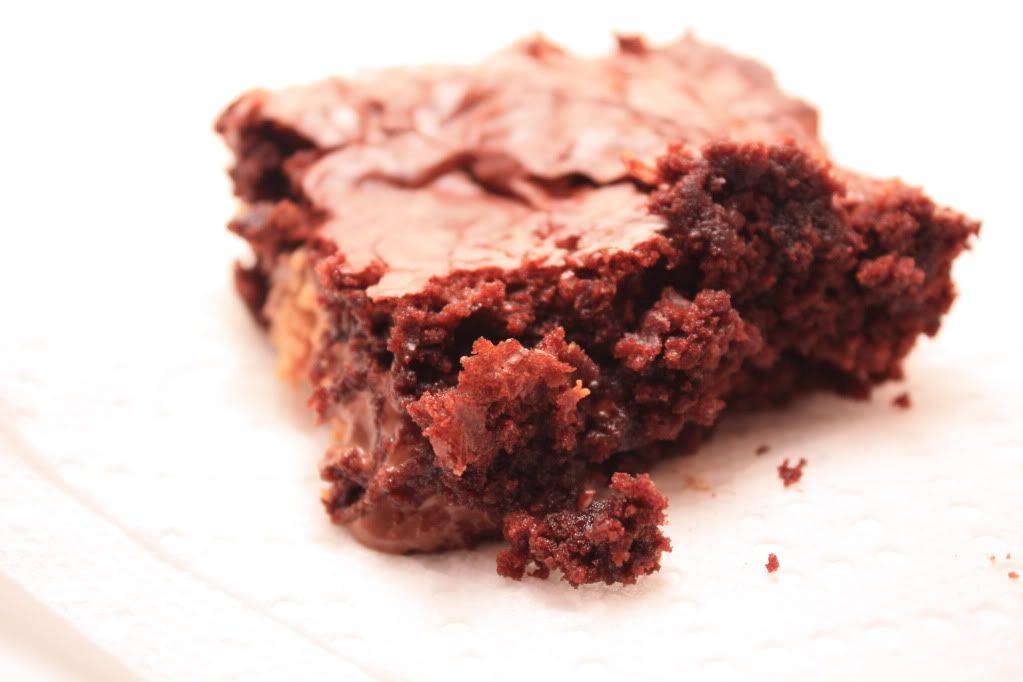
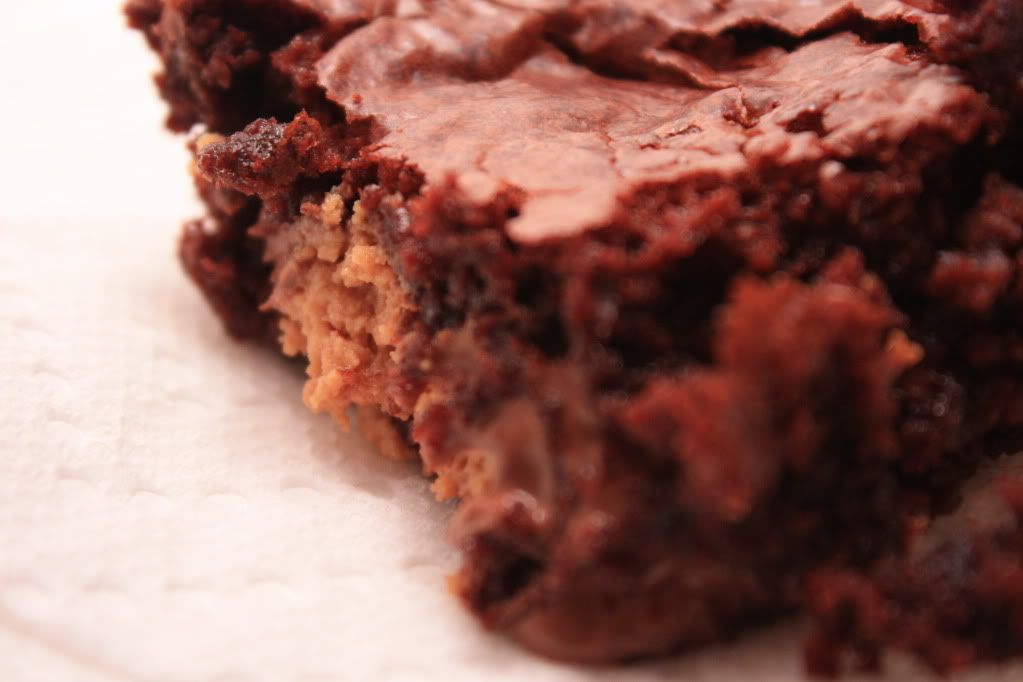
Essentially, whip a brownie batter mix (I heart Betty Crocker), pour half in a 9x13 pan, layer on any type of chocolate based candy (I used Reese's, but you could use Hershey's, Symphony, Crunch, Heath... you name it, it would probably work), cover with the other half of the batter, bake, and ta-da! Super yummy brownies!


The actual "recipe" from Paula Deen:

Toffee Candy Bar Brownies
Adapted From: Paula Deen


1 (17.6-ounce) package brownie mix
Vegetable oil cooking spray
12 regular sized Reese's peanut butter cups (or other candy bar)

Prepare the brownie mix according to package directions.

Line a 13 by 9-inch cake pan with aluminum foil and spray with vegetable oil cooking spray. Spoon in half of the brownie batter and smooth with a spatula or the back of a spoon. Place the candy bars side by side on top of the batter. Cover with the remaining batter.

Bake according to package directions. Let cool completely, then lift from the pan using the edges of the foil. This makes it easy to cut the brownies into squares.


Yummy.

I actually kind of like these brownies better after they have cooled off a bit (not straight out of the oven like usual). *GASP* I know. BUT I think it was just the Reese's. Definitely better not hot.

The only little glitch I ran into was that the brownies underneath the Reese's cups got a little hard. Hmmm. Maybe it had to do with me not using the foil? Maybe I should make these again to find out...


Nutrition Facts
Amount per serving
Calories 224Calories from fat 97
% Daily Value
Total Fat 11.0g17%
Saturated Fat 2.6g13%
Trans Fat 0.0g
Cholesterol 19.5mg7%
Sodium 139mg6%
Total Carbs 17.4g6%
Dietary Fiber 1.5g6%
Sugars 21.4g
Protein 2.9g

Monday, June 15, 2009

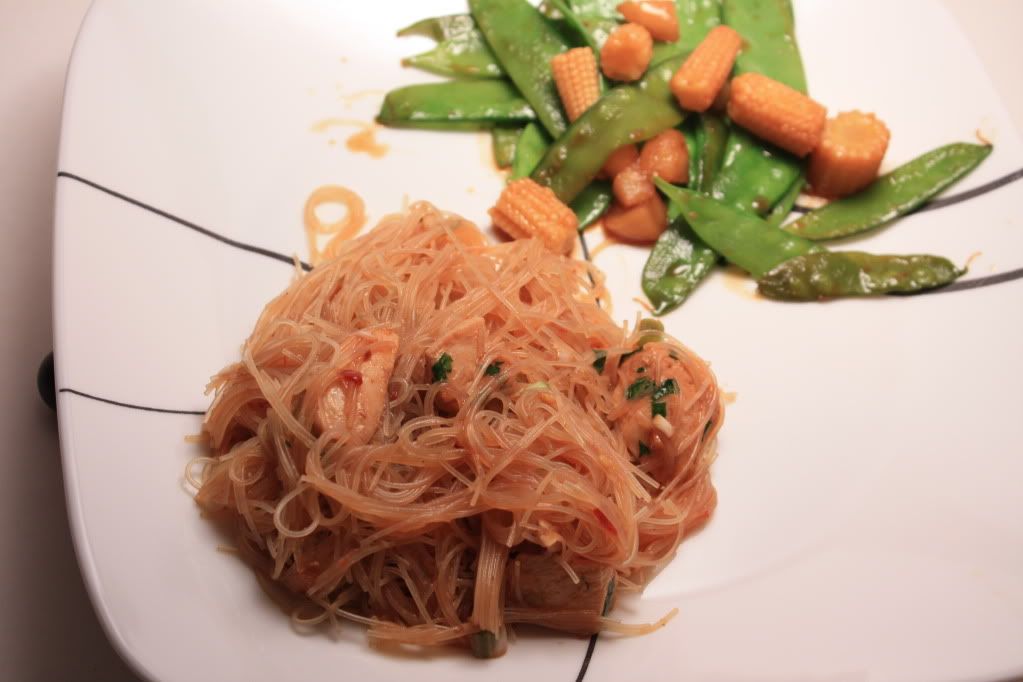
Spicy Asian Noodles with Chicken


Over the last couple weeks I have had an on-again-off-again relationship with Asian cuisine. There are some days I craved it, but just didn't have the right recipe, and then there were other days that Asian food was the last thing on my list of things I was in the mood for.

I got lucky at the beginning of the month and my craving and having the right recipe coincided. I still have a few untried Asian recipes sitting around, but this one looked like it would do the trick.


Spicy Asian Noodles with Chicken
From: Cooking Light, March 2009


1 tablespoon dark sesame oil, divided
1 tablespoon grated peeled fresh ginger
2 garlic cloves, minced
2 (4 ounce) chopped skinless, boneless chicken breasts (roasted, cooked, etc.)
1/2 cup chopped green onions
1/4 cup chopped fresh cilantro
3 tablespoons soy sauce
2 tablespoons rice vinegar
2 tablespoons hoisin sauce
2 teaspoons sambal oelek (ground fresh chile paste)
1 (6.75-ounce) package thin rice sticks (rice-flour noodles)
2 tablespoons chopped dry-roasted peanuts (oops, forgot these)

Heat 2 teaspoons oil in a small skillet over medium-high heat. Add ginger and garlic to pan; cook 45 seconds, stirring constantly. Place in a large bowl. Stir in remaining 1 teaspoon oil, chicken, and next 6 ingredients (through sambal).

Cook noodles according to package directions. Drain and rinse under cold water; drain. Cut noodles into smaller pieces. Add noodles to bowl; toss well to coat. Sprinkle with peanuts.

Serves: 4


Well, I'm not sure if they completely hit the spot. But they were definitely NOT kidding when they labeled it "Spicy". Even Adam (who loves him some hot hot wings) had to stop a few times. I was proud of myself though -- I actually cooked these noodles correctly. Me and chinese-type noodles don't really go together so well. It typically ends up in a sticky mushy ball.

I give it a "B" -- mostly because the spiciness caused us to put it down a few times. (Maybe I just need a lighter hand when making things...)


As a side, I made a quick stir fry with just snow peas, baby corn, and water chestnuts. But those Sichuan Green Beans would go pretty good with this too (if you can handle all that heat).


Nutrition Facts
Amount per serving
Calories 204Calories from fat 67
% Daily Value
Total Fat 7.4g11%
Saturated Fat 1.1g6%
Cholesterol 33mg11%
Sodium 926mg39%
Total Carbs 19.6g7%
Dietary Fiber 1.8g7%
Sugars 3.0g
Protein 14.8 g
Vitamin A 4%Vitamin C 7%
Calcium 3%Iron 6%

Saturday, June 13, 2009

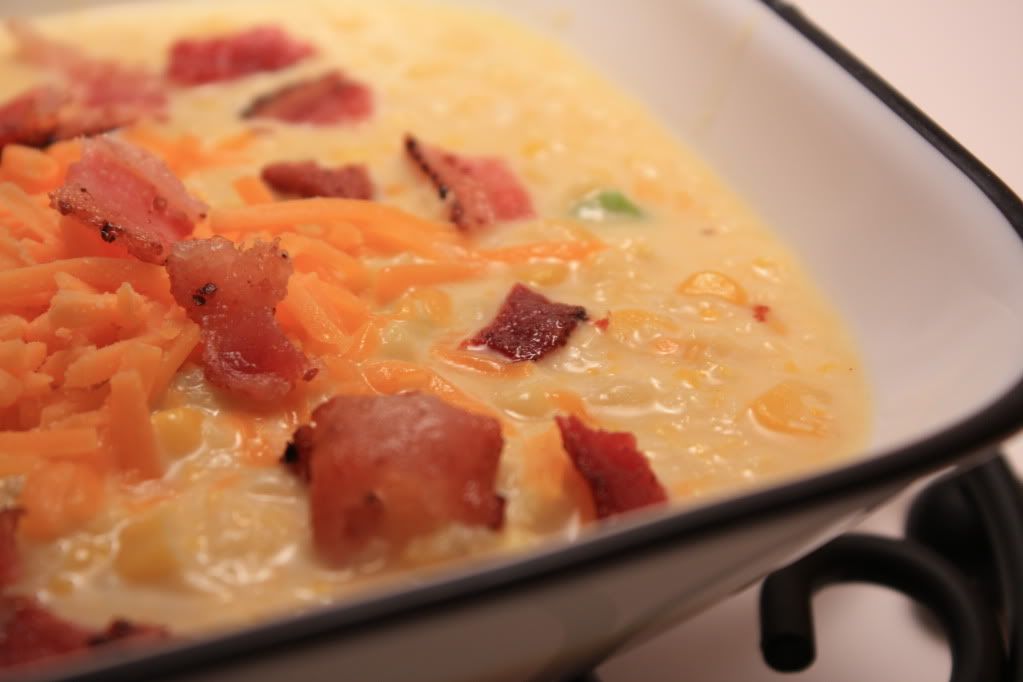
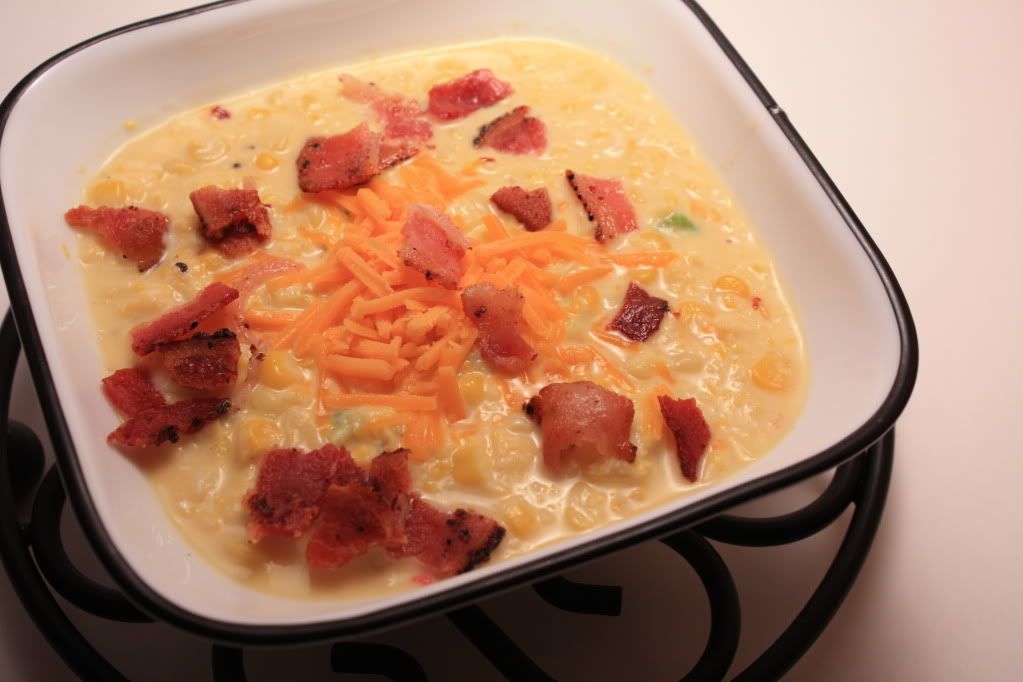
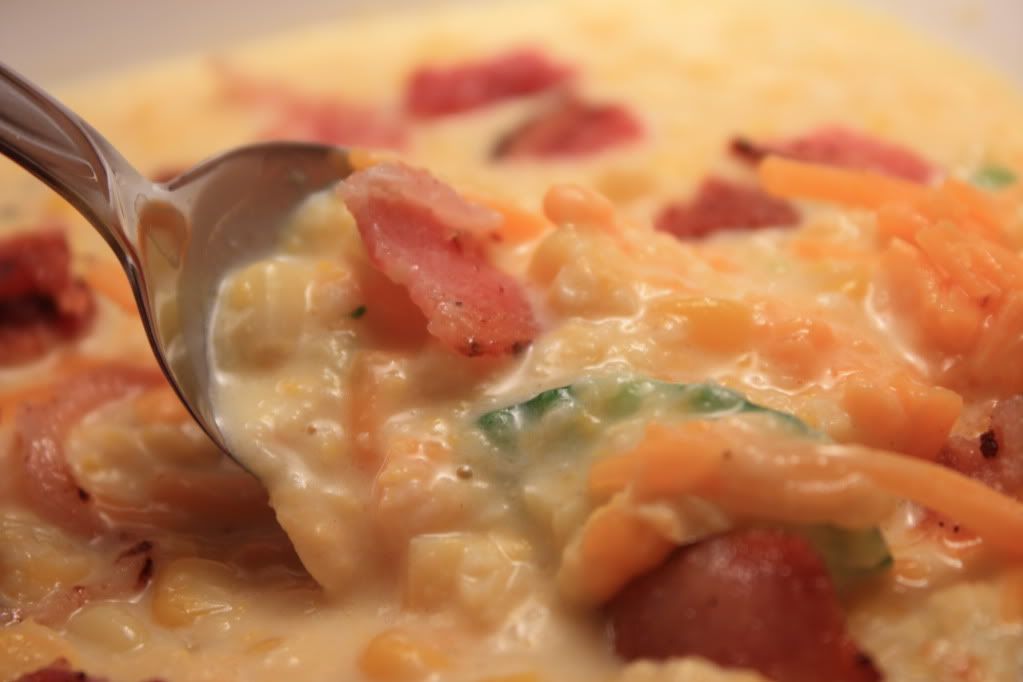
Corn and Bacon Chowder


I consider myself a fairly lucky newbie cook -- my taste-testing hubby likes pretty much anything and everything and doesn't really complain about what I feed him. I actually haven't recieved the "where's the meat?" comment in a while, which is surprising. (Although I have tried to be good about including meat in the meals and throwing in some steak/red meat every once in a while.)

Every once in a while though, I can tell when I've missed the mark. This corn chowder ended up being in that category. Now, before you blow this recipe off, I happened to enjoy it. And well, he did too, his excuse happened to be that he doesn't really care for corn chowders because they get too sweet after a while. And I forgot to give him any type of bread with it. (So demanding!) So if you're a fan, I'd give it a go, seeing as it's out of Cooking Light's Fresh Food Fast so it's easy and fast to throw together.


Corn and Bacon Chowder

From: Fresh Food Fast, 2009


2 bacon slices
1/2 cup refrigerated prechopped celery, onion, and bell pepper mix
2 (16-ounce) packages frozen baby gold and white corn, thawed and divided
2 cups 2% milk, divided
1/2 teaspoon salt
1/4 teaspoon freshly ground black pepper
3/4 cup (3 ounces) reduced-fat shredded extra-sharp cheddar cheese
Freshly ground black pepper (optional)

Cook bacon in a Dutch oven over medium heat until crisp. Remove bacon from pan; crumble and set aside. Add celery mixture and 1 package corn to drippings in pan; sauté 5 minutes or until vegetables are tender.

Place remaining 1 package corn and 1 cup milk in a blender, and process until smooth. Add pureed mixture to vegetables in pan; stir in remaining 1 cup milk, salt, black pepper, and cheese. Cook over medium heat (do not boil), stirring constantly, until cheese melts. Ladle chowder into bowls. Top each serving evenly with reserved crumbled bacon. Sprinkle with additional black pepper, if desired.

Serves: 6


Overall, it was pretty good. I added in more bacon than the recipe originally called for, and next time, I'd probably add even more. Bacon always makes everything better. :)

The recipe calls for a "prechopped celery, onion, and bell pepper mix", which I'm pretty sure means that you prepare it ahead of time. Because I looked all over that dang grocery store and I couldn't find it. Since I didn't feel like making the mix at that point, I opted for a mix that had red peppers, onions, corn, and maybe peas in it. Or something like that. It worked. I'm pretty sure that this recipe is flexible when it comes to adding the veggies, so just throw in some of your favorites.


Nutrition Facts
Amount per serving
Calories 289Calories from fat 108
% Daily Value
Total Fat 12.0g19%
Saturated Fat 5.6g28%
Trans Fat 0.0g
Cholesterol 32mg11%
Sodium 561mg23%
Total Carbs 34.9g12%
Dietary Fiber 4.8g19%
Sugars 9.5g
Protein 15.0g
Vitamin A 25%Vitamin C 18%
Calcium 21%Iron 7%

Wednesday, June 3, 2009

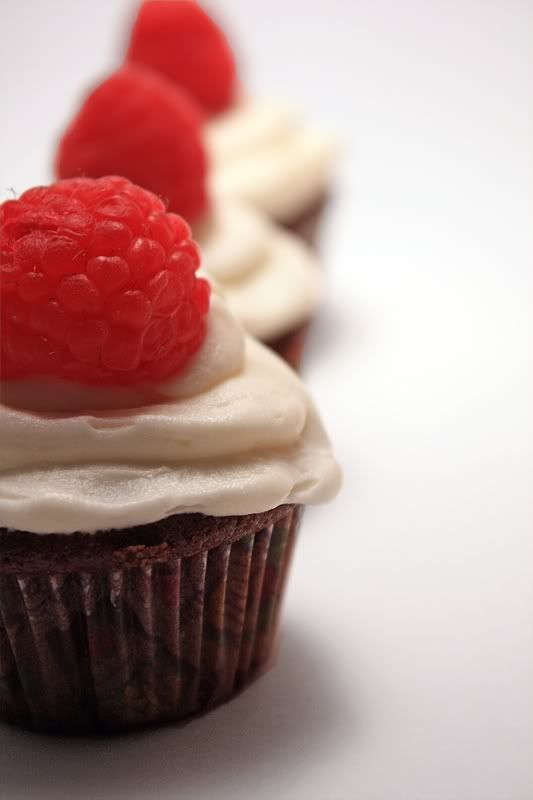
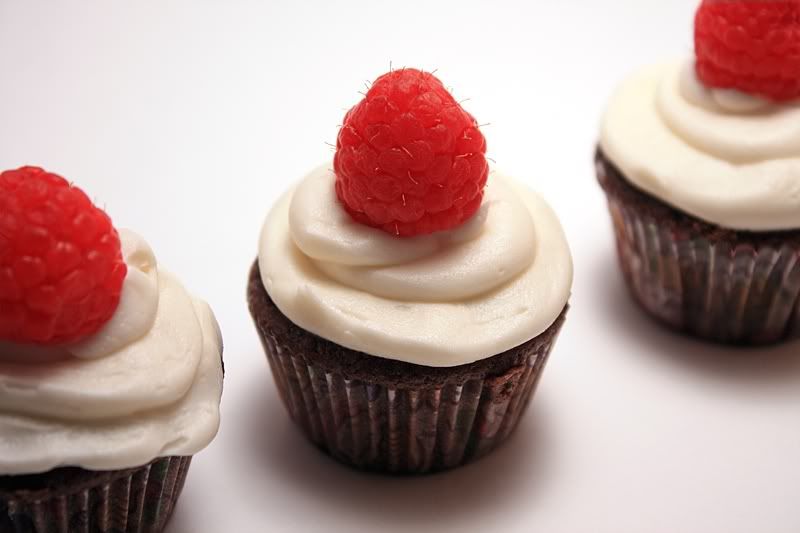
Chocolate Cupcakes with Raspberry Mascarpone Filling


Apparently, Adam's work is much like elementary school -- you have a birthday, you bring in goodies for everyone else. That's all good and well until he volunteers me to do the baking and he told everyone he was bringing them in on the Tuesday after Memorial Day. Oh wait, somebody forgot we were coming back from Toronto on Monday... yeah, made for a bit of a long day, but it was definitely worth it.

I'm not exactly sure how I got the idea for these stuck in my head, but I was very insistent on making these (the thought came to me the week before and it was so very hard to hold out and make the cake instead).


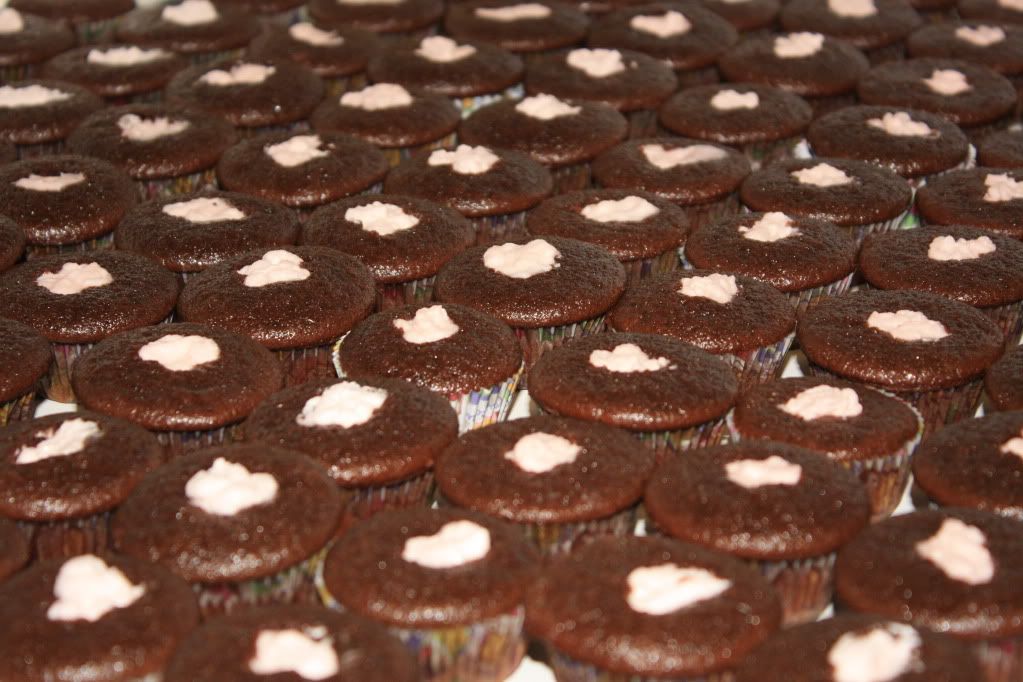
I actually went back and used a chocolate cake recipe I had made before and also a buttercream recipe I had tried at the same time. I unfortunately forgot how much cake the recipe made, so I ended up with lots, and lots, and LOTS of cupcakes.

I opted to go for mini cupcakes instead of regular ones, seeing as they're easier to eat in a workplace setting. Ah, who am I kidding? I just make them smaller so I don't feel bad when I eat more of them.
Chocolate Cupcakes with Raspberry Mascarpone Filling

For the cupcakes:
Sandy's Chocolate Cake from Allrecipes.com

For the buttercream: (I needed two batches)
Butter Cream Icing from Allrecipes.com
Using the adjustments I made the first time around.

Raspberry Mascarpone Filling
From: Original Recipe

4 oz. mascarpone cheese
4 oz. or 1/2 cup heavy cream
1/8-1/4 c. sugar
1 tablespoon + 1 teaspoon Raspberry Liquor

In a small bowl, mix together the cream and sugar until it has a thick whipped consistency. (I only used about 1/8 c. of sugar as I didn't want the center to be super sweet, as the buttercream was already pretty sweet, though you could add more if desired.) Add the cheese and liquor and mix until all ingredients are combined. It will have a fairly thick consistency.

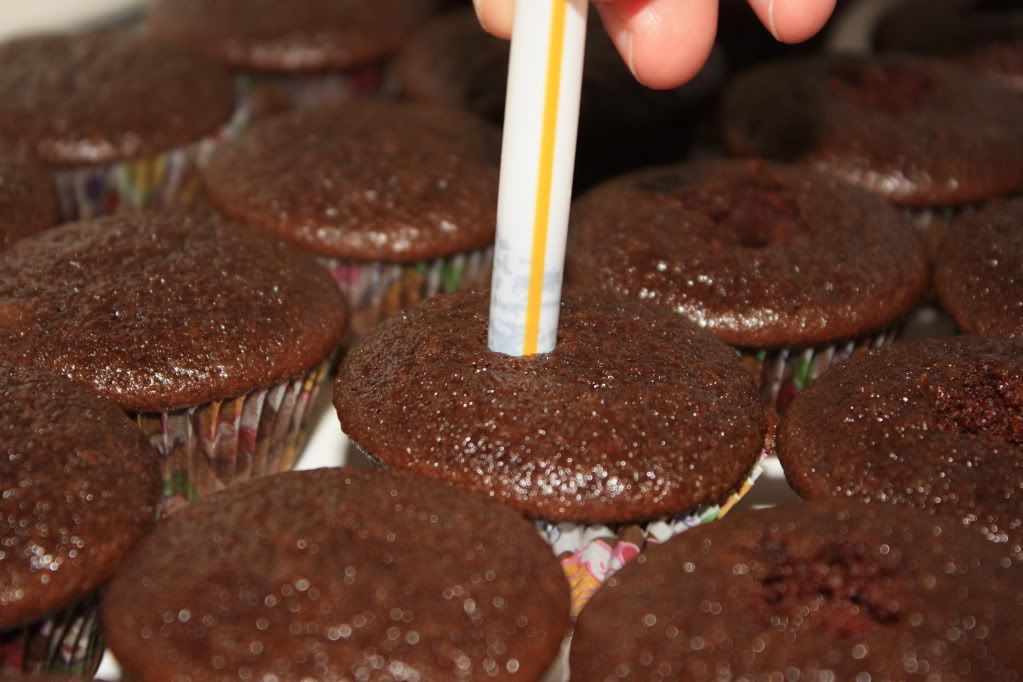
If making mini cupcakes, using a straw, poke holes into the center of each cupcake in a "X" type fashion. Remove the center. (An apple corer would be a good utensil to use for regular-sized cupcakes.)


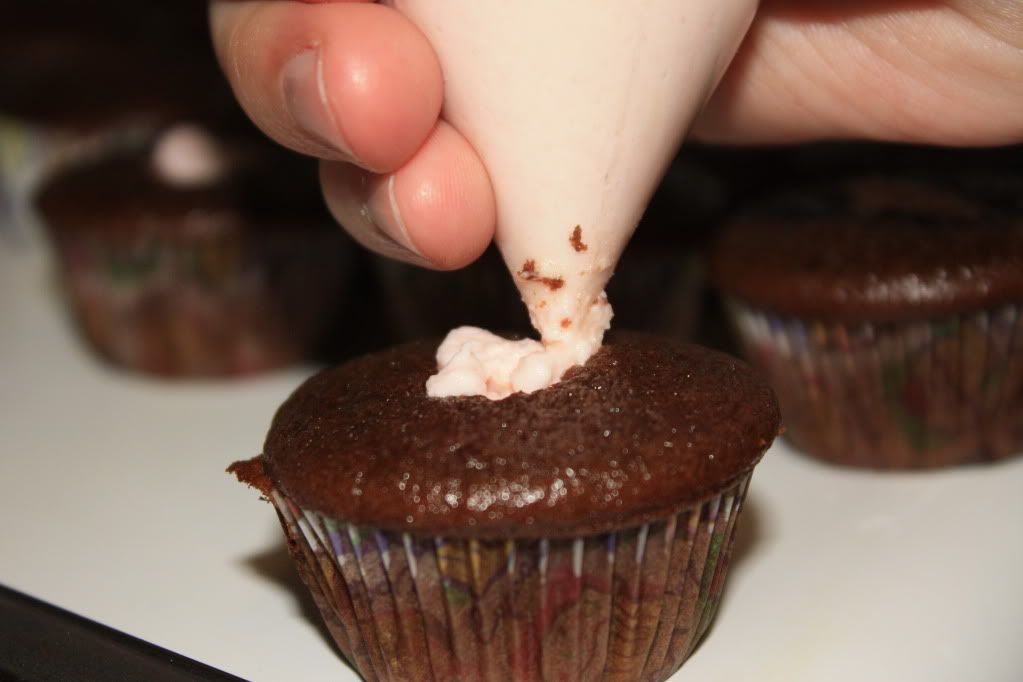
Fill a small sandwich-sized ziploc bag (or a pastry bag if you have one) about halfway full of the raspberry mascarpone filling. Snip of a small corner of the bag. Place the tip of the bag into the bottom of the hole you made in the cupcake and start filling from the bottom up. Stop when the filling is even with the top. (Starting at the bottom will help prevent air pockets, which will cause the filling to sink it settles.) Repeat with all the cupcakes.

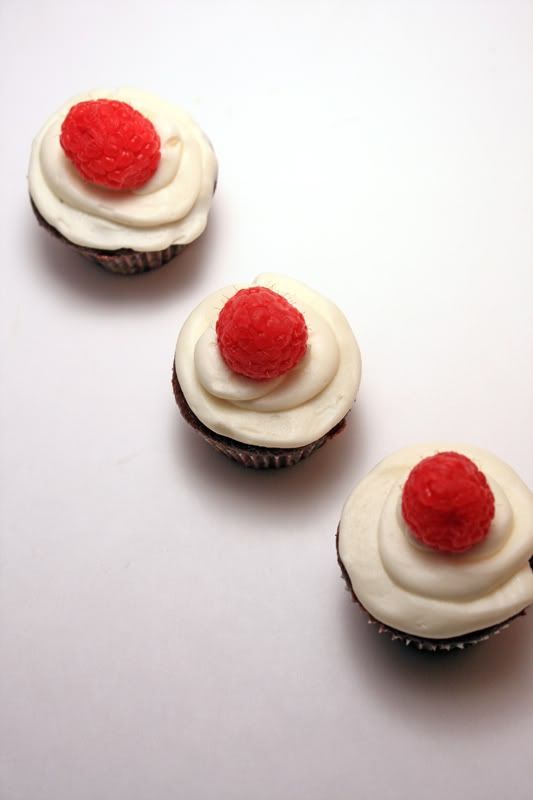
Frost with the buttercream and top with a raspberry!

Makes: about 100 mini-cupcakes (or 36 regular cupcakes)


Overall, these turned out pretty darn good. Though there are a couple things I would change for next time:

1) Make the hollow in the center of the cupcake bigger -- I didn't get a strong raspberry or mascarpone flavor at all.

2) Maybe try using raspberry preserves instead of the liquor, just to see what the flavor difference is.

The best thing of all, the tiny cupcakes are super cute, so how can you resist them?


Nutrition Facts - Mini Cupcakes
Amount per serving
Calories 98Calories from fat 47
% Daily Value
Total Fat 5.2g8%
Saturated Fat 3.2g16%
Trans Fat 0.0g
Cholesterol 21mg7%
Sodium 99mg4%
Total Carbs 12.4g4%
Sugars 9.4g
Protein 1.0g
Vitamin A 3%Vitamin C 0%
Calcium 1%Iron 2%

Monday, June 1, 2009

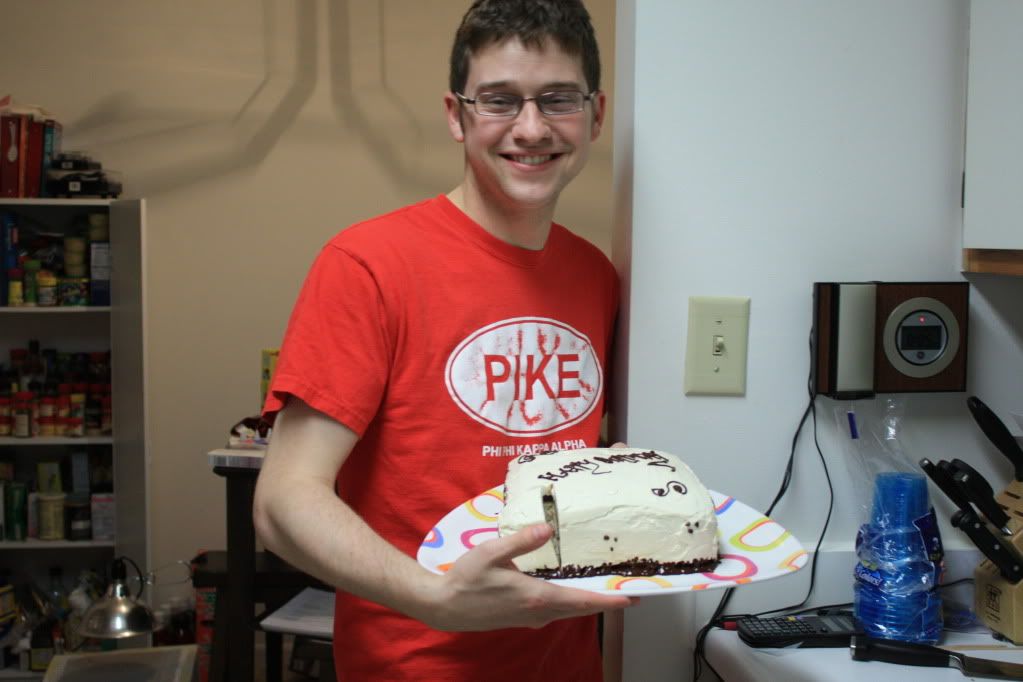
Project Birthday Cake Part #3: The Final Product


And now to put it all together...

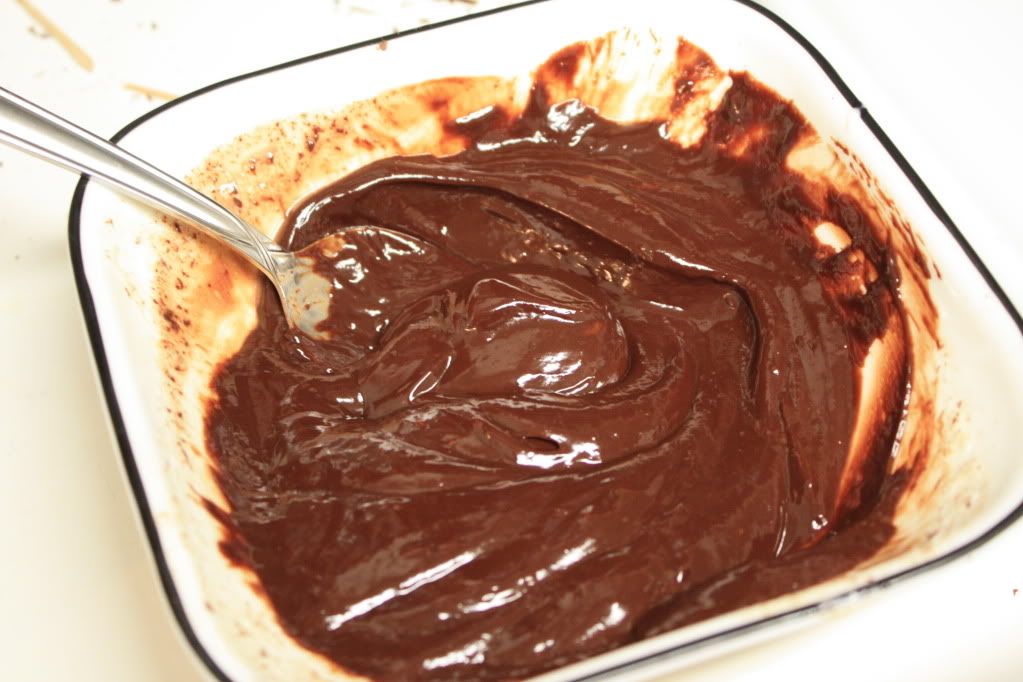
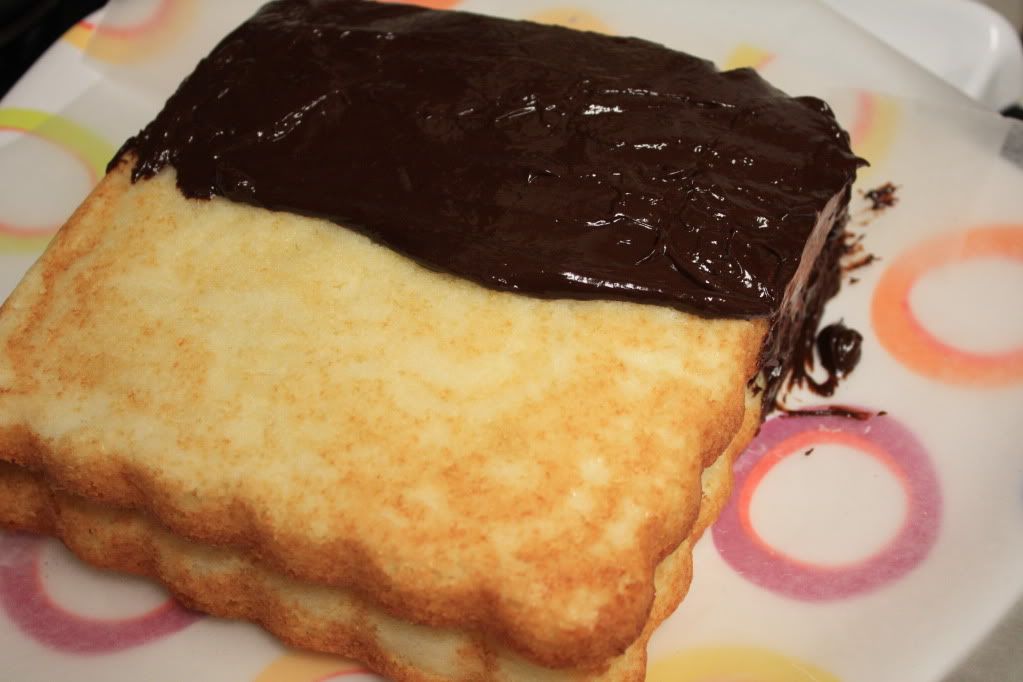
I decided that this cake just wouldn't be right without a little bit of chocolate thrown in there. So I whipped up some ganache and covered half the cake with it (to see which side would be better).

Chocolate Ganache


4 oz. bittersweet chocolate, finely chopped (don't cheat)
4 oz. (1/2 c.) heavy cream


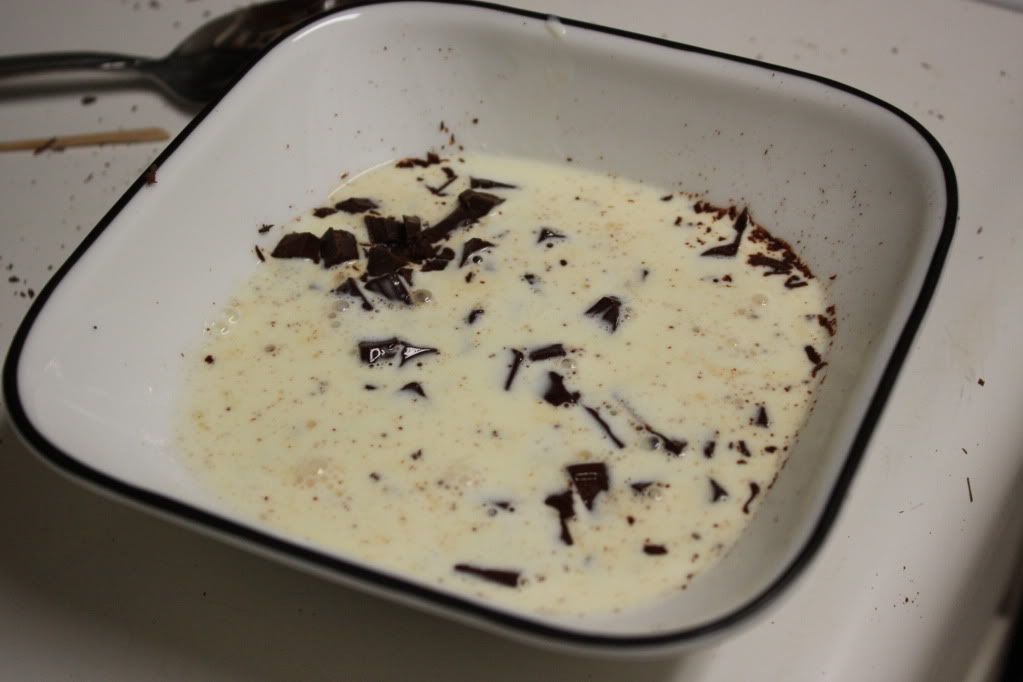
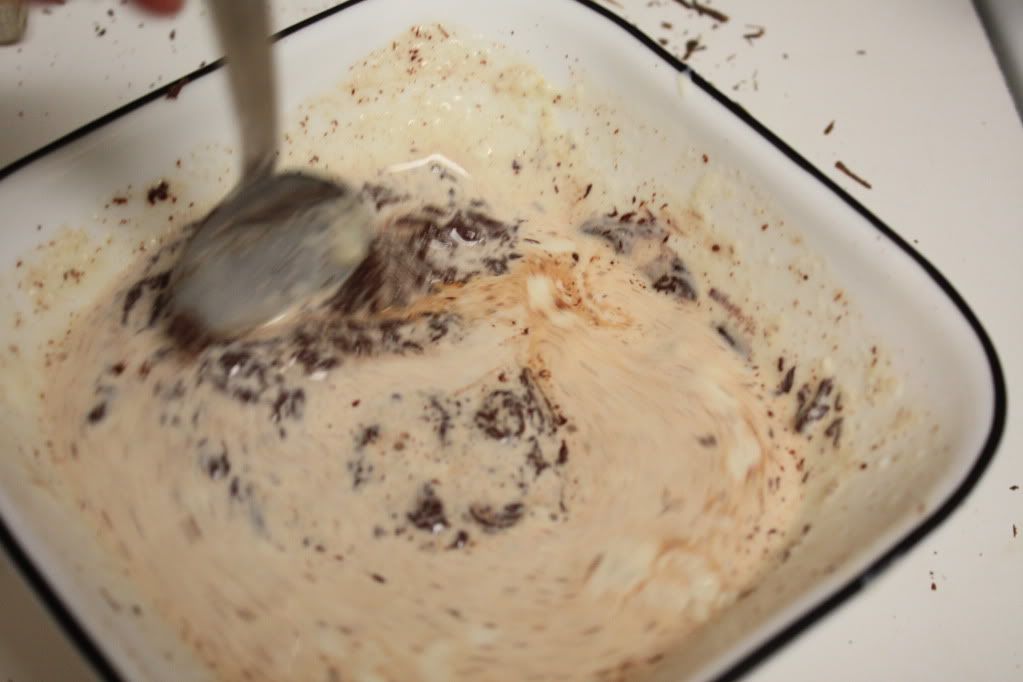
Bring heavy cream to a boil in a small saucepan (it should rise and threaten to boil over). Place chopped chocolate in a small bowl. Pour boiling cream over chocolate and let sit for two minutes. Slowly fold the cream into the chocolate (may take awhile). Allow to cool until the ganache is at a consistency you desire.


Assembling the Cake


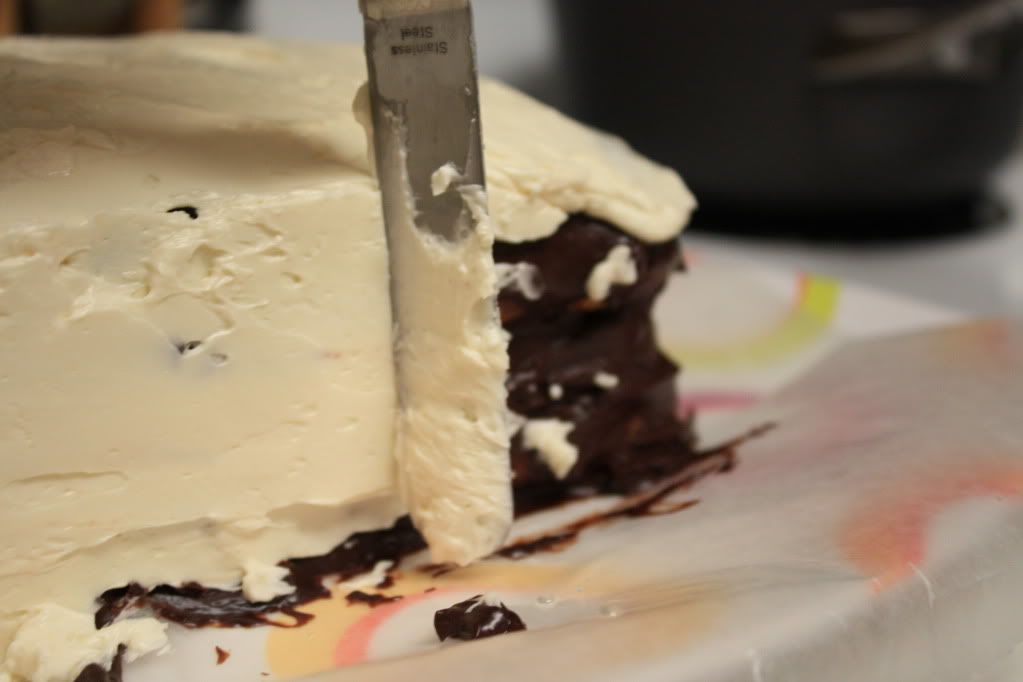
Spread the ganache over half of the cake (or, double the batch and cover the whole cake). Place cake in fridge to set the ganache for about 30 minutes.


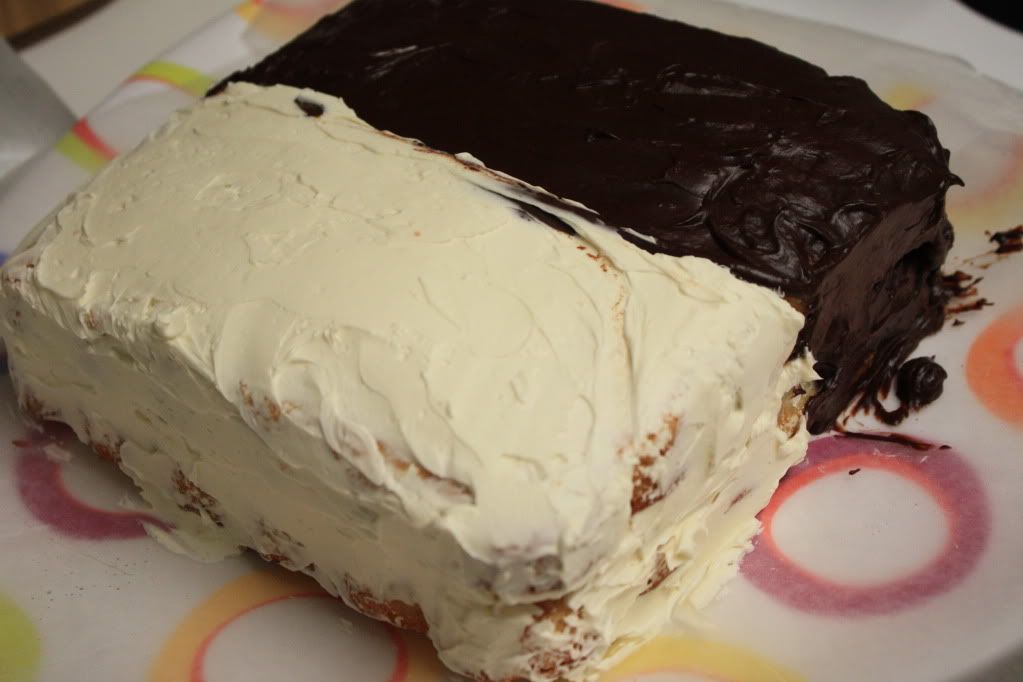
Remove cake from fridge; cover the other side with buttercream frosting as the crumb coat. Place back in fridge for another 30 minutes.


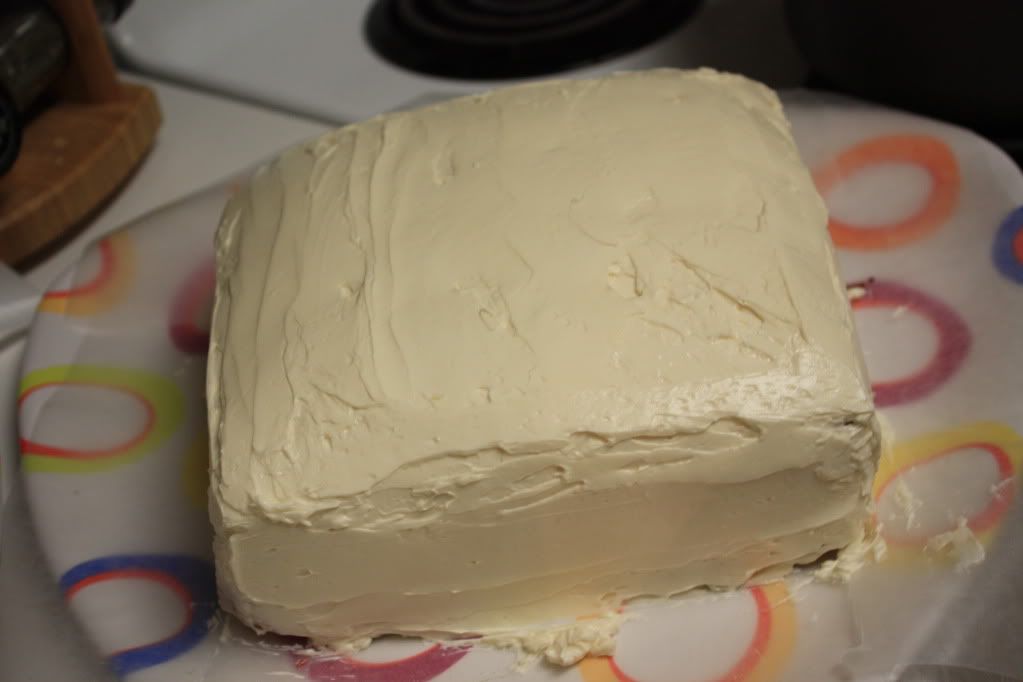
Remove cake from fridge. Coat the entire cake with remaining frosting.


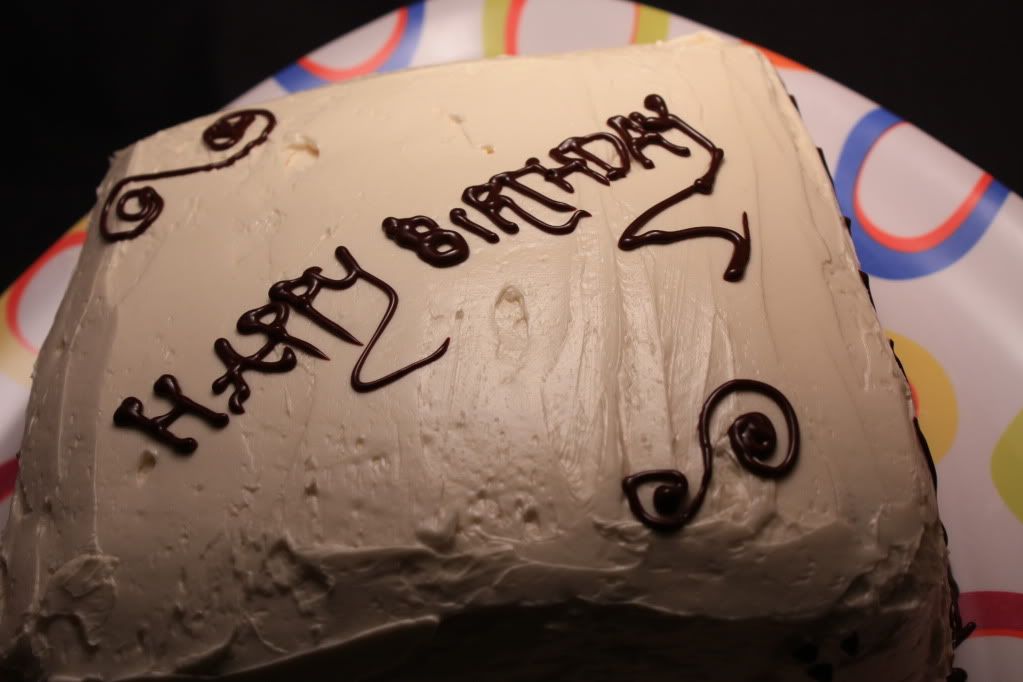
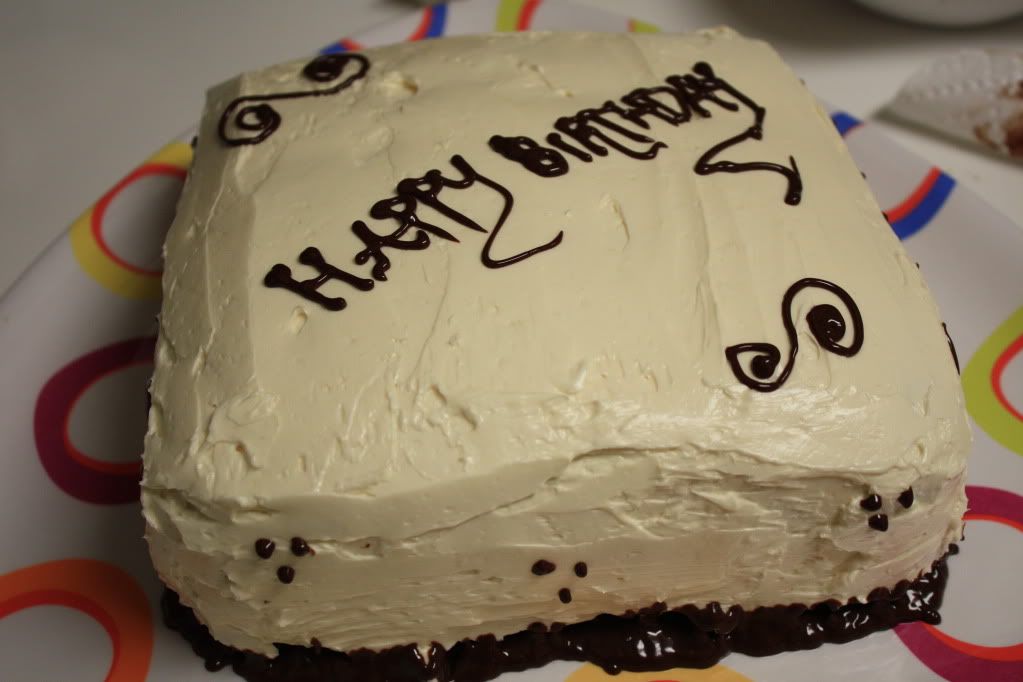
Decorate as you choose! (I ran out of frosting so I just made more ganache and called it a day, even though it didn't turn out that great.)


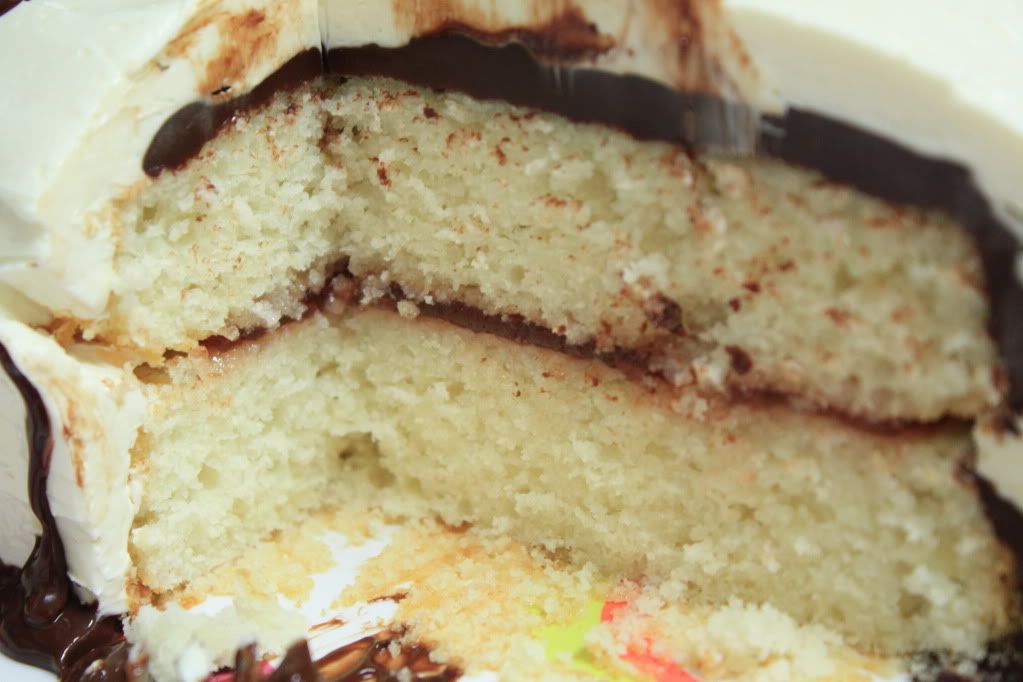
Cut into the cake and enjoy!


Serves: 16

This cake actually turned out a little more dense that I was expecting. I was thinking "white cake with almond flavoring", which it kind of was, just not quite as light and fluffy. Or maybe it's just my baking skills...

I would highly recommend using either a chocolate frosting or adding that layer of ganache to the cake -- the chocolate definitely "made" it for me.

The swiss buttercream was a little different than I was expecting. It was much less sweet and more buttery than other buttercreams I'm used to. But in its own way, it worked with this cake. I think a heavier, sweeter frosting would just weigh this cake down.

Overall, it was fun to experiment with a new type of cake, but I think I'm still in search of "the one."


Nutrition Facts - Entire Cake
Amount per serving
Calories 557Calories from fat 291
% Daily Value
Total Fat 32.3g50%
Saturated Fat 19.8g99%
Cholesterol 81mg27%
Sodium 279mg12%
Total Carbs 63.4g21%
Dietary Fiber 1.0g4%
Sugars 47.4g
Protein 5.6g
Vitamin A 19%Vitamin C 0%
Calcium 8%Iron 6%

Project Birthday Cake Part #2: Swiss Buttercream

Well, you can't have a cake without frosting, right? I decided to go with one of Smitten Kitchen's suggestions -- the Swiss Buttercream she raves about. (I used the version for the 9" round.)

Swiss Buttercream
From: Smitten Kitchen


1 cup sugar
4 large egg whites
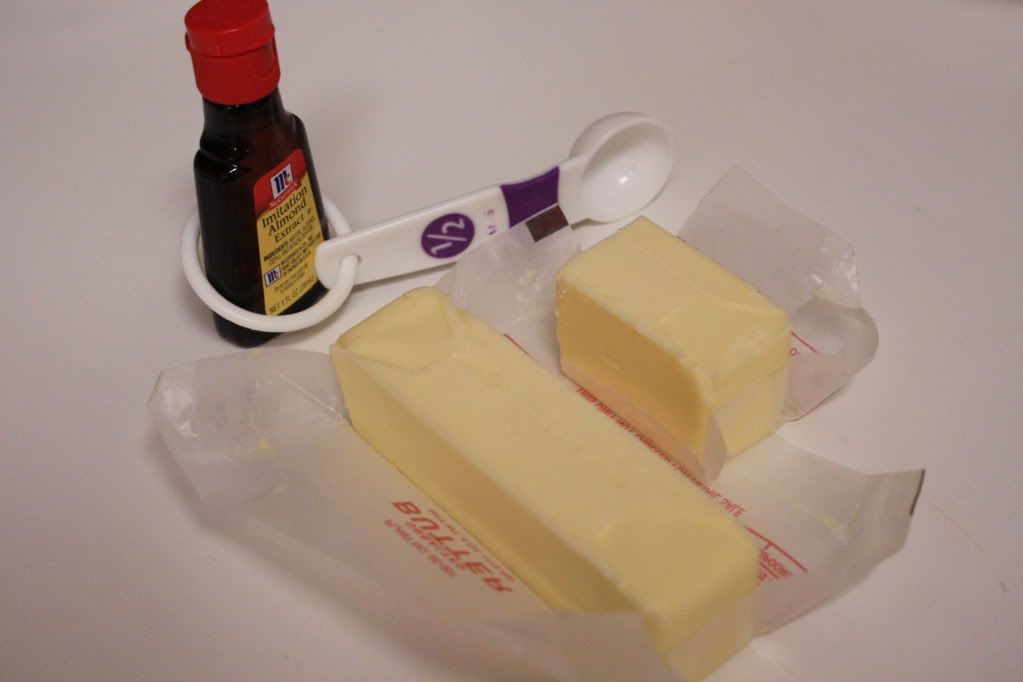
26 tablespoons butter, softened (3 sticks plus 2 tablespoons)
1 teaspoon vanilla extract


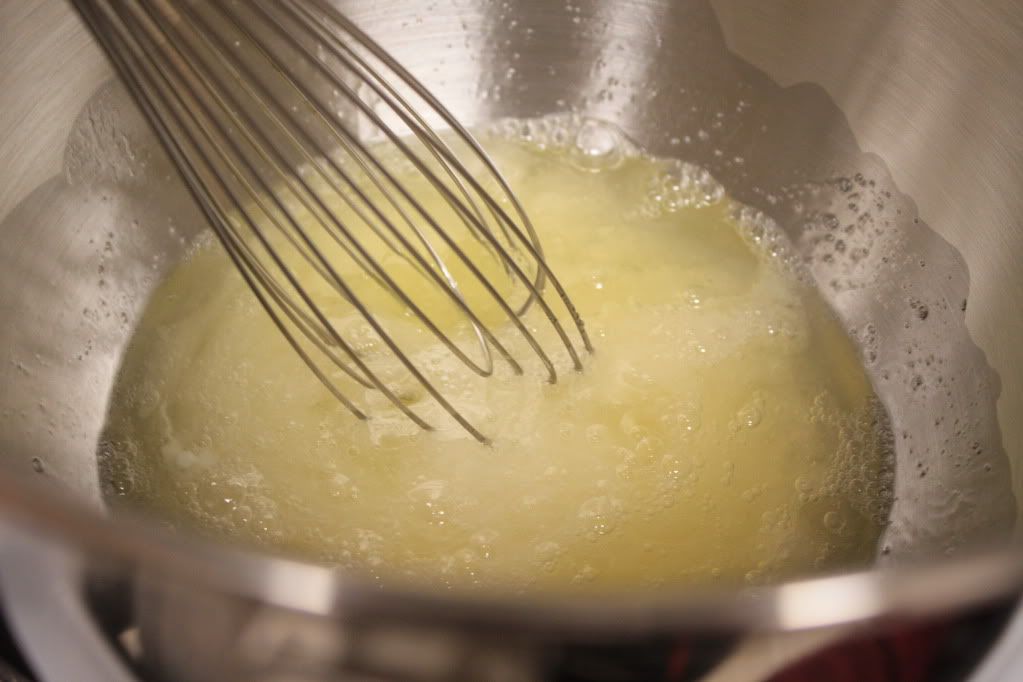
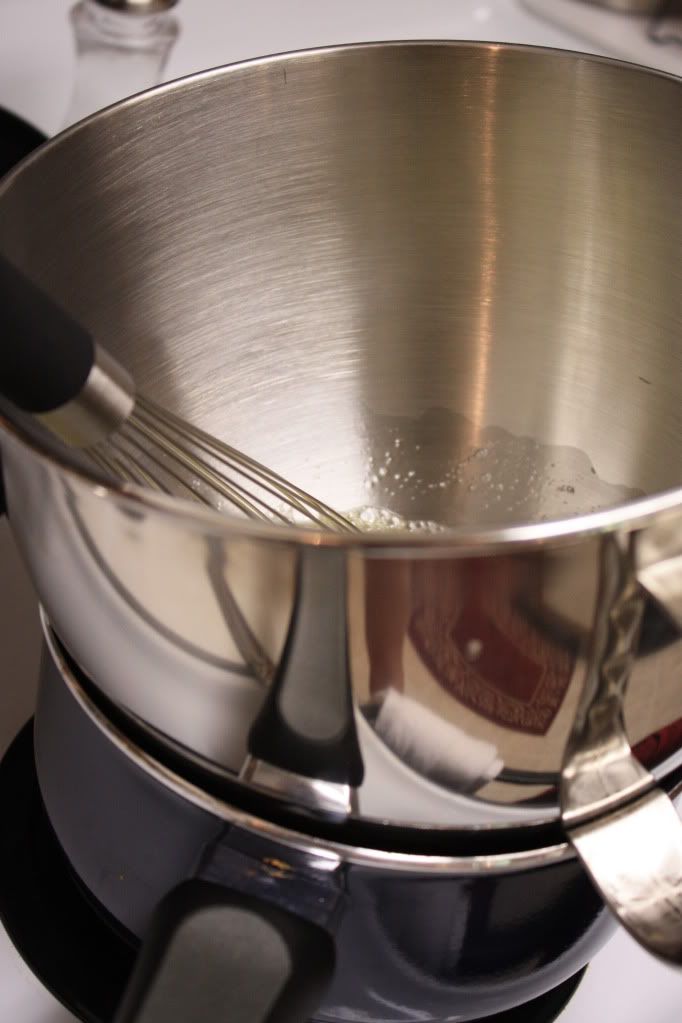
Whisk egg whites and sugar together in a big metal bowl over a pot of simmering water. Whisk occasionally until you can’t feel the sugar granules when you rub the mixture between your fingers.


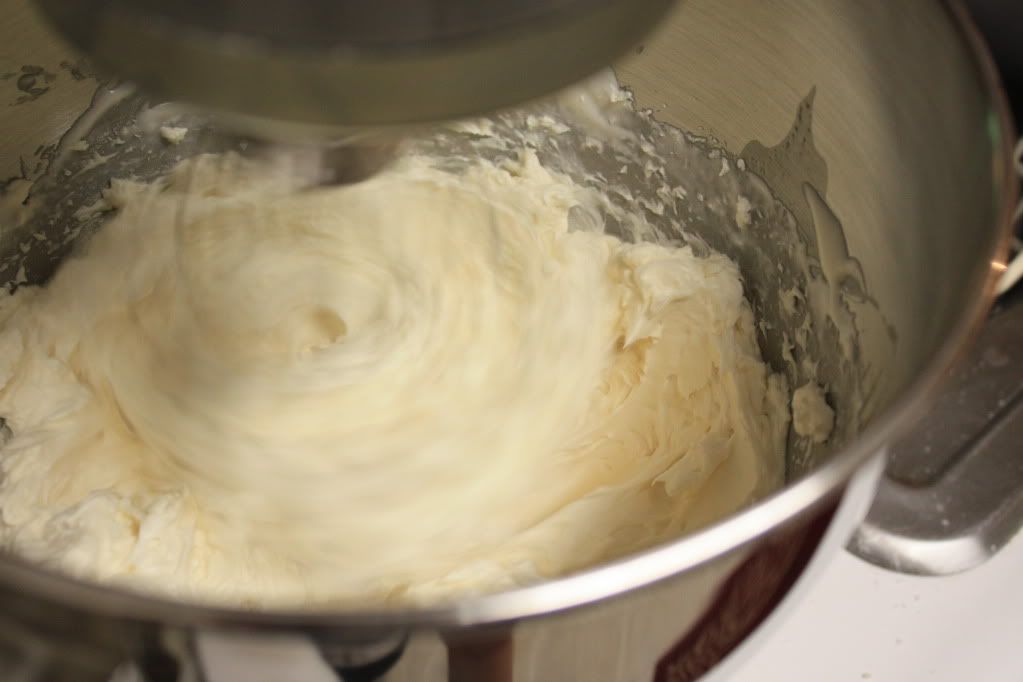
Transfer mixture into the mixer and whip until it turns white and about doubles in size. (Make sure you wipe the condensation off the bottom of the bowl so that no water gets into the egg whites when moving the bowl. This can keep them from whipping up properly.)

Add the vanilla.

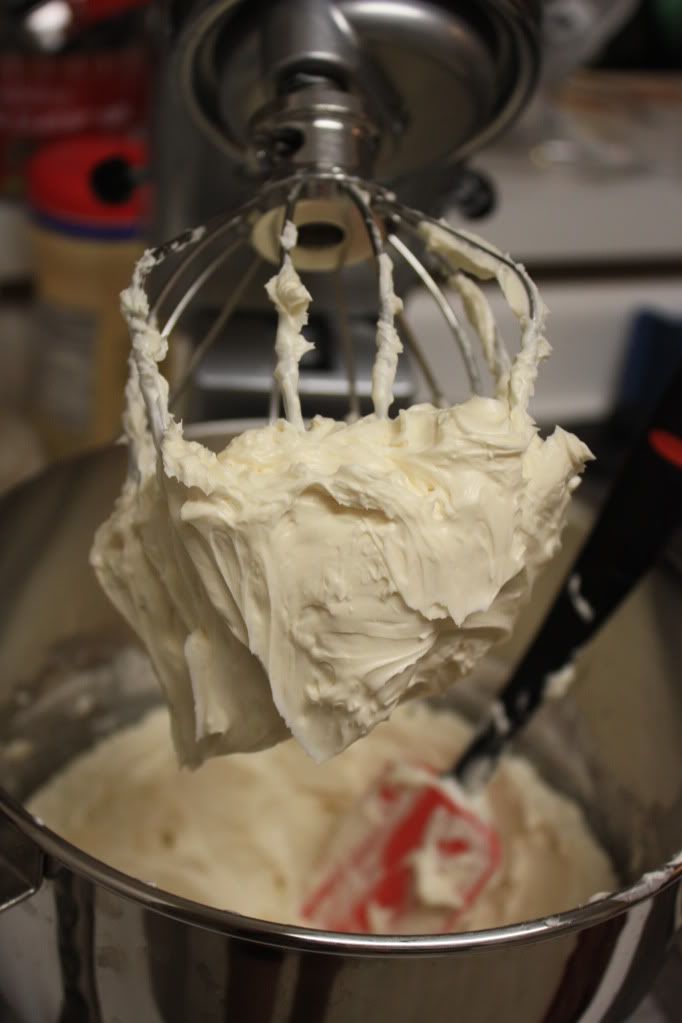
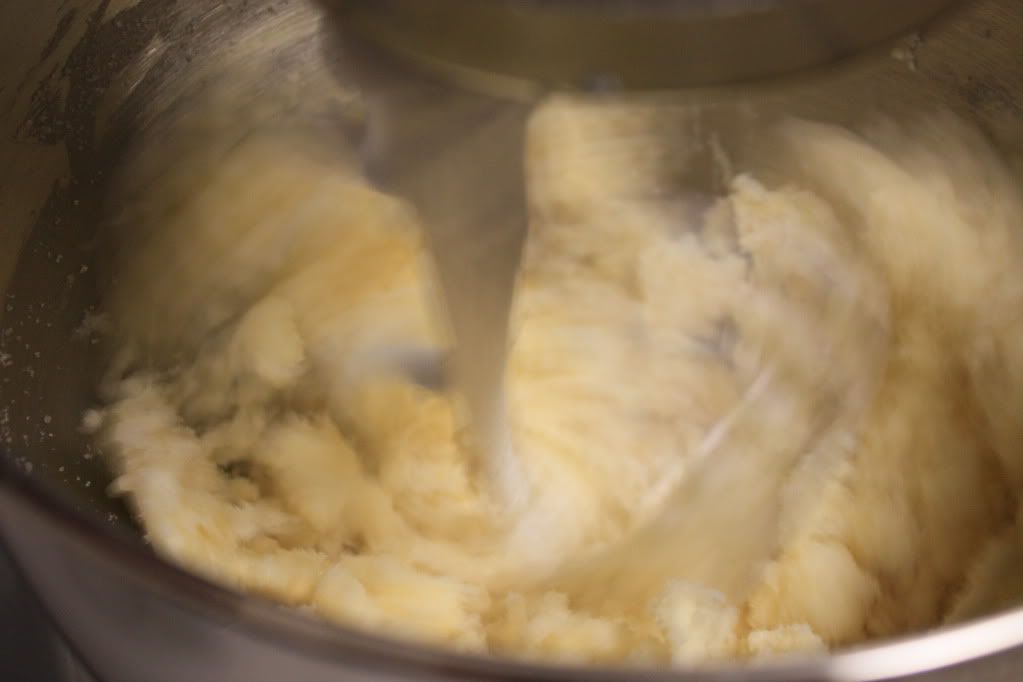
Finally, add the butter a stick at a time and whip, whip, whip.


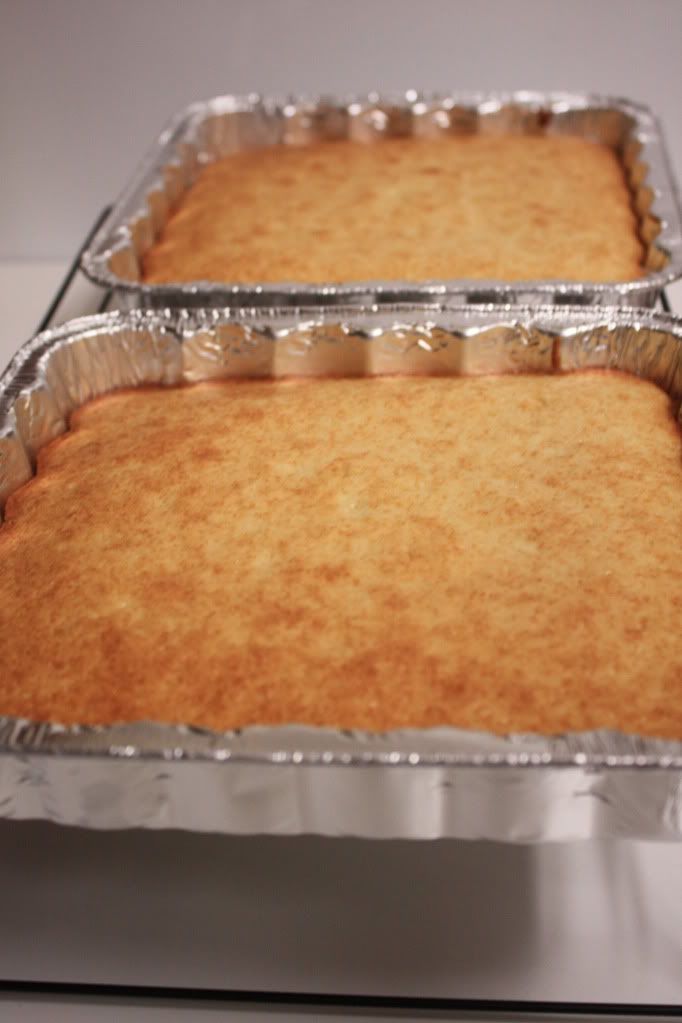
Project Birthday Cake Part #1: Almond Raspberry Layer Cake


As I mentioned before, the last two weeks I was working on a couple of projects. Nothing like a birthday to give me a good excuse to try something new. :)

The week before Adam's birthday, I ran across a recipe for an Almond Raspberry Layer Cake from Smitten Kitchen and I knew exactly what I wanted to make. I've been dying to try an almond cake -- I really wanted one for our wedding, but our baker didn't have that flavor. :( Here we are a year later, and I just had to try it. (Okay, this was getting made regardless if it was his birthday or not... just don't tell him that.)

I actually halved the recipe because lord knows we don't need a three layer cake for just the two of us. I've posted my adjustments below. Click on the source name for the original recipe.


Almond Raspberry Layer Cake


2 1/4 cups cake flour
2 1/4 teaspoons baking powder
1/3 teaspoon salt
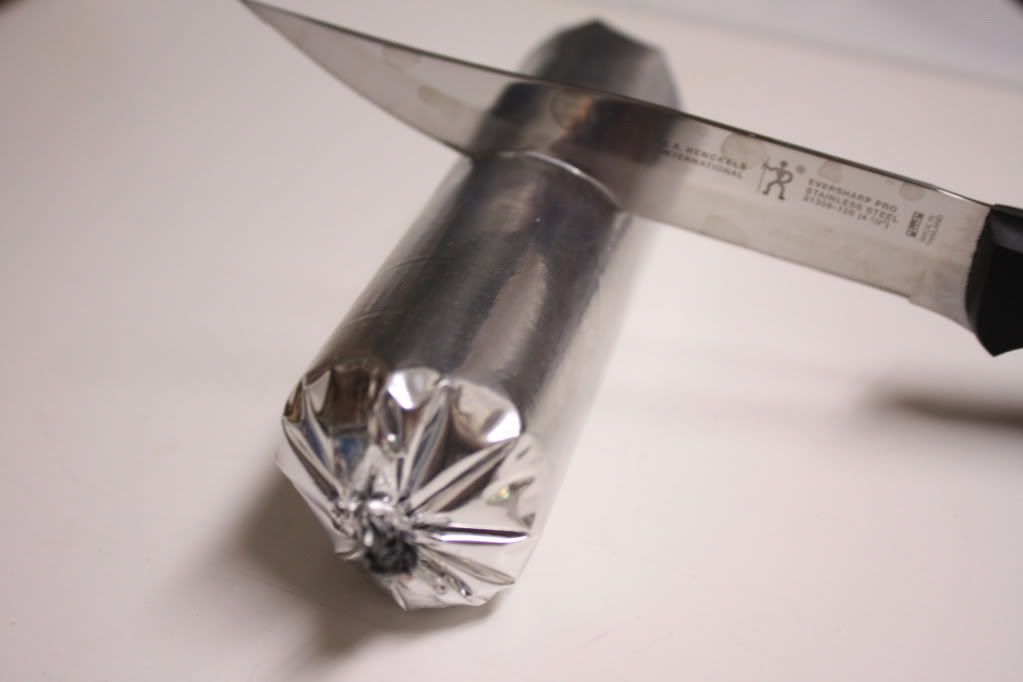
1/3 cup prepared almond paste (3.5 ounces or half a tube)
1 1/3 cups sugar
1 1/4 sticks (5 ounces) unsalted butter, at room temperature
1/2 tablespoon almond extract
5 egg whites
3/4 cups 2% milk

1 cup simple syrup (optional)
1 cup seedless raspberry preserves


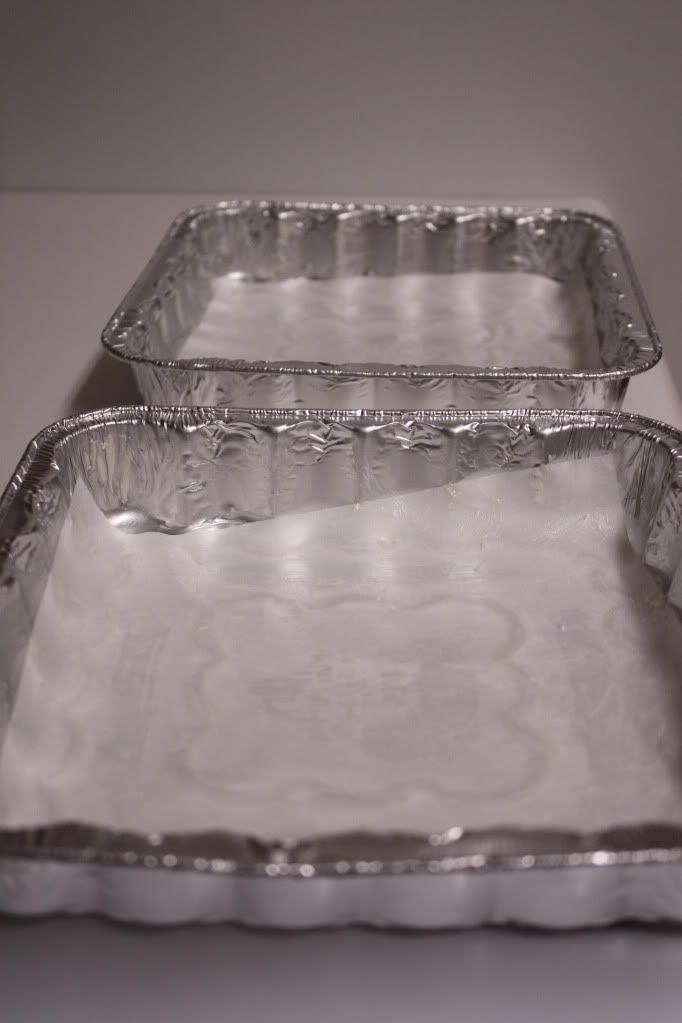
Preheat oven to 350°F. Butter the bottoms and sides of two 8-inch square cake pans. Line the bottom of each pan with a square of parchment or waxed paper and butter the paper.


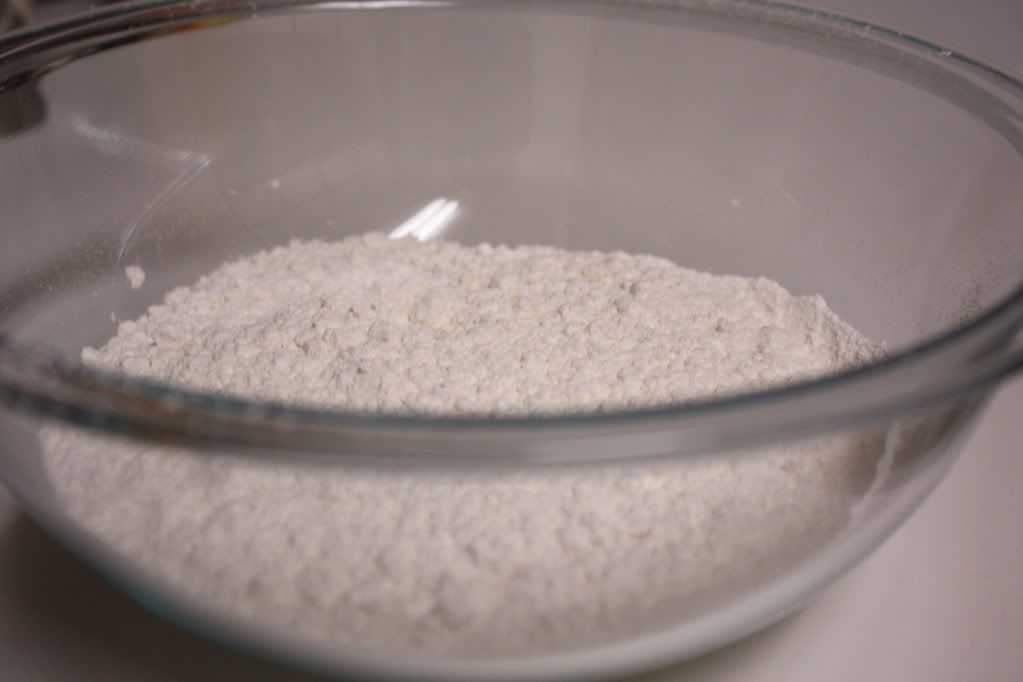
In a medium bowl, sift together the cake flour, baking powder and salt. Set the dry ingredients aside.


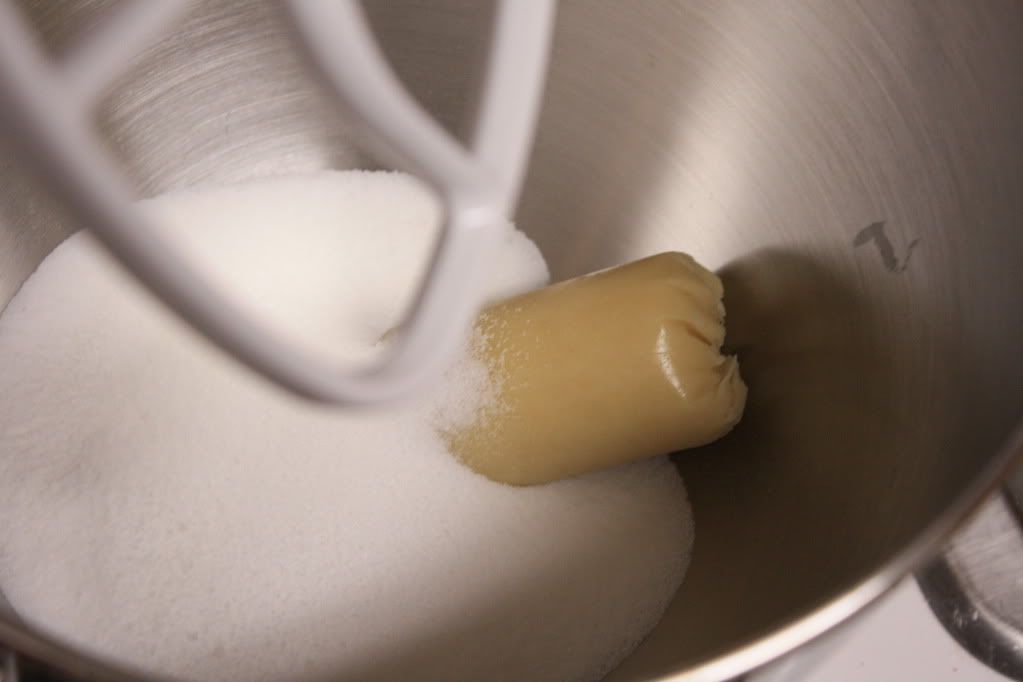
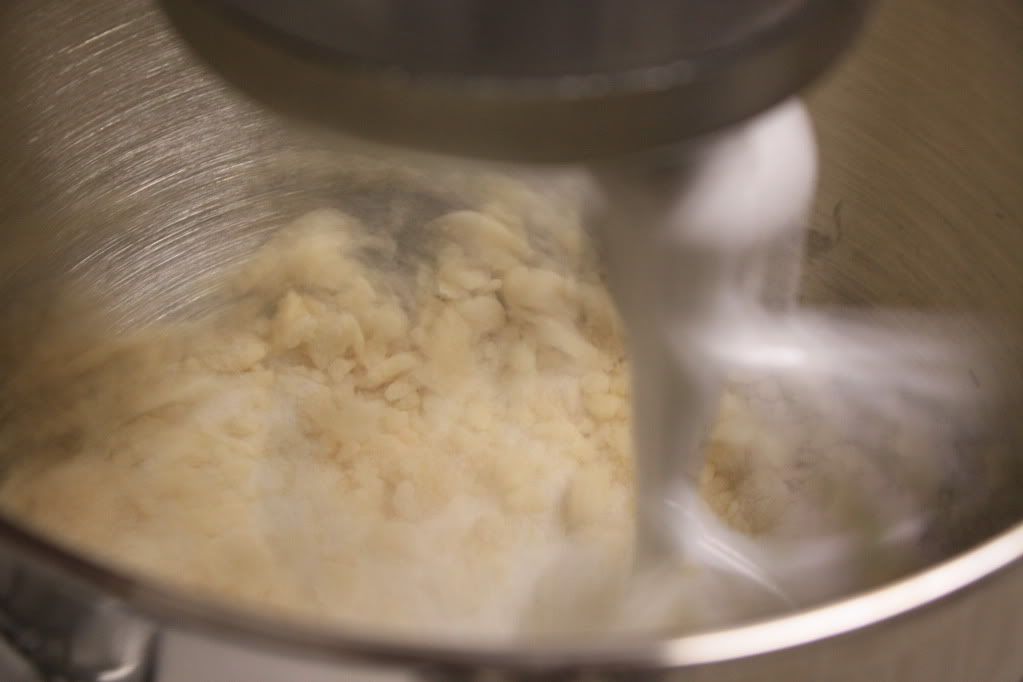
Place the almond paste and sugar in the bowl of a heavy-duty mixer fitted with the paddle attachment, or in another large bowl if using a handheld mixer. Begin to cream the mixture on low speed to break up the almond paste, then increase the speed to medium for about 2 minutes, or until the paste is broken into fine particles.


Add the butter and almond extract and beat it well.


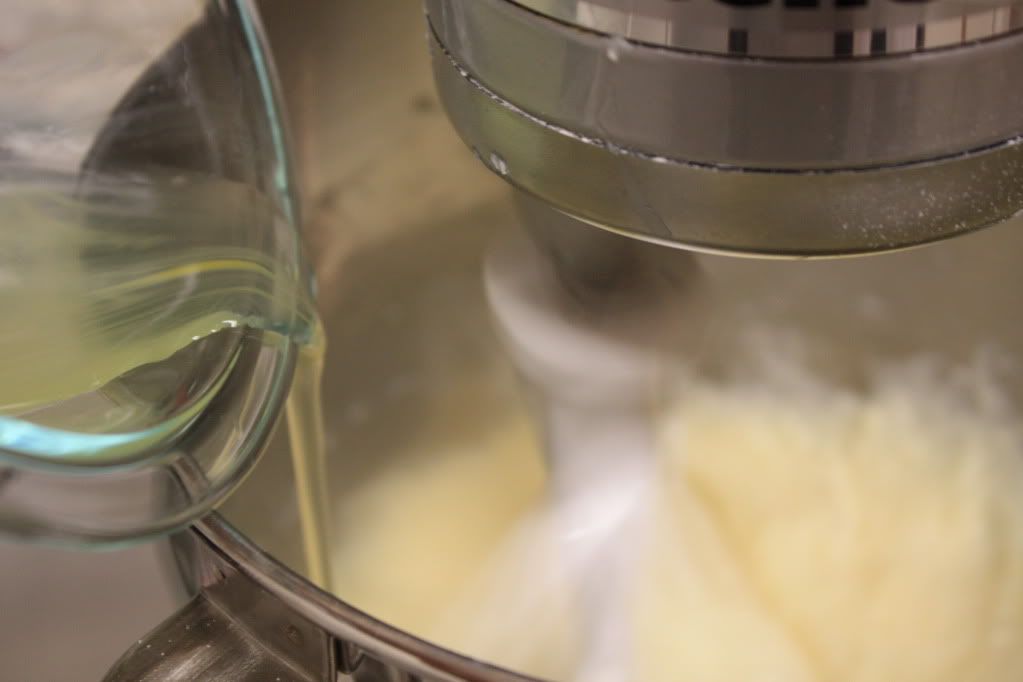
Add the egg whites, two or three at a time, beating just long enough to incoperate after each addition. Scrape down the sides of the bowl several times to make sure it is evenly mixed.


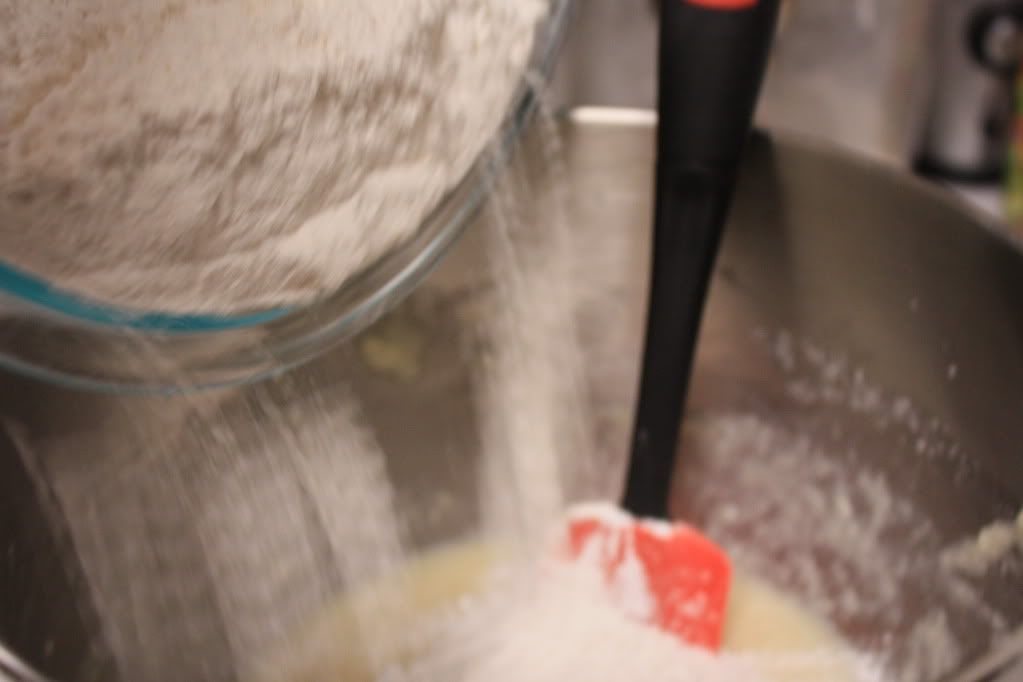
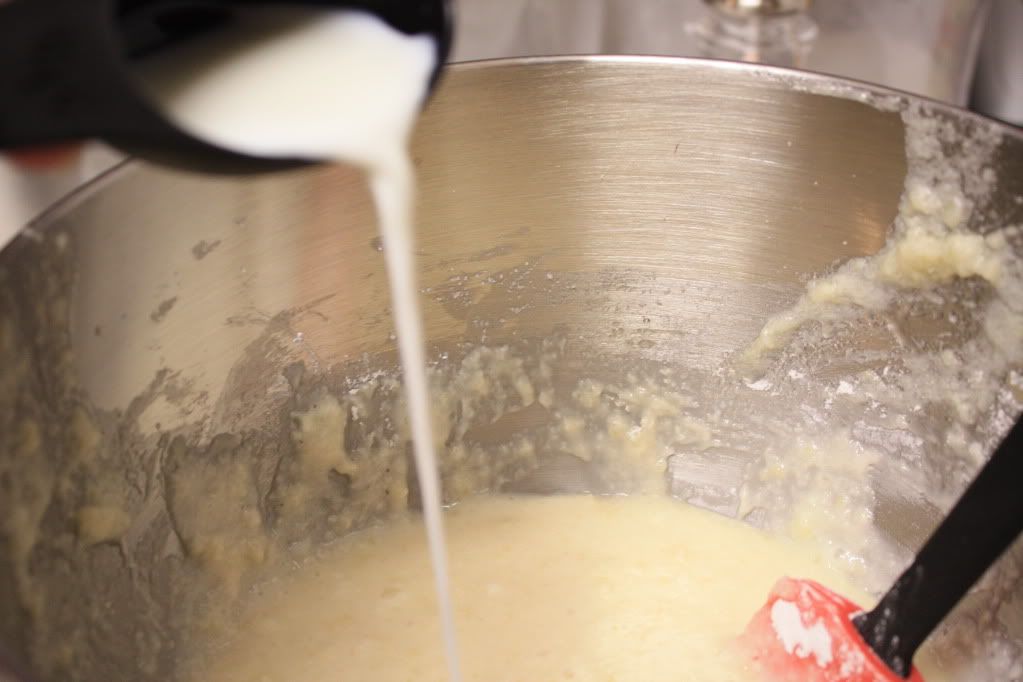
Dust about a third of the dry ingredients over the batter and fold in with a large rubber spatula until just combined. Fold in about half the milk. Fold in half the remaining flour mixture, followed by the remaining milk. Finally, fold in the last of the dry ingredients just until no streaks of white remain. Use a light hand and do not overmix.


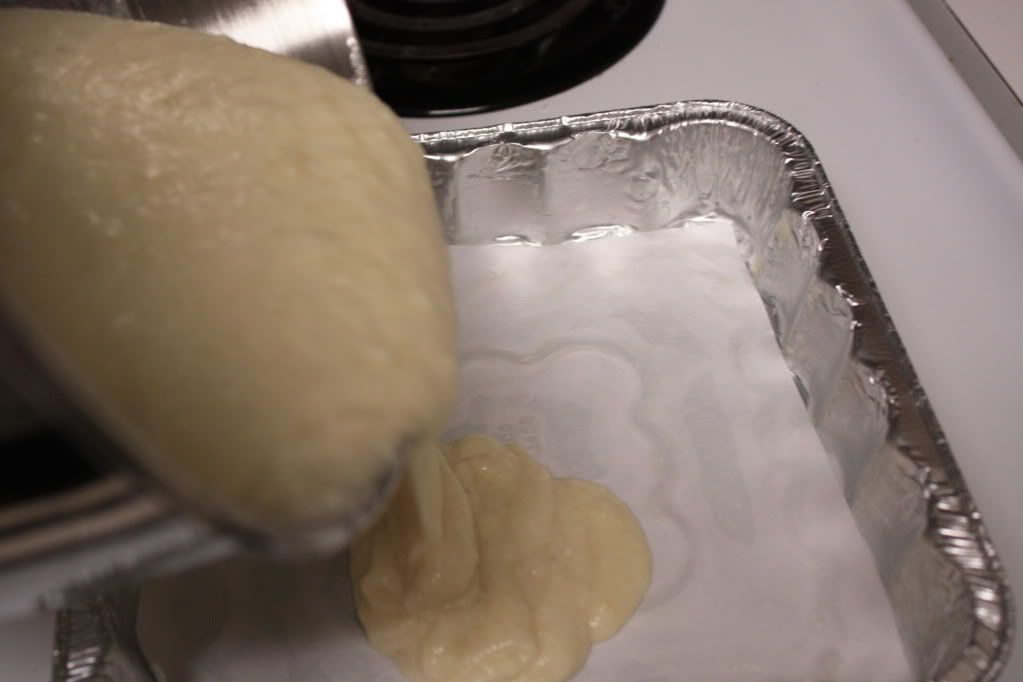
Divide the batter among two prepared cake pans.


Bake for 25 to 30 minutes or until a cake tester or wooden toothpick stuck into the center comes out clean. Let the cakes cool in their pans on wire racks for about 10 minutes.


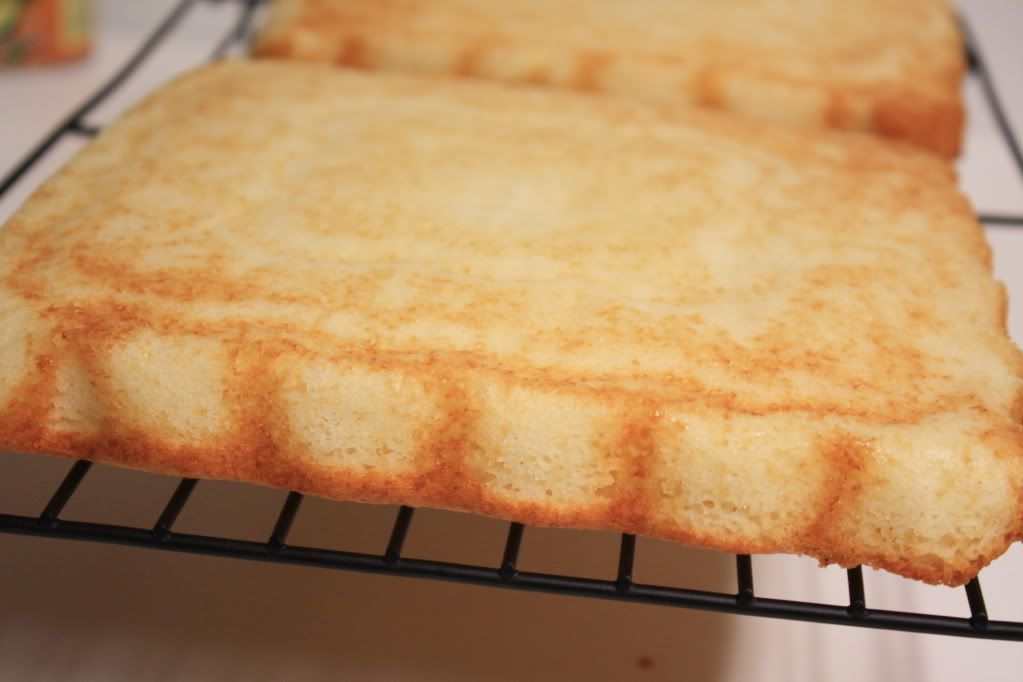
Turn the cakes out on to wire racks, carefully peel off the paper liners and let them cool completely, about one hour.


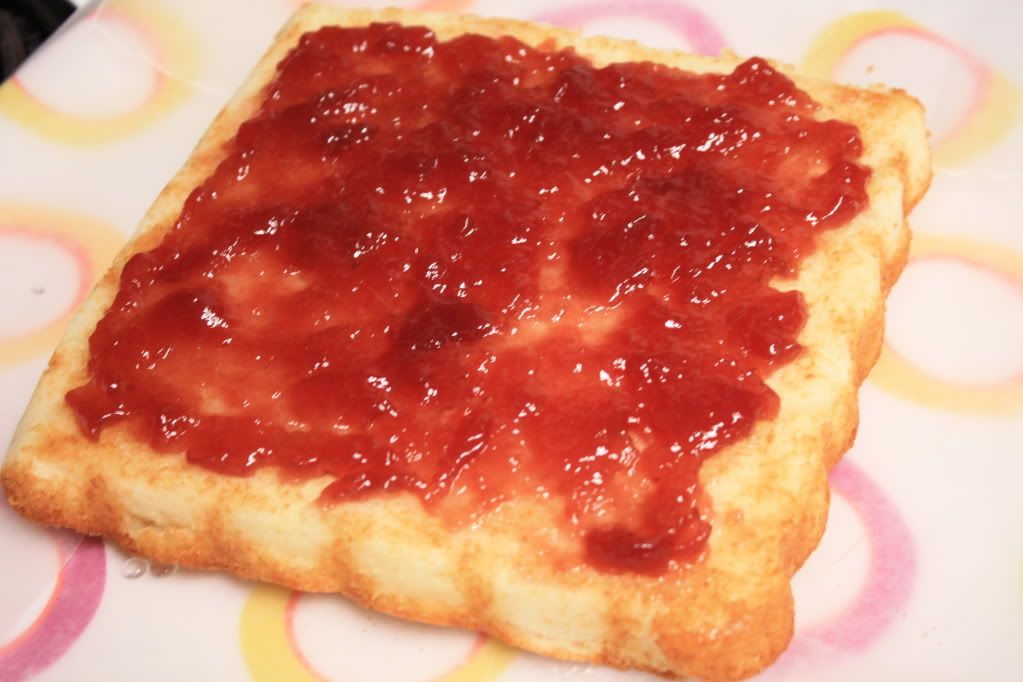
To assemble the cake: Place one layer flat side up on a cake stand or serving plate. (If the top of the layer is not flat, use a long serrated knife to level it.) Slide small strips of waxed paper under the edges to protect the plate from any messiness accumulated while decorating. Brush first layer with simple syrup, if using. Spread 1/2 cup of the raspberry preserves over the cake, leaving a 1/4 inch margin around the edges. Place the second layer of cake on top (and level the top if necessary).