Thursday, December 31, 2009

Snickerdoodles


While the brunt of the holiday madness may be over, there is definitely still time to squeeze in one more baked good before those New Years resolutions kick in.

I honestly haven't had a snickerdoodle for probably... well, years. Then all of a sudden I wake up one day and just have a craving for them. Strange, I tell you. So what is a kid to do with such a craving? Make them of course! :)
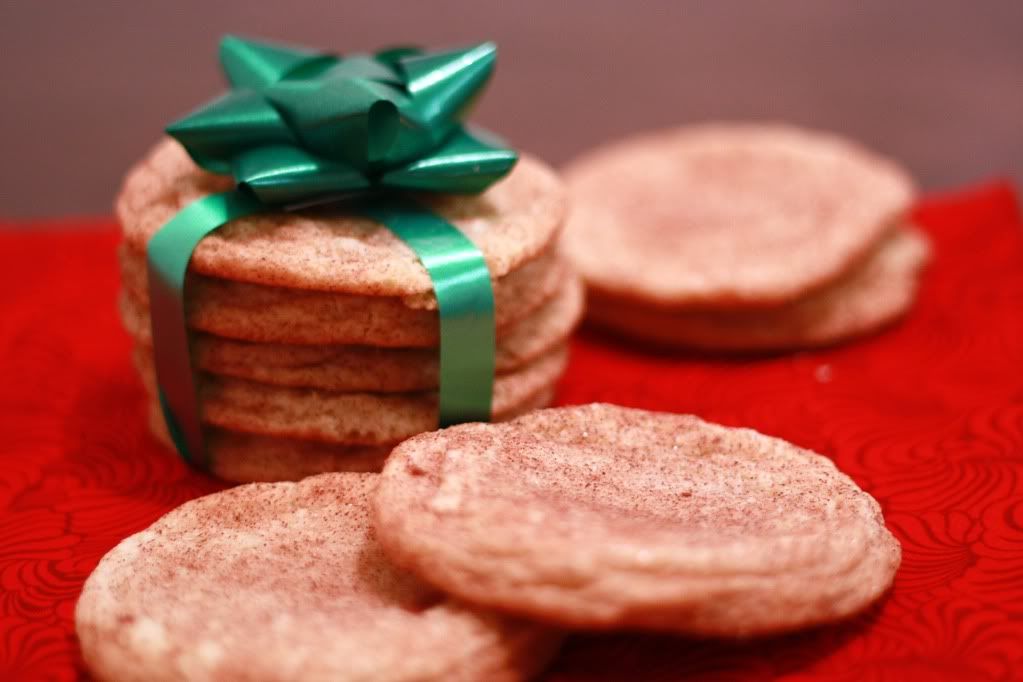

Snickerdoodles
Based on this recipe from Allrecipes

1 cup butter, at room temperature
1 1/2 cups white sugar
2 eggs
1 teaspoon vanilla extract
1 teaspoon almond extract
2 3/4 cups all-purpose flour
2 teaspoons cream of tartar
1 teaspoon baking soda
1/4 teaspoon salt
2 tablespoons white sugar
2 teaspoons ground cinnamon

Preheat oven to 375 degrees F. Cover cookie sheets with parchment paper.

In a large bowl, cream together butter and 1-1/2 cups sugar until fluffy. Add the eggs, vanilla and almond extracts.

In a medium bowl, sift together flour, cream of tartar, soda and salt. Add dry ingredients to the butter mixture slowly. Once well mixed, roll dough into balls (slightly smaller than a walnut).

Mix the 2 tablespoons sugar and the cinnamon. Roll balls of dough in sugar mixture. Place 2 inches apart on parchment paper.

Bake about 8 minutes, or until set but not too hard. Remove immediately from baking sheets to a cooling rack.

Makes: about 3 dozen
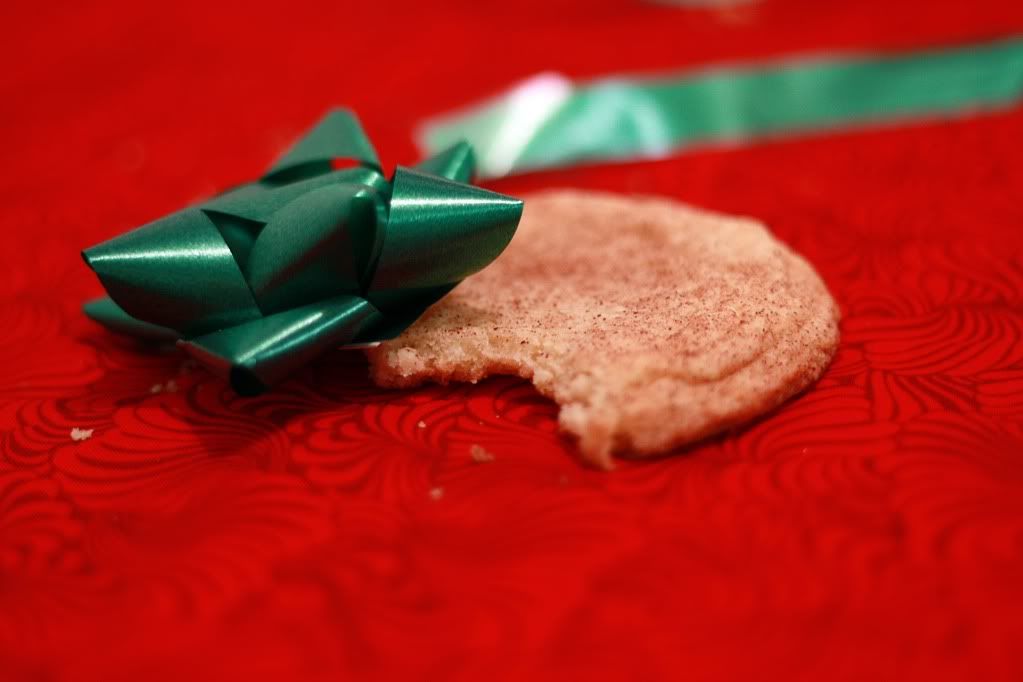

Most snickerdoodle recipes just call for vanilla extract, but I think adding the almond extract adds just that little bit extra which make these awesome! These are nice and chewy around the outside with that amazingly soft center. Let's just say these guys don't stick around very long.


Nutrition Facts
Amount per serving
Calories 90Calories from fat 37
% Daily Value
Total Fat 4.1g6%
Saturated Fat 2.5g13%
Trans Fat 0.0g
Cholesterol 18mg6%
Sodium 69mg3%
Total Carbs 12.4g4%
Sugars 6.8g
Protein 1.0g
Vitamin A 3%Vitamin C 0%
Calcium 0%Iron 2%

Monday, December 21, 2009

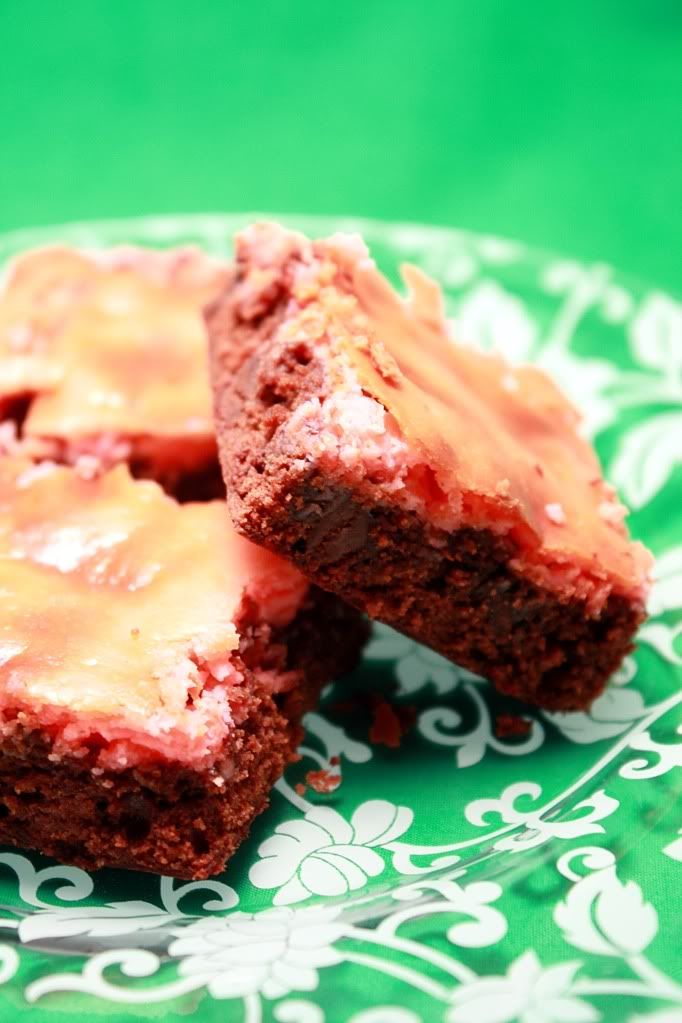
Peppermint Cheesecake Brownies


And now what you've all been waiting for. Or at least what I think one of the best part of the holidays is -- baked goods! Yay! Definitely by far the worst thing for your waistline but the best thing for your tastebuds.

Yes, at work people will bring in dips and chips to nibble on or maybe some doughnuts for breakfast but me? No, not me. I go for the cookie and brownie route. And they're definitely gone before lunch. Since I switched to working casual vs. full-time at work, most of my goodies have been disappearing to work with Adam. (Although I hear they disappear at about the same rate.) Needless to say, these little brownies followed suit.


Peppermint Cheesecake Brownies
Adapted from: Annie's Eats

For the brownies:
6 tablespoons butter, cut into pieces
4 ounces bittersweet or semisweet chocolate, coarsely chopped
2/3 cup sugar
2 large eggs, at room temperature
1/2 cup flour
1 tablespoon unsweetened cocoa powder
1/2 teaspoon vanilla extract
1/2 cup chocolate chips

For the cheesecake:
8 ounces reduced-fat cream cheese, at room temperature
1 large egg yolk
5 tablespoons sugar
1/8-1/4 teaspoon peppermint extract
Red food coloring (optional)

Line a 9-inch square baking dish with foil, making sure it goes up all four sides. Mist lightly with nonstick cooking spray. Preheat the oven to 350 degrees F.

In a medium saucepan over low heat, melt the butter and chocolate, stirring until smooth. Remove from the heat, then beat in the 2/3 cup sugar. Mix in the eggs. Add in the flour, cocoa powder, and vanilla and mix just until smooth. Gently fold in the chocolate chips. Spread the batter evenly into the prepared pan.

To make the topping, in a separate bowl beat together the cream cheese, egg yolk, 5 tbsp. sugar and peppermint extract until smooth. Drop in large dollops evenly over the top of the brownie batter. Use a dull knife or spatula to swirl the cream cheese mixture with the chocolate batter. (Definitley FAILED this portion.)

Bake for 35 minutes, or until the batter in the center of the pan is just set. Let cool completely, then lift out with the foil and peel away. Cut brownies into squares.

Makes: 16 bars


Since I know peppermint extract can be really strong, I only added 1/8 teaspoon to the cheesecake layer and it gave a very light and mild flavor. I'd say if you're looking for a more prominent peppermint flavor, go for the 1/4 teaspoon instead.

I can always tell when Adam really likes a dessert I've made -- that's when he likes to go back for more and more. With these, I think only about 3/4 of them actually made them to his work. Silly boy.


Nutrition Facts
Amount per serving
Calories 225Calories from fat 125
% Daily Value
Total Fat 13.9g21%
Saturated Fat 8.5g43%
Cholesterol 68mg23%
Sodium 87mg4%
Total Carbs 23.5g8%
Dietary Fiber 0.8g3%
Sugars 18.9g
Protein 3.2g
Vitamin A 8%Vitamin C 0%
Calcium 3%Iron 5%

Sunday, December 20, 2009

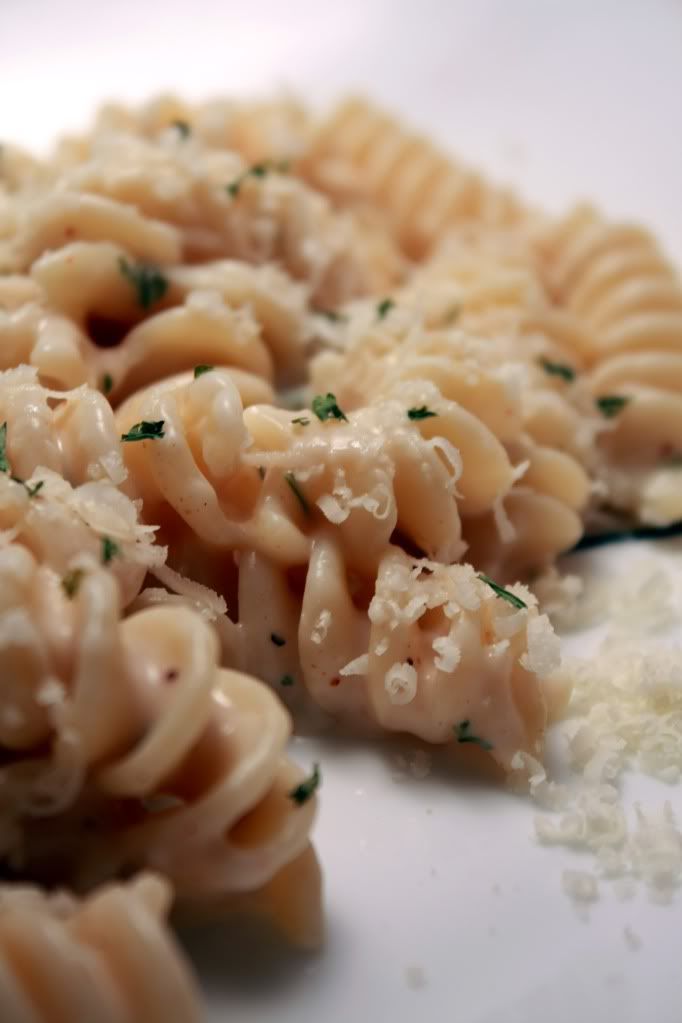
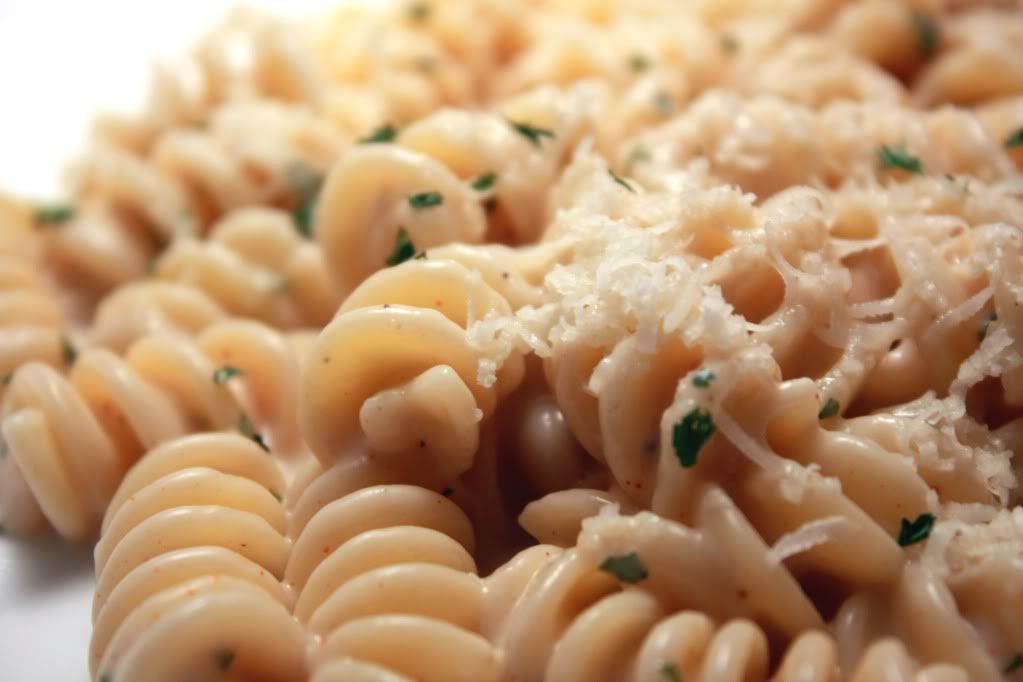
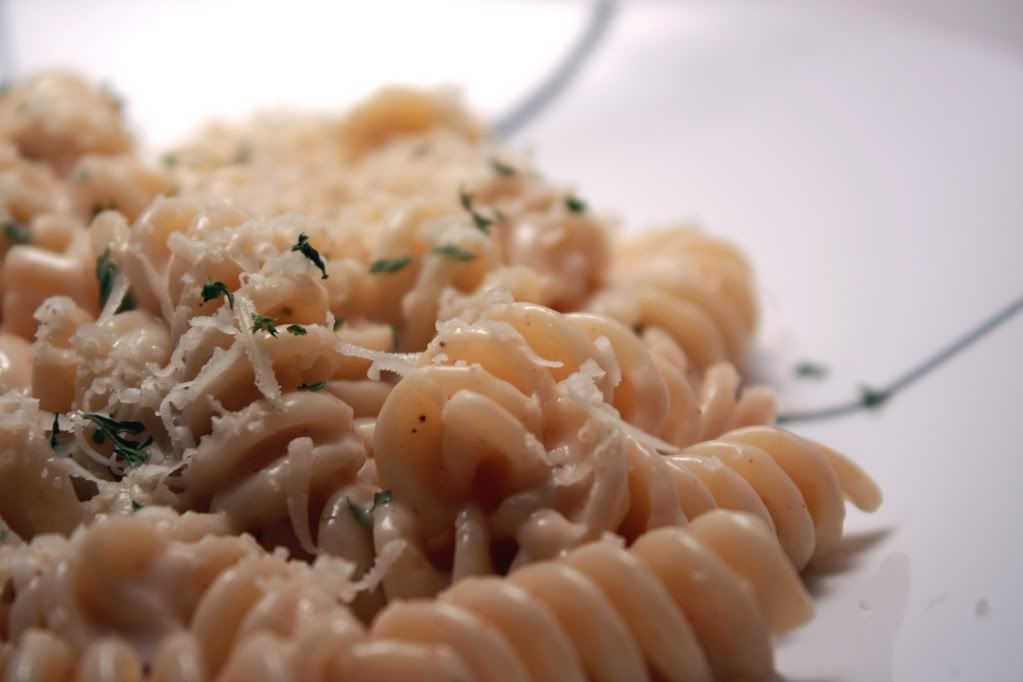
Pasta Alfredo


Alright, one more dinner recipe for you. Same as before, this one makes another quick and easy meal -- perfect so you can get back to baking those holiday goodies.

I found this gem also back in March off Macaroni and Cheesecake's site, although I made a few changes based on what I had around the house.


Pasta Alfredo
Adapted from: Kraft Foods

1/2 pound rotini or other medium pasta, uncooked
1-1/4 cups fat-free reduced-sodium chicken broth
4 teaspoons flour
1/3 cup 1/3 Less Fat Cream Cheese
1 tablespoon Parmesan cheese
2 tablespoons Romano cheese
1/4 teaspoon ground nutmeg
1/8 teaspoon pepper
1/8-1/4 teaspoon cayenne pepper
2 teaspoons dried parsley

Boil pasta as directed on package.

Meanwhile, beat broth and flour in medium saucepan with whisk until well blended. Add cream cheese, Parmesan, Romano, nutmeg and peppers; cook 2 min. or until mixture comes to boil and thickens, stirring constantly.

Drain pasta; add pasta to the sauce; toss to coat. Garnish with any additional parsley or cheese if desired.

Serves: 4


Not too bad of a recipe for one that's supposed to be a "lightened" version of alfredo. The nutmeg gives the sauce a nice rounded "fall" flavor while the cayenne gives it a nice little kick (specially added for Adam). I'd definitely make it again when the mood for alfredo strikes.


Nutrition Facts
Amount per serving
Calories 304Calories from fat 80
% Daily Value
Total Fat 8.9g14%
Saturated Fat 5.2g26%
Trans Fat 0.0g
Cholesterol 25mg8%
Sodium 306mg13%
Total Carbs 45.1g15%
Dietary Fiber 2.2g9%
Sugars 1.6g
Protein 11.8g
Vitamin A 7%Vitamin C 2%
Calcium 7%Iron 17%

Saturday, December 19, 2009

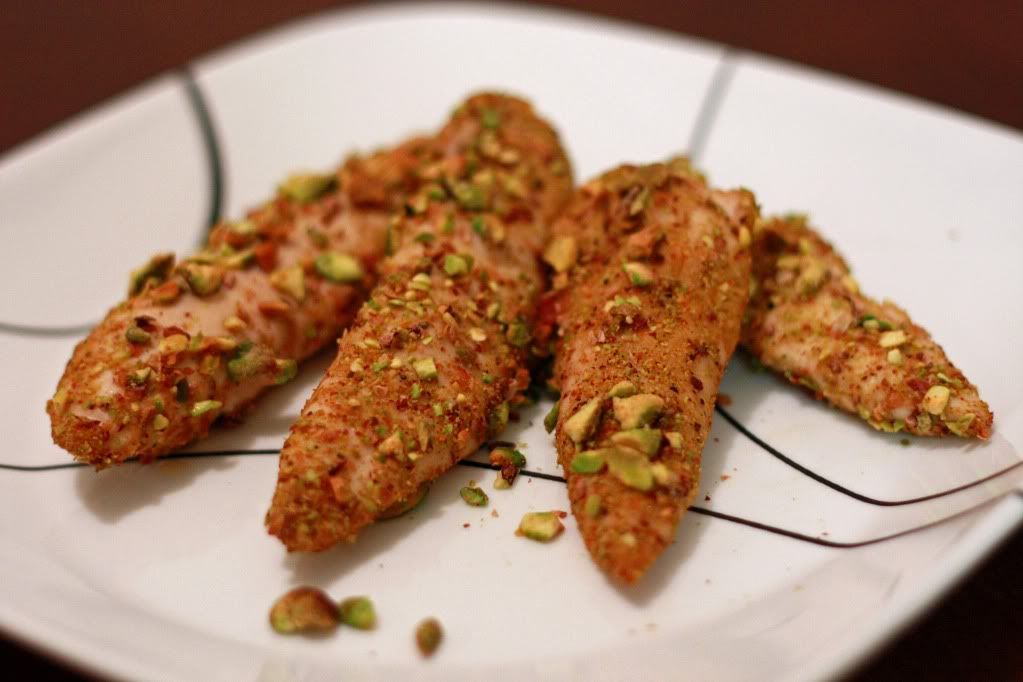
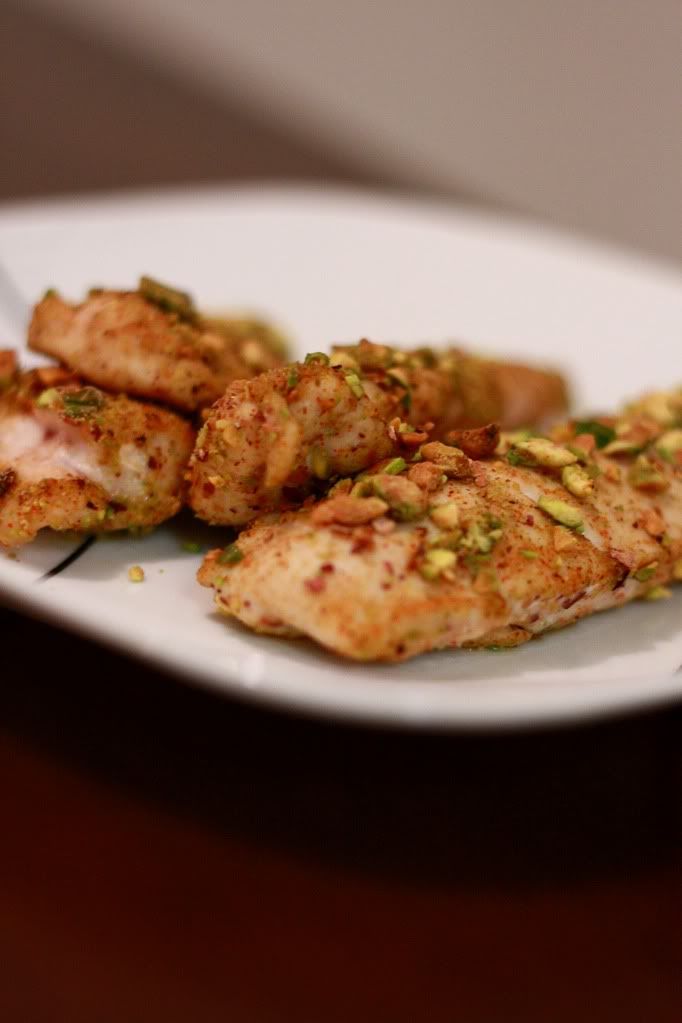
Pistachio Chicken Fingers


While I know that only 6 days are left until Christmas, and you're probably out looking for some amazing baked goods to wow some people with. Well, those will come -- eventually, but you know, you can't have bon bons and sugar cookies and peanut butter blossoms for every meal (well I suppose you could, if your body could handle that much sugar).

As we all know, I'm a huge fan of meals that are quick and easy to put together. Every once in a while I feel like getting fancy, but definitely not on the week nights, especially on nights I have class.

I actually marked this recipe back in March in my reader, and I can't believe I waited so long to make it. Confections of a Foodie Bride claims that it's super quick and easy to make -- basically your shake'n'bake chicken. And minus shelling the pistachios, she's absolutely right. But that's what I have a hubby for -- to shell my pistachios while I'm driving home from class. :)


Pistachio Chicken Fingers
Adapted from: Confections of a Foodie Bride


1 cup pistachios, shelled
Salt (if pistachios are unsalted)
Ground black pepper
1/4-1/2 teaspoon cayenne pepper
1 package chicken tenders (from the fresh poultry department)

Preheat oven to 425. Run pistachios through the food processor for 15-20 seconds, until coarsely ground into small and medium-sized pieces. Pour nuts into a large baggie and season with salt and peppers. Drop chicken tenders, one at a time, into the baggie, seal, and shake until coated.

Place on a rack set in a baking sheet and bake until center temperature reaches 170 degrees, about 15 minutes.


So when I went to the grocery store to pick up the necessary items for this dish, I realized that apparently my nice individually wrapped frozen chicken breasts apparently disappear around Thanksgiving/Christmas -- presumably to make room for all those extra frozen turkeys. Oh yes, I'm THAT kid that buys the individually wrapped chicken. I just got sick of two regular sized chicken breasts and one huge one in a package (so long consistent cooking times), and then there's only 3 per package, who seriously just needs three? Give me either two or four and I'd be happy, but 3?

ANYWAY -- so I was missing my frozen chicken breasts. And I didn't want to buy 3 wacky sized fresh chicken breasts, so I opted for a more decent option of a package of chicken tenders. And I thought it turned out well. Two less forks and knives we had to wash after dinner.

When purchasing the pistachios I bought the smallest package I could find (maybe 10 ounces?) and it was almost the perfect amount. (It left just a few over for snacking purposes, excellent.)

Adam and I both liked the extra crunch and flavor the pistachios gave, and then Adam busted out Manzetti's Asian Ginger dressing to dip them in, and it made them SO.GOOD. (You can find that particular brand of dressing in the refrigerated portion of the produce department by the bagged salads.)

I will definitely be making these again. As soon as Adam forgets how much his fingernails hurt from shelling the pistachios.


Nutrition Facts
Amount per serving
Calories 394Calories from fat 204
% Daily Value
Total Fat 22.6g35%
Saturated Fat 4.0g20%
Cholesterol 101mg34%
Sodium 134mg6%
Total Carbs 9.0g3%
Dietary Fiber 3.3g13%
Sugars 2.4g
Protein 39.4g
Vitamin A 6%Vitamin C 3%
Calcium 5%Iron 15%

Wednesday, December 16, 2009

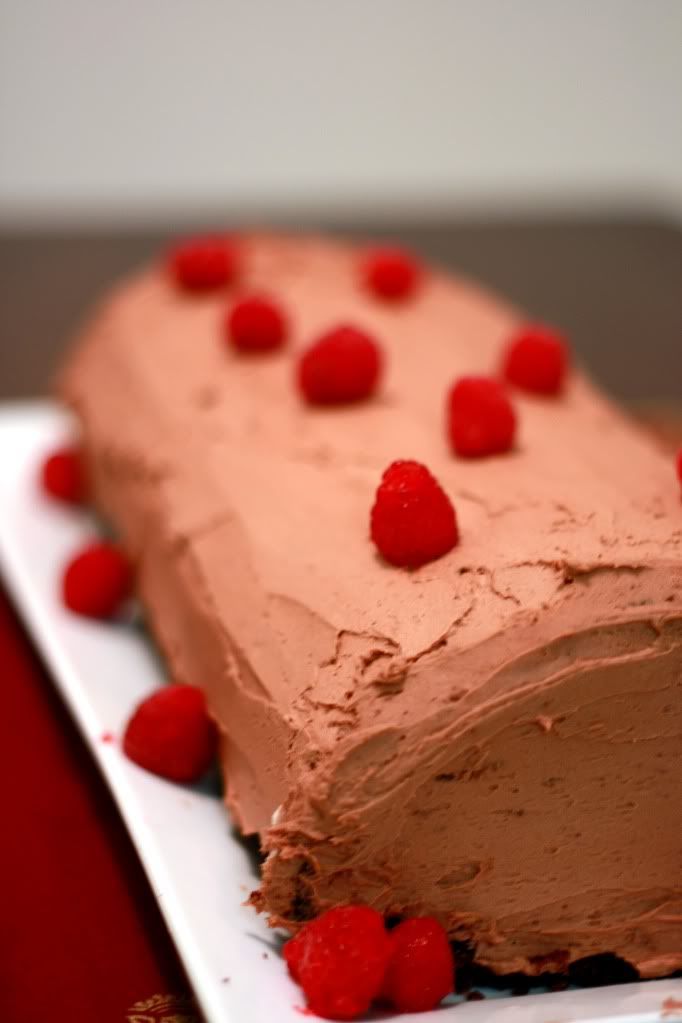
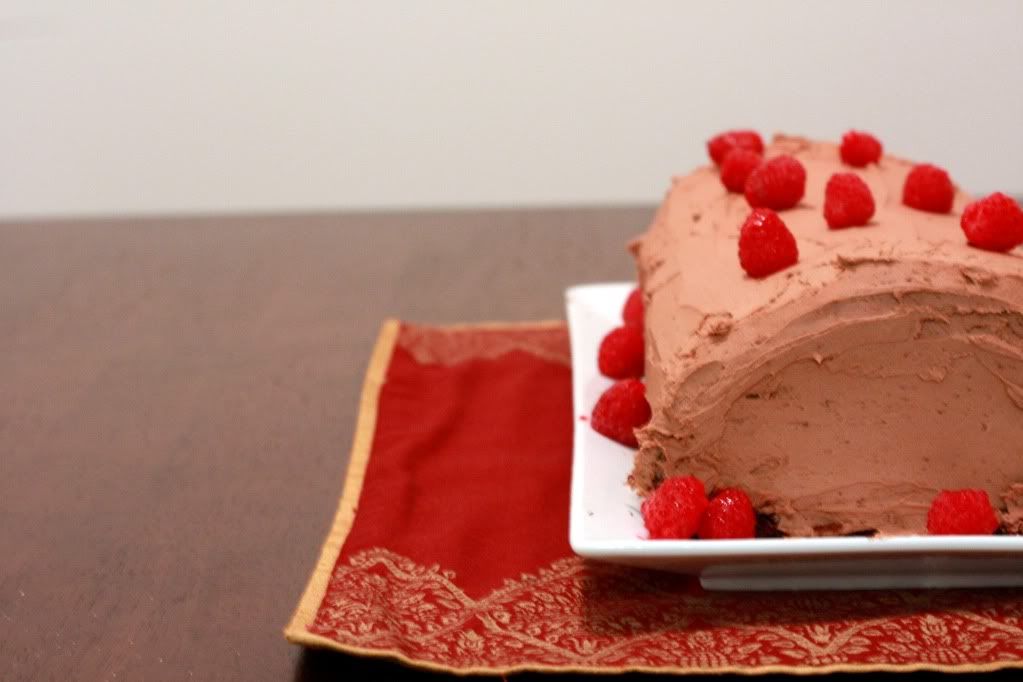
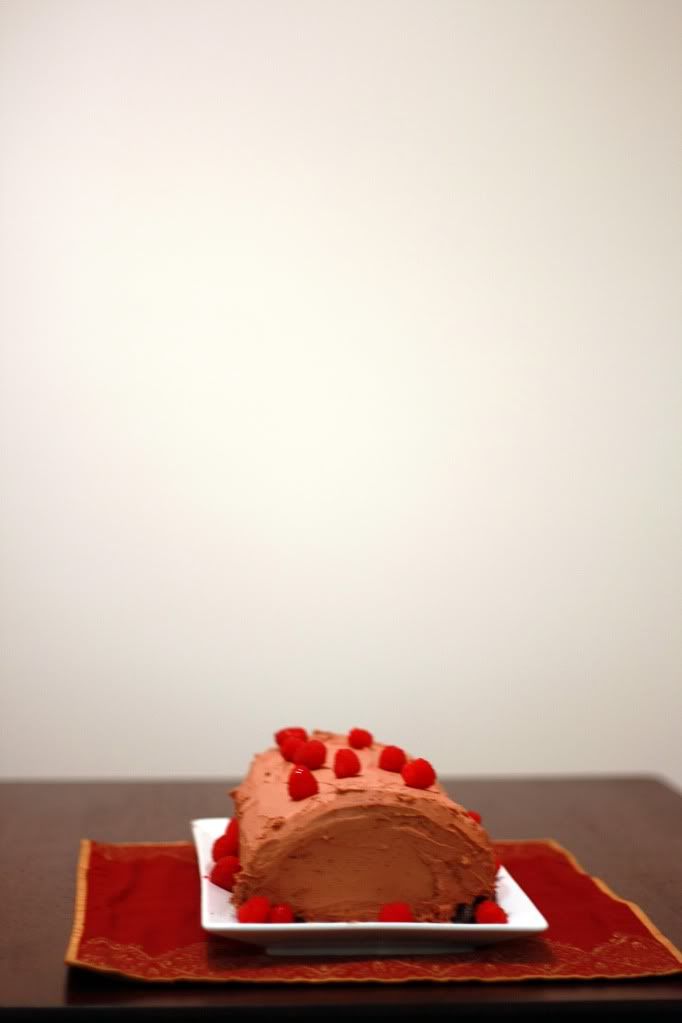
Dark Chocolate Cake with Raspberry Mascarpone Filling


Since it's only 9 days until Christmas, it's about time to start busting out some baked goods! I'm not sure exactly what was the original inspiration behind this cake (or why I even thought to make one in the first place) but I'm definitely glad I had it!

I originally wanted to make a rolled cake, but none of chocolate cake recipes were really talking to me so I figured I just make one that sounded good, roll it, and see what happened. Well... that whole part didn't exactly turn out (or the chocolate buttercream frosting) so we just won't go there. However, the cake and filling were delicious.


Dark Chocolate Cake with Raspberry Mascarpone Filling
From: Allrecipes & Original Recipe


For the cake:
2 cups boiling water
1 cup unsweetened cocoa powder
2 3/4 cups all-purpose flour
2 teaspoons baking soda
1/2 teaspoon baking powder
1/2 teaspoon salt
1 cup butter, softened
2 1/4 cups white sugar
4 eggs
1 1/2 teaspoons vanilla extract

Preheat oven to 350 degrees F (175 degrees C). Grease 3 - 9 inch round cake pans. In medium bowl, pour boiling water over cocoa, and whisk until smooth. Let mixture cool. Sift together flour, baking soda, baking powder and salt; set aside.

In a large bowl, cream butter and sugar together until light and fluffy. Beat in eggs one at time, then stir in vanilla. Add the flour mixture alternately with the cocoa mixture. Spread batter evenly between the 3 prepared pans.

Bake in preheated oven for 25 to 30 minutes. Allow to cool.

For the filling:
8 ounces mascarpone cheese
1/2 cup butter, at room temperature
1 pound powdered sugar
2 tablespoons raspberry liqueur

In a mixer, cream butter, cheese and liqueur. Gradually add sugar and mix until smooth.

Serves: 16


Even though the actual structure of the cake didn't really pan out, the actual cake it self turned out very moist. (Glad I took the pictures the night I made the cake -- it was definitely split all the way lengthwise the next morning!)Feel free to vary the amount of raspberry liquor used in the frosting depending how strong you want the flavor to be. Or I suppose you could always use raspberry extract, but where would the fun be in that?


Nutrition Facts
Amount per serving
Calories 510Calories from fat 191
% Daily Value
Total Fat 21.2g33%
Saturated Fat 12.9g65%
Cholesterol 100mg33%
Sodium 532mg22%
Total Carbs 76.3g25%
Dietary Fiber 2.4g9%
Sugars 57.7g
Protein 6.4g
Vitamin A 13%Vitamin C 0%
Calcium 6%Iron 11%

Wednesday, December 9, 2009

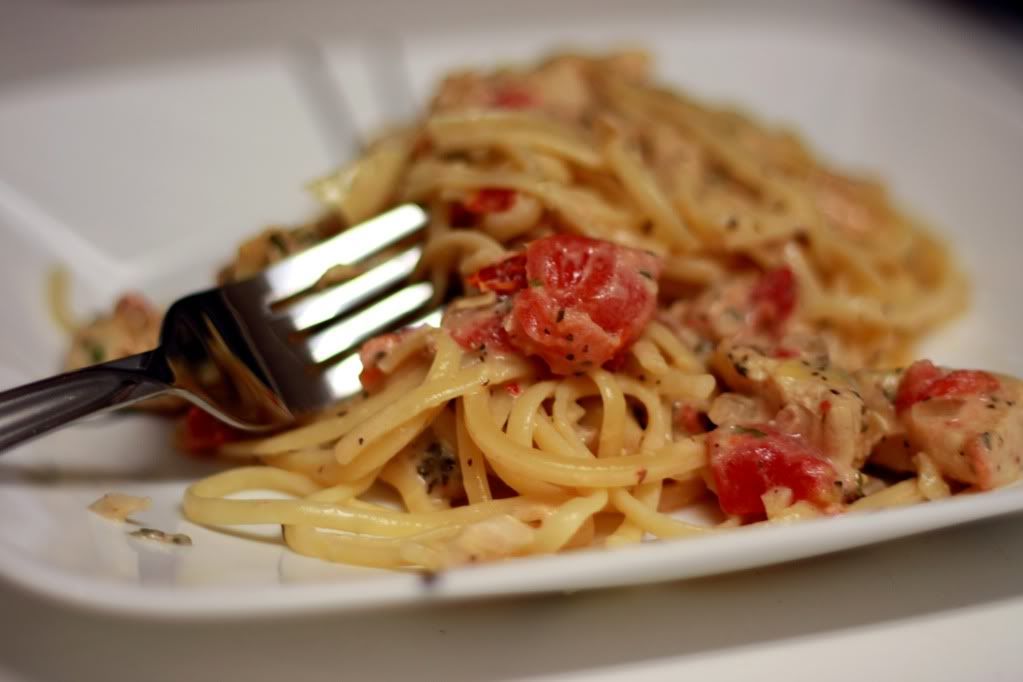
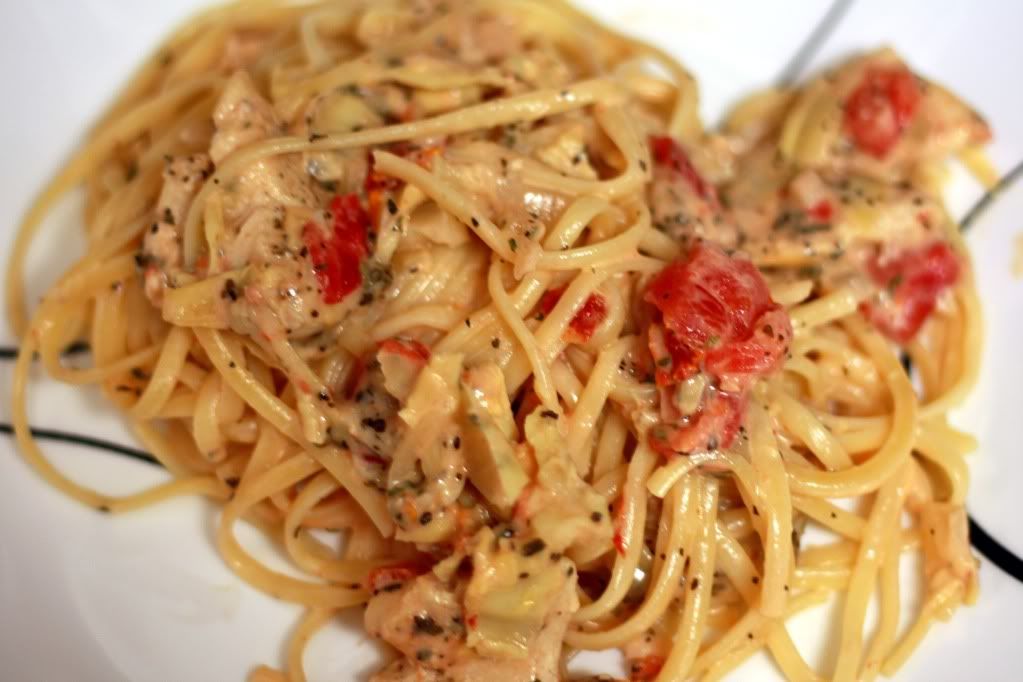
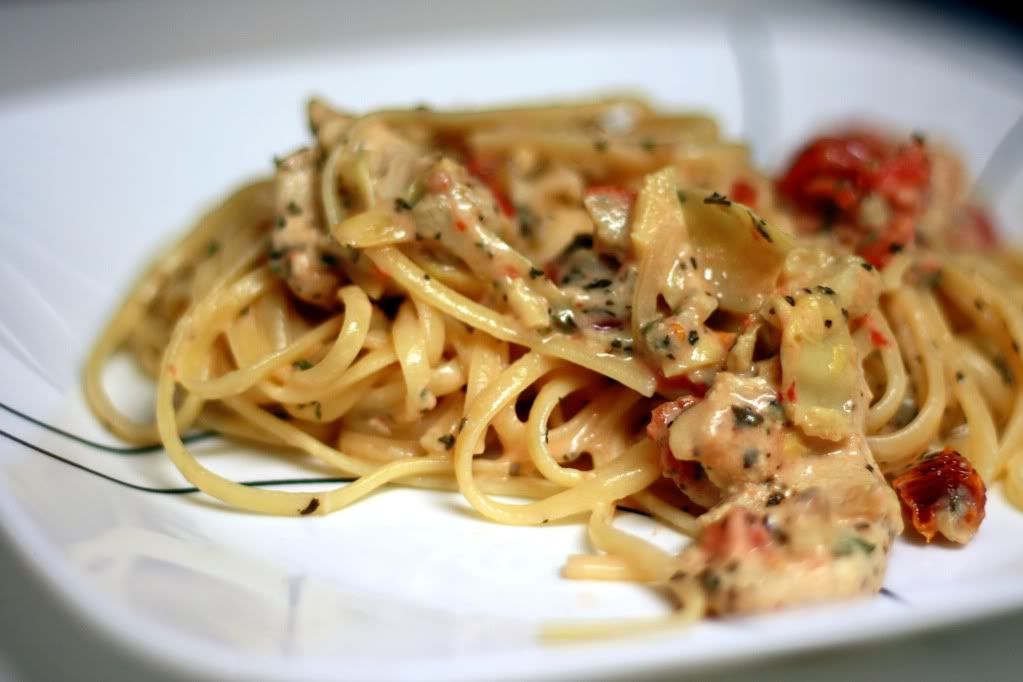
Linguine with Chicken, Artichokes, and Sun-Dried Tomatoes


What? Another pasta post? After such a long absence that's the best I can do? As a matter of fact, yes, it is. Despite making such progress over the past year+ with making a menu at the beginning of each week so we don't play the "what's for dinner" game every night, we have fallen off that horse. Hard. And really have no desire to hop back on right away. Maybe that will change after finals, only until the beginning of January anyway -- when we start up evening right-over-dinner-time classes again.

Anyhoo..... Adam was super suspicious of this dish at first, after I told him artichokes were involved. The first question, of course, "Are you going to be offended if I pick the artichokes out?" Well lo and behold, guess who was sitting there not even half and hour later commenting how good dinner was and he was even eating the artichokes. Ha.


Linguine with Chicken, Artichokes, and Sun-Dried Tomatoes
Adapted From: Confections of a Foodie Bride


1 pound linguine
2 chicken breasts, pounded to even thickness, sliced crosswise about 1/2"
Sea salt & cracked black pepper
3 tablespoons olive oil, divided
2 tablespoons butter
1/2 medium onion, finely diced
1/2 teaspoon red pepper flakes
3 cloves garlic, minced
1 (14.5 ounce can) quartered artichoke hearts, drained
1/2 cup sun dried tomatoes, diced
1 (14.5 ounce can) diced tomatoes*
1 cup heavy cream
3/4 cup chicken broth, more as needed
1 cup freshly grated Parmesan cheese, plus additional for garnish
2 Tbsp chopped basil, plus additional for garnish
1 Tbsp chopped parsley, plus additional for garnish

Cook pasta according to package directions. Drain (reserving 1/2 cup pasta water) and place in a large bowl.

Heat 1 tablespoon olive oil in a large sauce pan until hot. Liberally salt and pepper the sides of the chicken and place in the pan to sear. Cook through, about 3-4 minutes each side. Remove chicken from the pan and set aside.

Add remaining olive oil and butter to pan. Add onions and red pepper flakes to pan and cook until the onions are translucent, stirring to scrape up any browned bits on the bottom of the pan. Add garlic and cook for another minute.

Add chicken, artichoke hearts, sun-dried tomatoes, and diced tomatoes to the pan. Stir and cook for 8-10 minutes. Reduce heat to low and stir in cream and chicken broth. Add salt and pepper to taste. Cook until heated through, and then remove from heat.

Pour sauce over the top of the pasta. Toss with the Parmesan, basil, and parsley until coated. Add a couple of splashes of pasta water - or if you forget to reserve it, some chicken broth - if you need to thin the sauce a bit.

*The recipe originally called for crushed tomatoes, but I could not find any that weren't in super huge cans.


Overall, not too bad of a dish, especially when it's the first time working with artichokes. I was unable to find diced artichokes, so if you find yourself in the same boat, just make sure you drain the whole ones very well (give 'em a nice squeeze or two over the sink for good measure) and then dice them.


Nutrition Facts
Amount per serving
Calories 450Calories from fat 196
% Daily Value
Total Fat 21.8g34%
Saturated Fat 9.1g46%
Cholesterol 106mg35%
Sodium 545mg23%
Total Carbs 42.2g14%
Dietary Fiber 4.0g16%
Sugars 2.4g
Protein 22.9g
Vitamin A 21%Vitamin C 36%
Calcium 20%Iron 20%

Monday, November 23, 2009

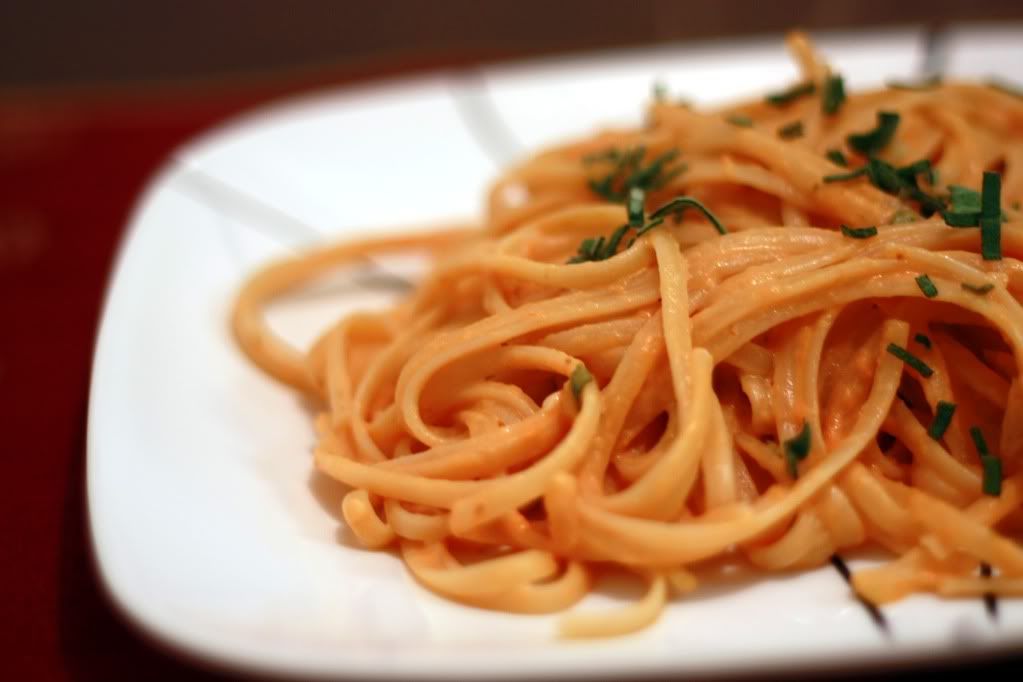
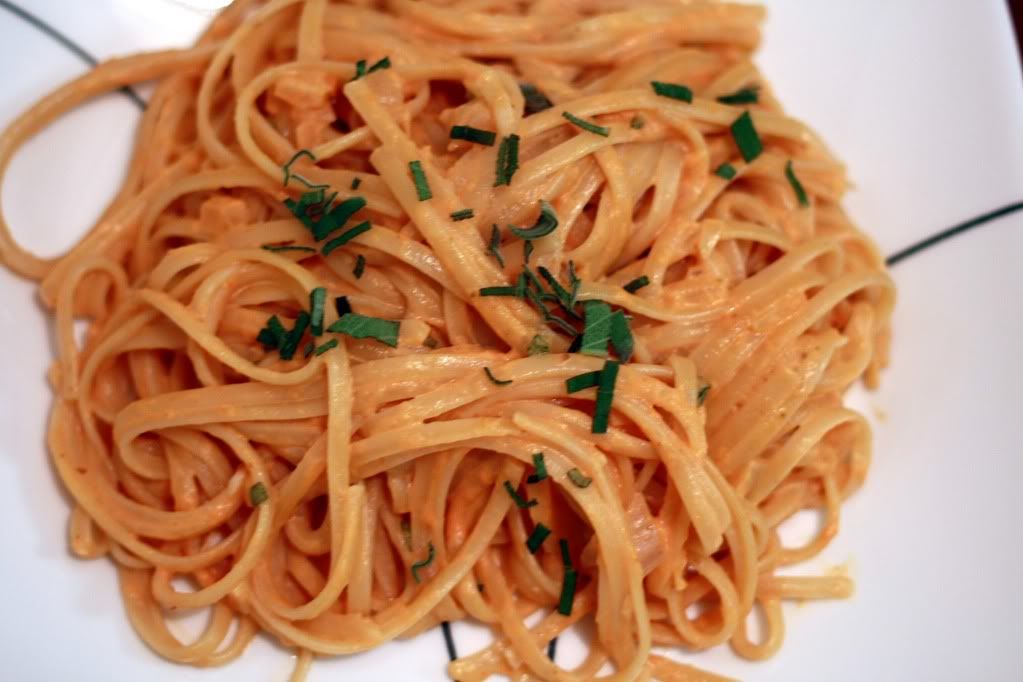
Pasta with Pumpkin Cream Sauce


So apparently Libby's, the super huge canned pumpkin company, had a bad year this year due to droughts. Thus, they expect a shortage in pumpkin this year, and once they're out, they're out until the next crop in 2010. Eh, I've still seen pumpkin can or two hanging out with their friends at the grocery store, so I'm not too horribly worried about it yet. Who knows, we'll see how it looks comes Christmas time.

However, should you find yourself opening a large can of the delicious orange stuff only to use part of it (ooooh such as to make some amazing pumpkin whoopie pies), here's a good answer for the leftovers.


Pasta with a Pumpkin Cream Sauce
From: Macaroni and Cheesecake


1 pound long skinny pasta, such as spaghetti, fettucine, or linguine
1 medium vidalia onion, minced
3 medium cloves garlic
2 sprigs sage leaves, finely chopped
1 tablespoon olive oil
3/4 cup canned unsweetened pumpkin puree
3/4 cup low-sodium chicken broth
1/2 cup fat free half & half
Kosher salt
Freshly ground black pepper
1/4 cup grated Parmesan cheese

Bring a large pot of to a boil over medium-high heat. Add sald and pour in the pasta and cook according to package directions.

Heat the oil in a large saucepan over medium heat. Add the onion and garlic; cook for 3 minutes, stirring, until they have softened. Stir in the pumpkin puree, chicken broth, half & half, and 1/2 of the sage. Reduce the heat to medium-low and cook for 10 minutes, stirring frequently, until the sauce is slightly thickened. Season with salt and pepper to taste; keep warm on the lowest setting.

Drain the pasta and add to the sauce, then add 2 tablespoons of the cheese and mix well. Serve and sprinkle with the remaining 2 tablespoons of cheese and the remaining sage.


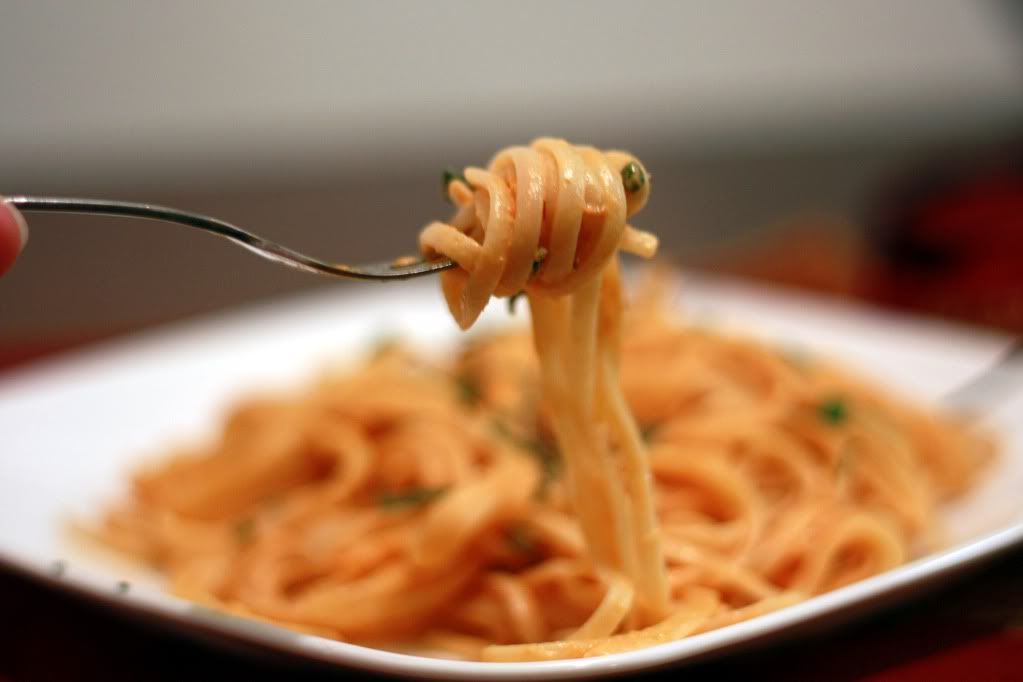
Well, I was expecting a little stronger pumpkin flavor, but I think Stephanie describes it best as an alfredo sauce with a hint of pumpkin. Overall I was pleasantly surprised with this dish, being originally a little skeptical about the pumpkin. (Adam even liked it.)

It's a fairly easy dish to throw together and perfect for fall. Not to mention great for finishing up those pumpkin leftovers.


Nutrition Facts
Amount per serving
Calories 241Calories from fat 61
% Daily Value
Total Fat 6.7g10%
Saturated Fat 2.7g14%
Cholesterol 52mg17%
Sodium 93mg4%
Total Carbs 37.1g12%
Dietary Fiber 2.4g9%
Sugars 1.4g
Protein 8.8g
Vitamin A 78%Vitamin C 6%
Calcium 12%Iron 19%

Thursday, November 19, 2009

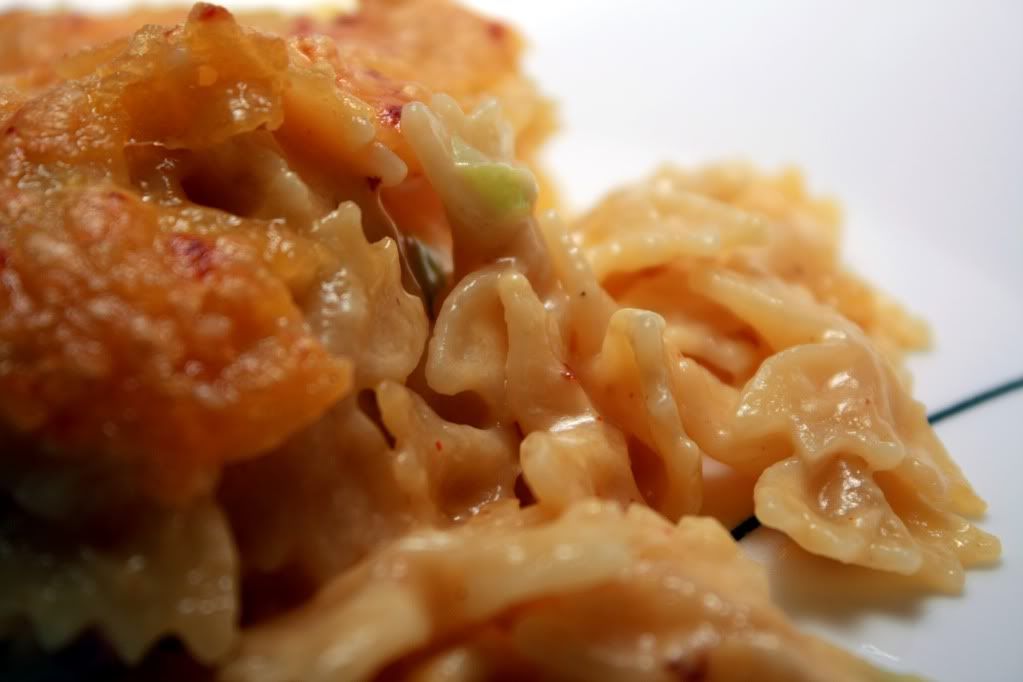
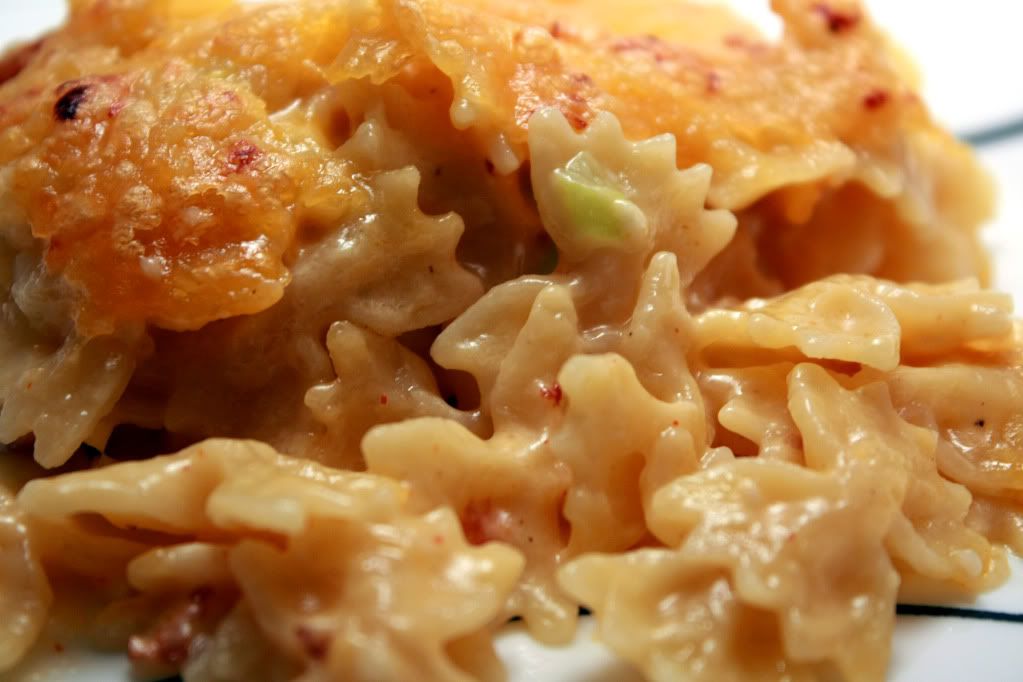
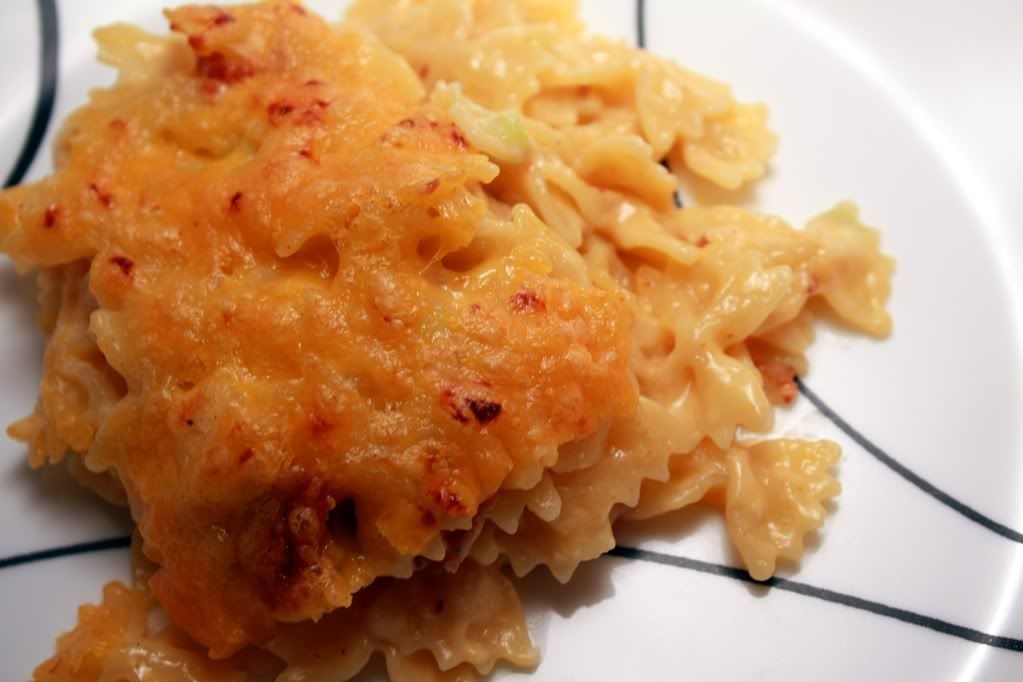
Bacon Mac


If you have been following this blog, you probably know that I'm always on the hunt for THE mac and cheese recipe. It has to be ridiculously cheesey, gooey, and bacon never hurts. I could go either baked or straight off the stovetop, although a little panko on the top is always nice to switch up the texture.

Well, lo and behold, Cooking Light decided to produce a version of mac n chee which included bacon. Okay, got my attention. It was missing the panko, but it did include hot sauce. Okay, fair enough trade. Let's try it.


Bacon Mac
Adapted From: Cooking Light, September 2009


3-1/4 teaspoons salt, divided
12 ounces small- or medium-sized, fun pasta
4 teaspoons all-purpose flour
1-1/2 cups milk, divided
2 cups finely shredded sharp cheddar cheese, divided
1/4 cup sliced green onions
1 teaspoon hot sauce
1/4 teaspoon pepper
3-4 slices peppered bacon, cooked and crumbled
Cooking spray

Preheat broiler.

Bring 6 quarts water and 1 tablespoon salt to a boil. Add pasta; cook 8 minutes or until al dente; drain.

Combine flour and 1/2 cup milk in a saucepan over medium heat. Gradually add 1 cup milk; bring to a boil. Cook 1 minute, stirring constantly. Remove from heat; let stand 4 minutes or until it cools to 155°. Stir in 1 1/2 cups cheese. Add 1/4 teaspoon salt, onions, hot sauce, pepper, and bacon; stir. Add pasta; toss. Spoon into a 2-quart broiler-safe dish coated with cooking spray; top with 1/2 cup cheese. Broil 7 minutes.


Well, I can't say that it's my absolutley favorite mac and chee recipe, but it did turn out pretty good. It did have bacon in it though, which makes everything good, so... it gets my vote!


Nutrition Facts
Amount per serving
Calories 458Calories from fat 180
% Daily Value
Total Fat 20.0g31%
Saturated Fat 10.6g53%
Trans Fat 0.0g
Cholesterol 58mg19%
Sodium 1763mg73%
Total Carbs 46.3g15%
Dietary Fiber 2.2g9%
Sugars 3.7g
Protein 23.6g
Vitamin A 10%Vitamin C 2%
Calcium 34%Iron 17%

Wednesday, November 18, 2009

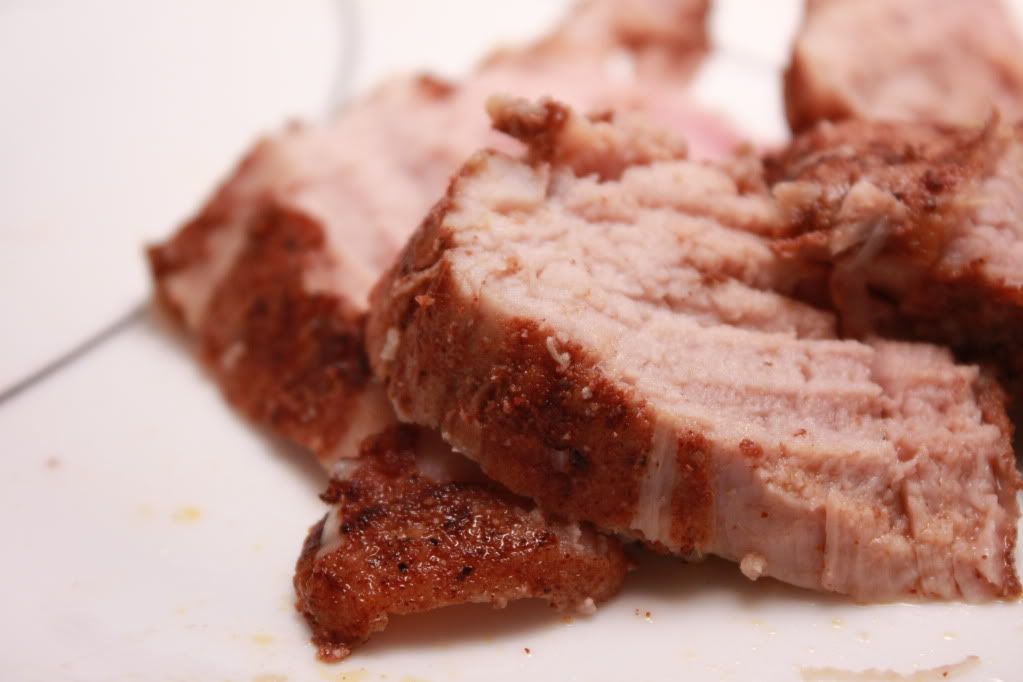
Sweet & Spicy Pork Tenderloin


I swear I can't win. As soon as I get this blog all nice and caught up, life takes over and I get so very far behind again. *Sigh* I have been completely swamped as of late with papers and homework which hasn't left a lot of time for other things.

Since I have a little bit of a break from all the chaos today, I figured it was time to catch up. And this pork tenderloin is a great way to do it. A couple months ago, I posted this pork tenderloin recipe, which was fantastic, so I decided to give another recipe a shot.

I have to say, pork tenderloin has definitely changed the way I think about pork. It used to be slow-cooked porkchops swimming in some gravy (not really my favorite, thankyouverymuch), but now I realize just how juicy and tender pork can really be. Yum.

Anyhoo, about this recipe. Delicious, of course. Now I'm going to have problems deciding which one I'm going to make...


Sweet and Spicy Pork Tenderloin
From: Macaroni and Cheesecake


1/2 teaspoon ground cumin
1/2 teaspoon ground cinnamon
1/2 teaspoon salt
1/4 teaspoon ground black pepper
1/4 teaspoon ground allspice
1/8 teaspoon garlic powder
1/8 teaspoon ground chipotle chile pepper
1 pork tenderloin (1 1/4 pounds), trimmed of visible fat
1 teaspoon extra-virgin olive oil
2 tablespoons honey
1 tablespoon minced garlic
1 1/2 teaspoons hot-pepper sauce

Preheat the oven to 350°F.

In a small bowl, combine the cumin, cinnamon, salt, black pepper, allspice, garlic powder, and chipotle pepper. Rub the pork tenderloin evenly with the olive oil. Then rub evenly with the spice mixture until coated. Cover loosely with plastic wrap. Refrigerate for 15 minutes.

Meanwhile, in a small bowl, combine the honey, garlic, and hot-pepper sauce. Whisk to mix. Set aside.

Set a large cast iron skillet over medium-high heat. Place the pork in the pan. Cook for 1 minute per side, or until browned on all sides. Transfer to the prepared pan. With a basting brush, evenly coat the pork tenderloin with the reserved honey mixture.

Roast the tenderloin in the oven for 15 to 17 minutes, or until a thermometer inserted in the center reaches 160°F and the juices run clear. Remove from the oven. Cover the pork loosely with aluminum foil. Let stand for 10 minutes. Transfer the pork to a cutting board. Holding a knife at a 45° angle, cut into thin slices.

Serves: 4


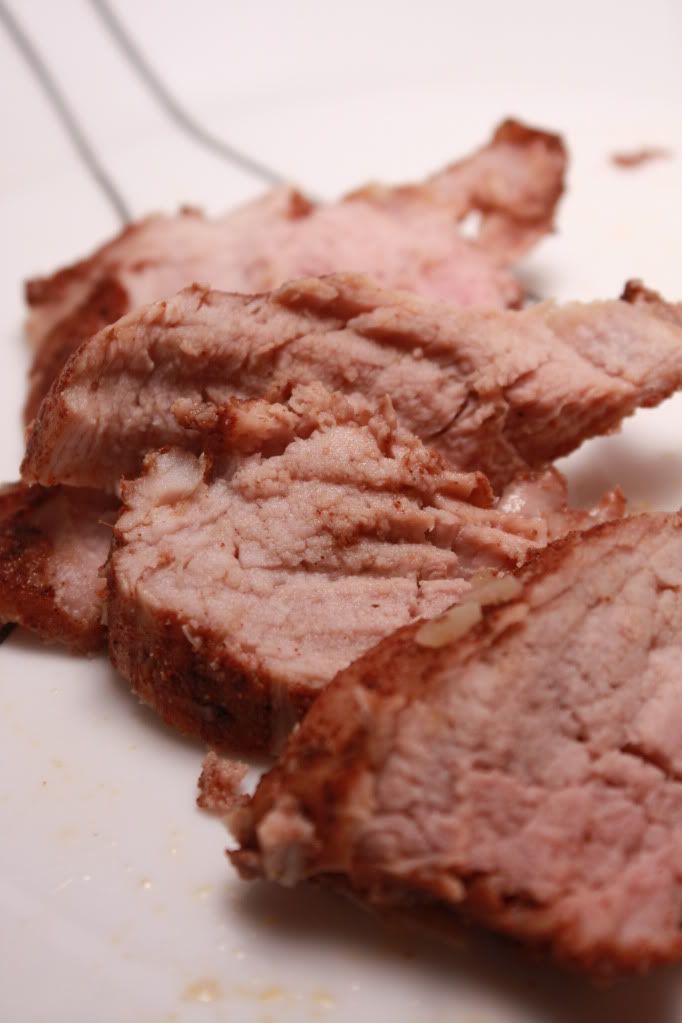
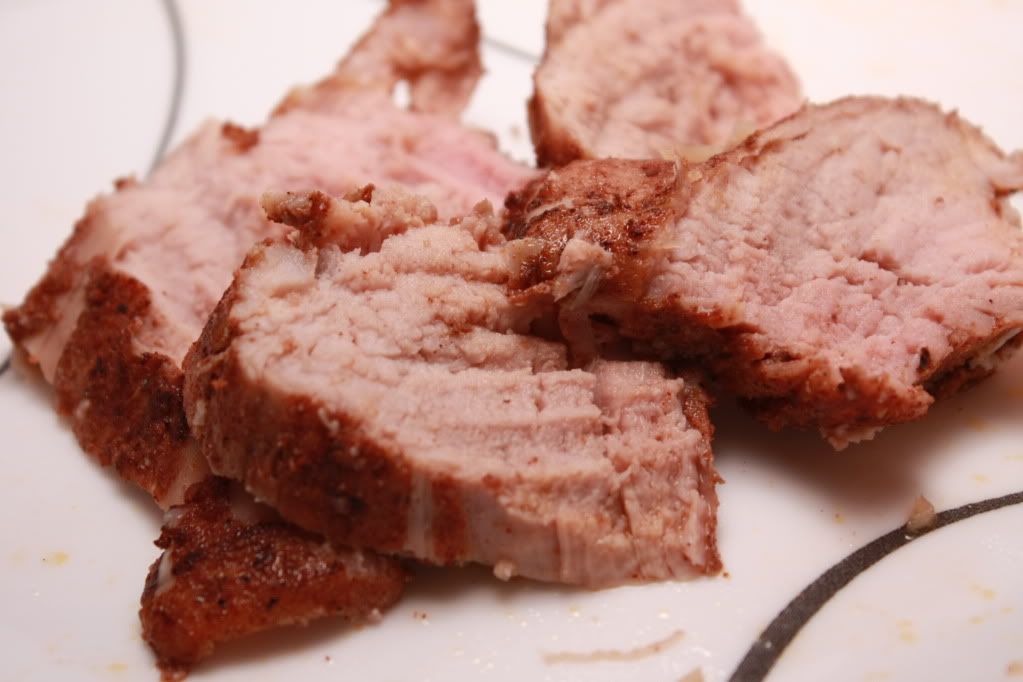
Nice and juicy and tender, what more could you ask for? The honey definitely balances out the spices quite nicely, definitely letting this pork live up to it's "sweet and spicy" name.

Yum.


Nutrition Facts
Amount per serving
Calories 251Calories from fat 56
% Daily Value
Total Fat 6.2g10%
Saturated Fat 1.9g9%
Trans Fat 0.1g
Cholesterol 103mg34%
Sodium 378mg16%
Total Carbs 10.0g3%
Sugars 8.7g
Protein 37.4g
Vitamin A 0%Vitamin C 1%
Calcium 2%Iron 11%

LinkWithin

Related Posts with Thumbnails
 
Pin It button on image hover